Category filter
Zendesk and Hexnode UEM Integration
Zendesk Support
Zendesk Support is a customer service platform that makes customer relations faster and hassle-free. It brings together all queries that come by email, phone, chat, or social media under a single platform thereby making it easier to track, prioritize, and solve them. These queries, called tickets and can be assigned to the respective technicians from within the Support console.
Ticket Handling and Apps
Customer queries in the form of Help Center requests, emails, chat, and social media messages can be set to automatically create support tickets. These tickets can be answered through the console itself and the reply would then be sent back to the platform from which the ticket was originally raised, thus ensuring faster response time. Moreover, you can integrate powerful tools from third party developers available as apps on the Zendesk marketplace. The Hexnode UEM app for Zendesk makes managing your mobile devices a breeze.
Zendesk Integration with Hexnode UEM
Zendesk users can integrate Hexnode UEM with the Support platform to manage devices faster and easier. Any IT admin with Zendesk Support and Hexnode UEM can manage their users’ devices from the Support console itself. The support requests from the channel via Hexnode UEM will be assigned as Zendesk Support Tickets. It is through these tickets that the queries are handled.
Integrating Zendesk Support and Hexnode UEM:
- Install the plugin app from Zendesk Marketplace by clicking on Install. The plugin can also be accessed from Admin > Apps > Marketplace and searching for Hexnode UEM from the Zendesk Support Console.
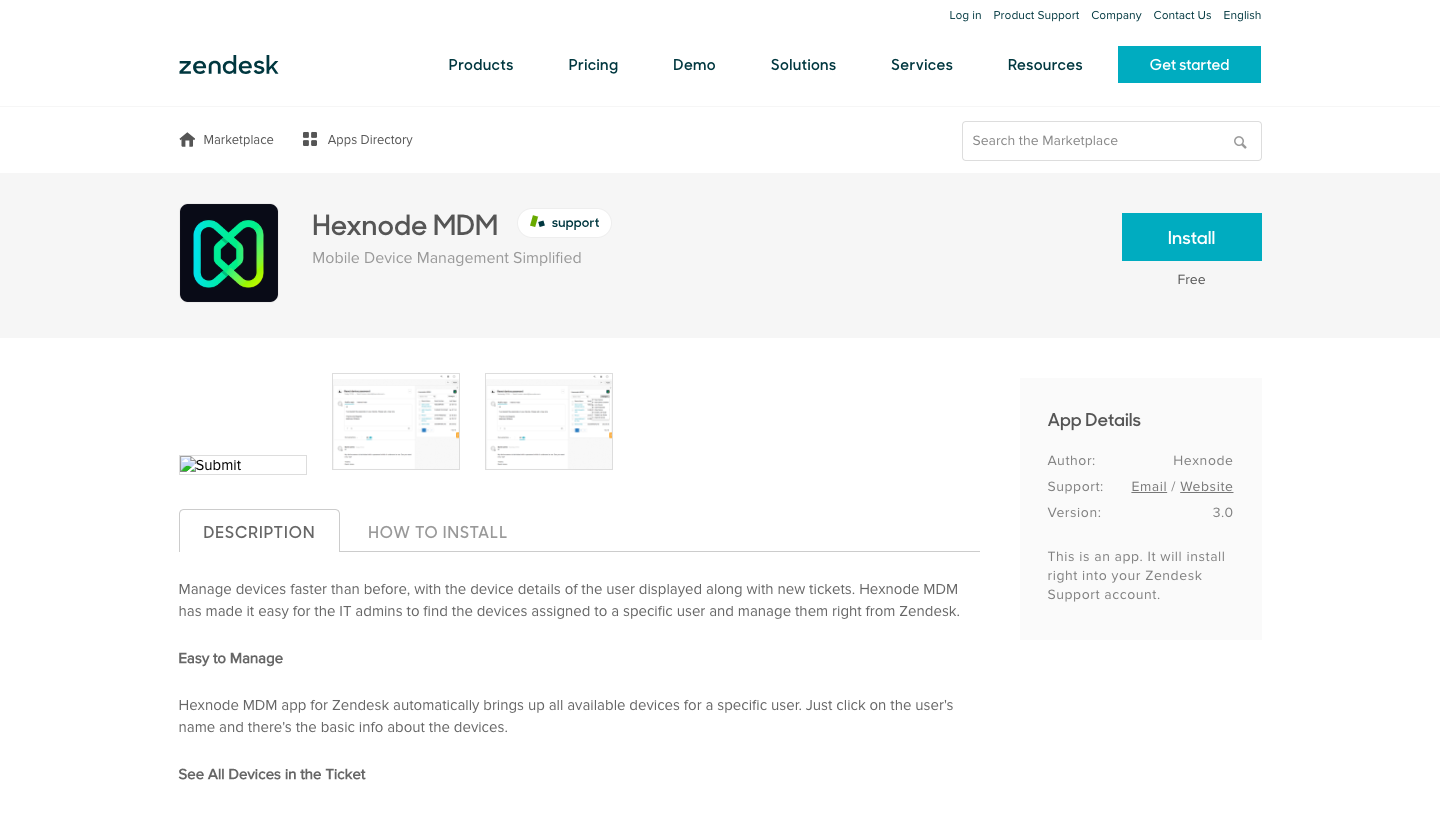
- Enter your Zendesk Support account to install the app. If you don’t have an account in Zendesk, you can create a new account from there itself.
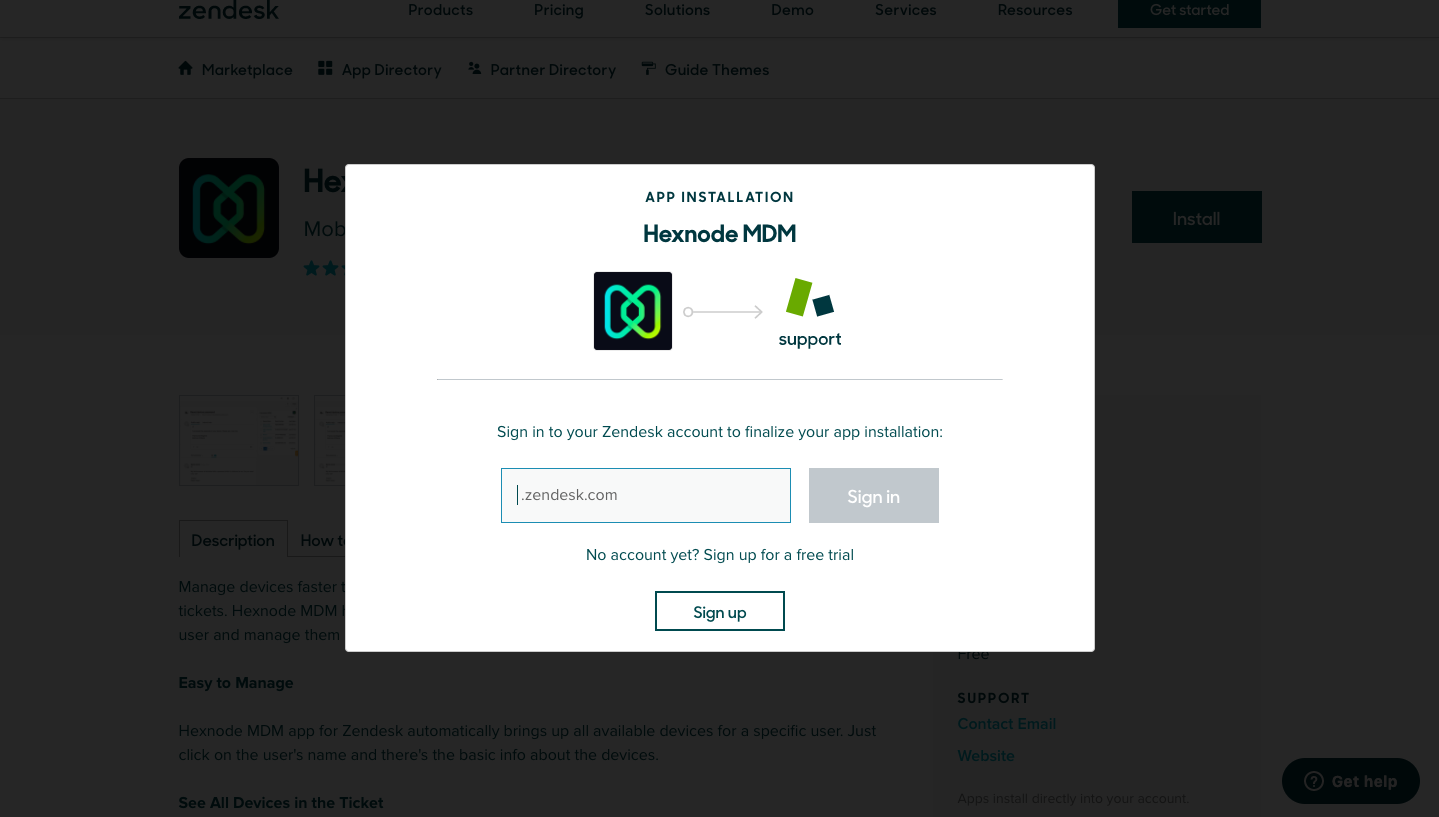
- Login to Zendesk Support using an email address which was added to Zendesk as an admin account.
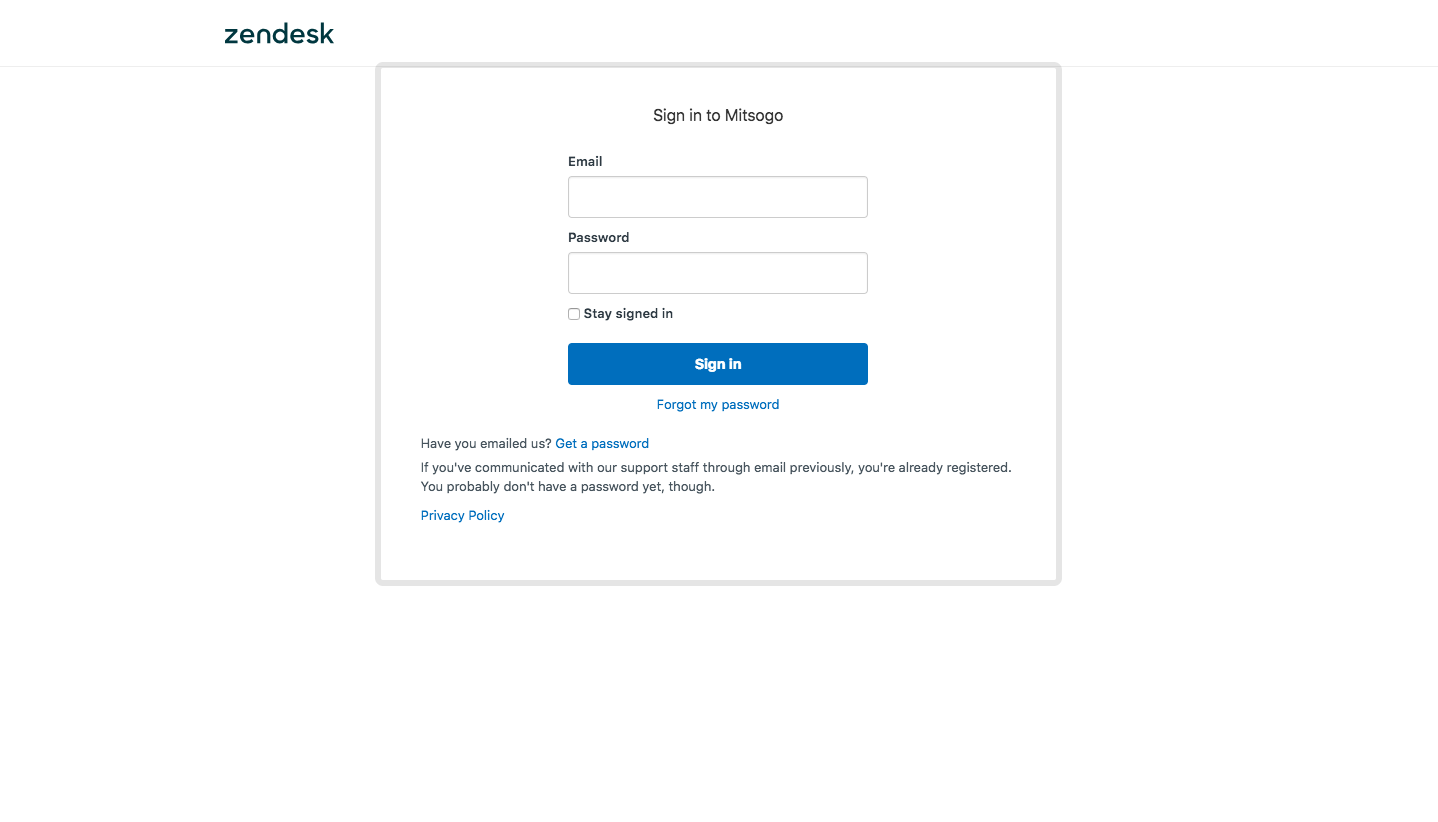
- Provide the following details to install the application.
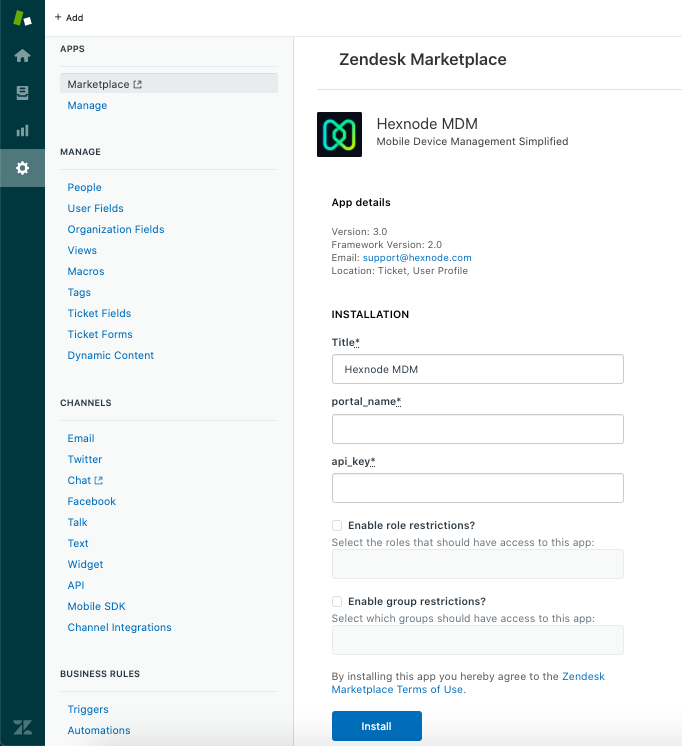
- Title: By default, the application’s name appears as the title. It can be changed by the user.
- Portal name: Provide the name of the Hexnode UEM portal from which the devices are to be managed.
The portal name is of the form yourportal.hexnodemdm.com - API key: Provide the API Key.
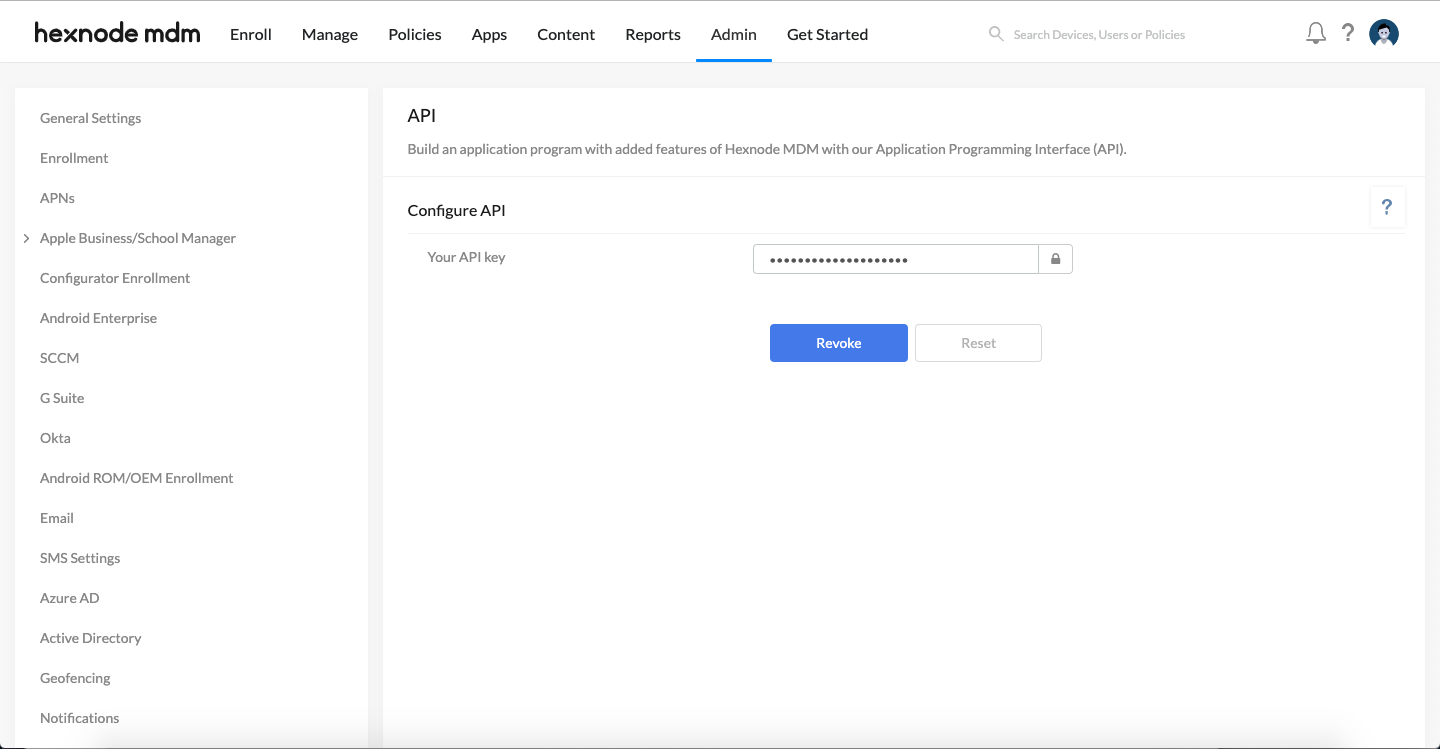
- To get the API key, login to the Hexnode portal and go to Admin > API > Configure API
- Click on the lock icon to view and copy the API key. Paste it back to the Zendesk Support console.
- Enable role restrictions: By default, all technicians in Zendesk can access the installed application. On configuring this option, access to the application and data can be limited to specific technicians. i.e., the access can be limited to Admin alone, Agent alone or both Admin and Agent as the situation deems right.
- Enable group restrictions: By enabling this option, access can be limited to technicians belonging to certain groups.
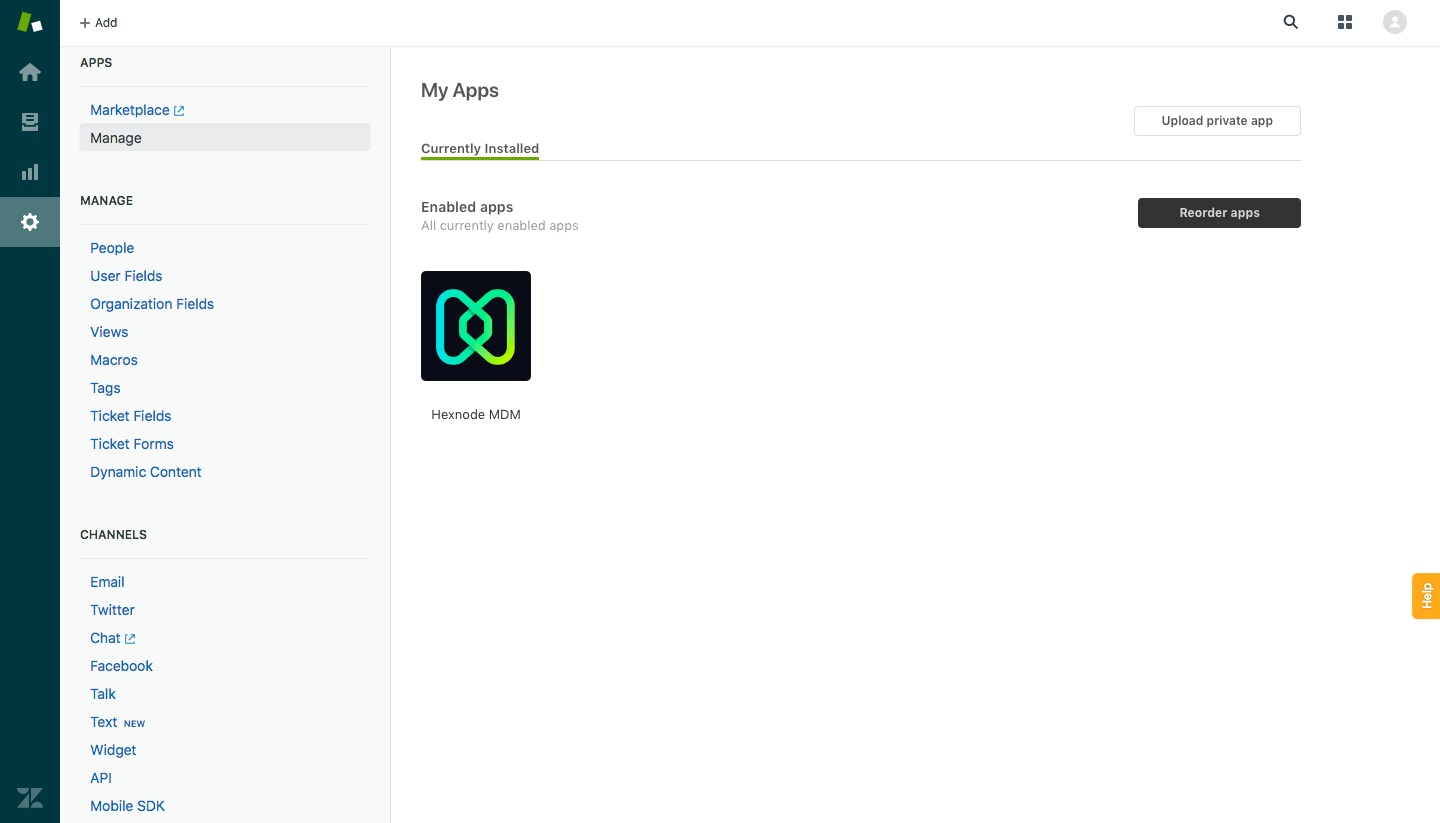
- After the installation procedure, you can view Hexnode UEM app in the Zendesk Support Console. From the left pane Go to Admin > Apps > Manage > My Apps.
- To view the users assigned. Go to Admin > Manage > People.
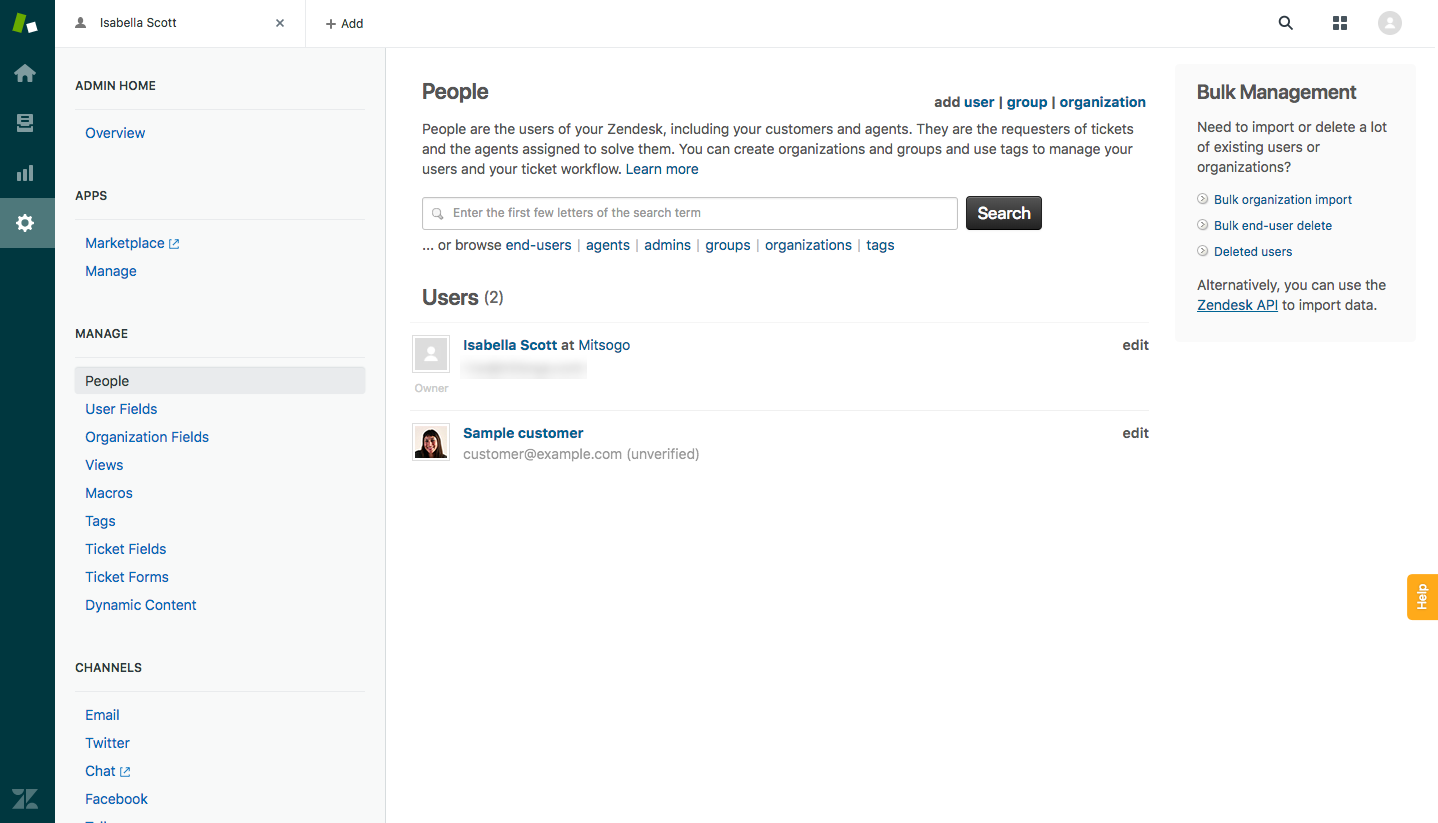
You can view the users assigned and click on a user to view the tickets assigned.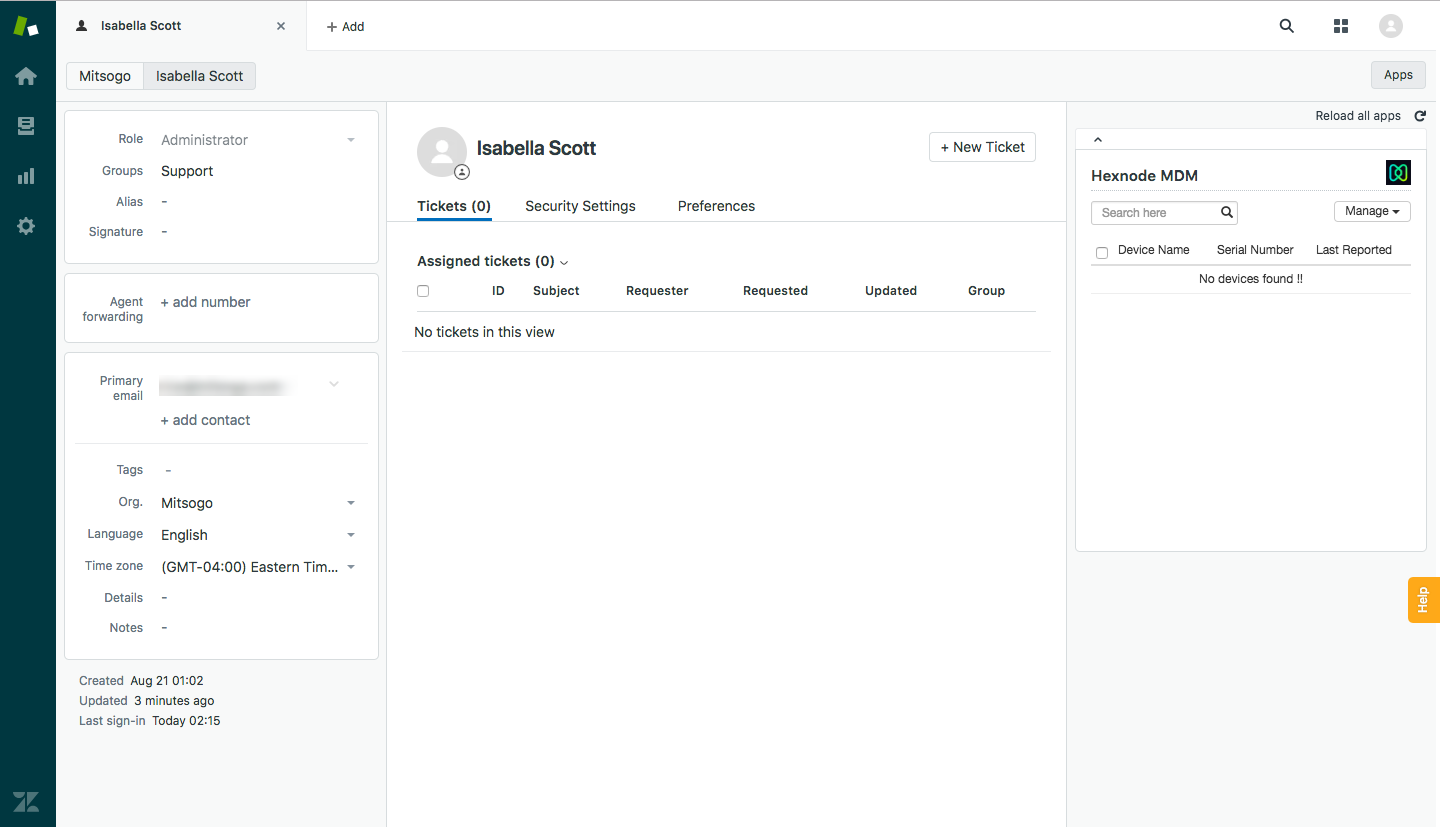
- The ticket will be created automatically when the user raises a request or you can create a new ticket by clicking on New ticket.
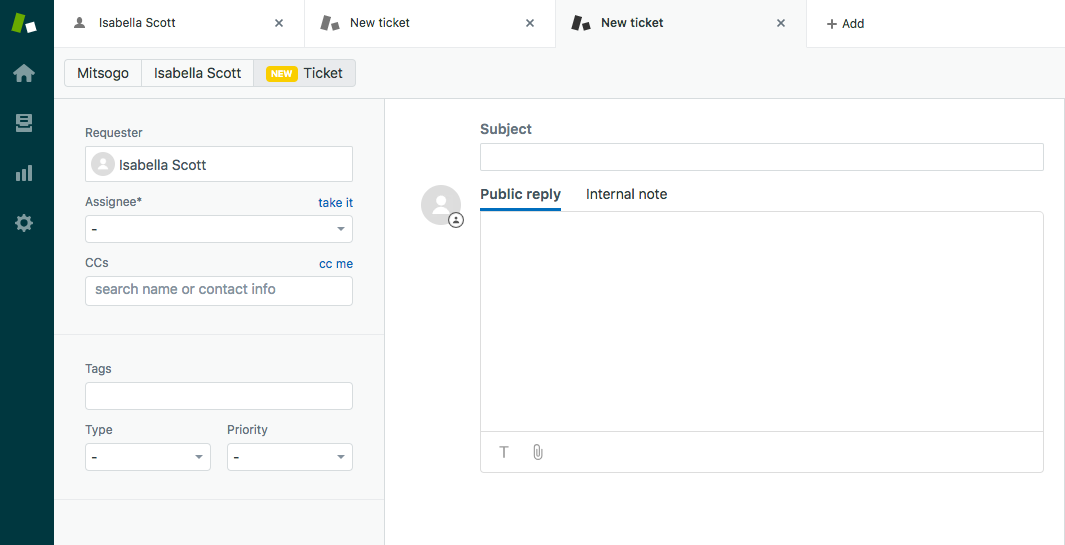
- From Admin > Manage > People, select the user whose devices you wish to view or control. Click on the Apps button on the top right corner to see the list of all devices enrolled within the portal under that specific user.
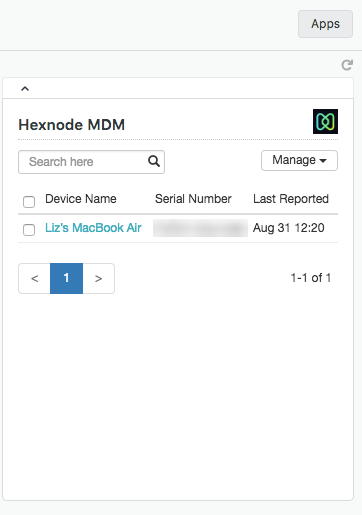
- Click on the manage button to carry out the actions. Only the following actions can be carried out using Zendesk integration with Hexnode UEM.


