Category filter
Script to run Setup Assistant on Macs in the next reboot
This document describes how you can execute the script to run Mac’s Setup Assistant on the next device reboot.
Setup Assistant in Mac guides users through the process of setting up the device. With Setup Assistant running alongside, users can easily customize settings or choose how the device is configured initially. The customizations possible on Mac while the Setup Assistant is in the run include,
- setting up the language or region
- migrating data from another device
- signing in with Apple ID
- setting up computer accounts
- customizing privacy and security settings
In other words, Setup Assistant walks you through the steps necessary to configure the settings to start using the device. As such, Setup Assistant is triggered to run during scenarios like initial device setup, MDM enrollment, factory reset, post macOS update setup, etc.
As an IT admin, if you want to manually initiate the Setup Assistant for the user to configure any possible customizations, the script described here can help. The script initiates the Setup Assistant on the next reboot of the device, allowing the user certain options to configure the Mac. IT admins can deploy this script to devices via Hexnode UEM’s Execute Custom Script remote action.
Scripting language – Bash
File extension – .sh
Run Setup Assistant on Macs
|
1 2 3 4 5 6 7 8 |
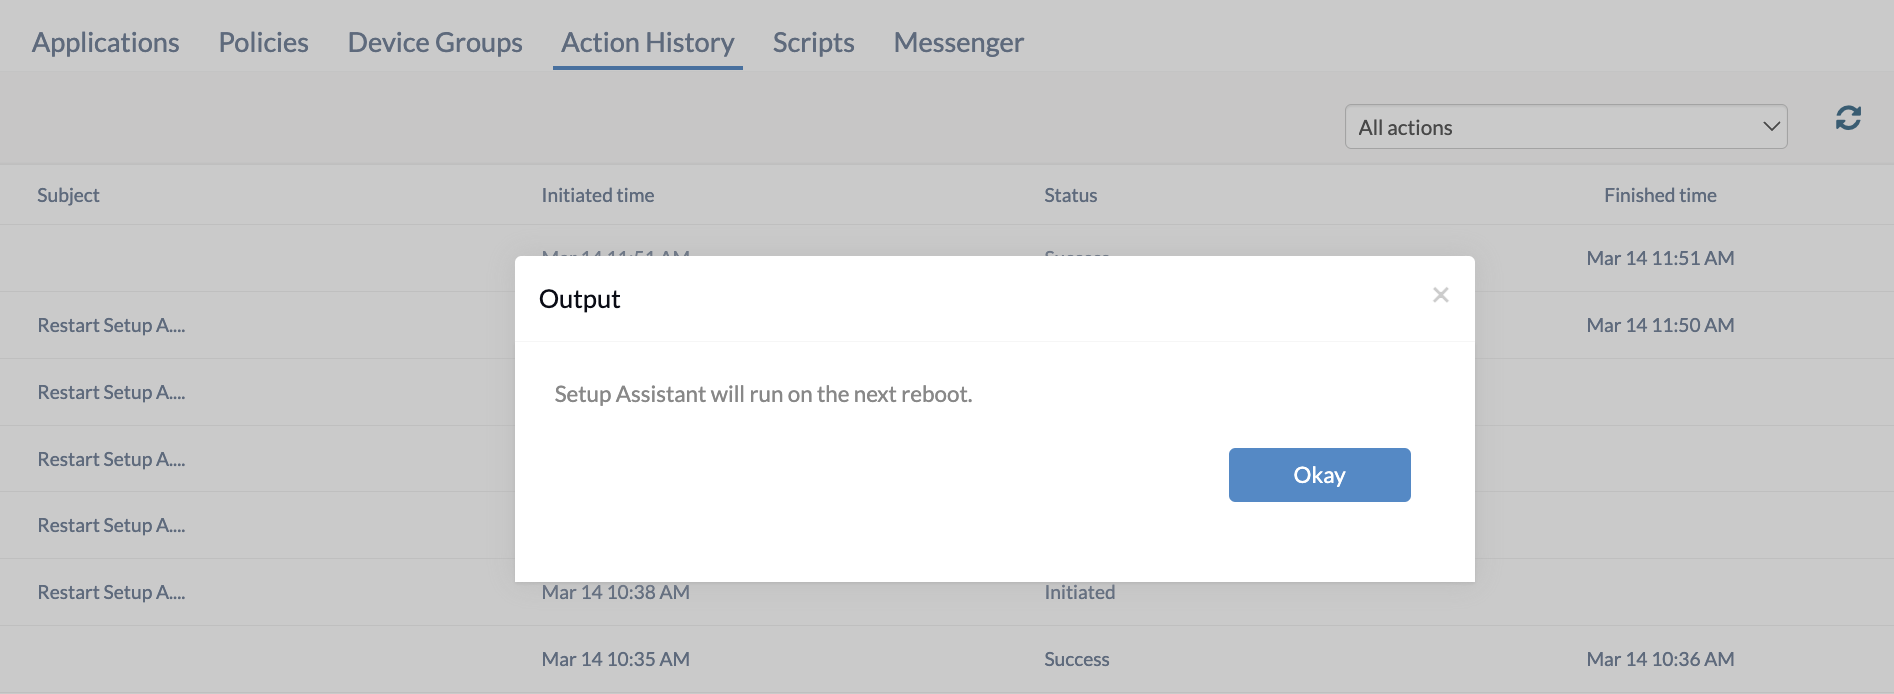
#!/bin/bash # Check if the script is being run as root if [ "$(id -u)" != "0" ]; then exit 1 fi # Remove .AppleSetupDone file sudo rm /private/var/db/.AppleSetupDone echo "Setup Assistant will run on the next reboot." |
Here the script requires administrative privileges as it attempts to remove a system file to restart the Setup Assistant. Therefore, the script is executed using the “sudo” command to achieve the administrative permissions.
Then the script removes a specific file ‘.AppleSetupDone’, located at ‘/private/var/db/.’ This file typically marks the completion of the macOS setup process. The ‘rm’ command deletes the file mentioned in the script.
What happens at the device end?
Upon successful execution of the script, administrators can initiate a reboot from the Hexnode portal to start the Setup Assistant.
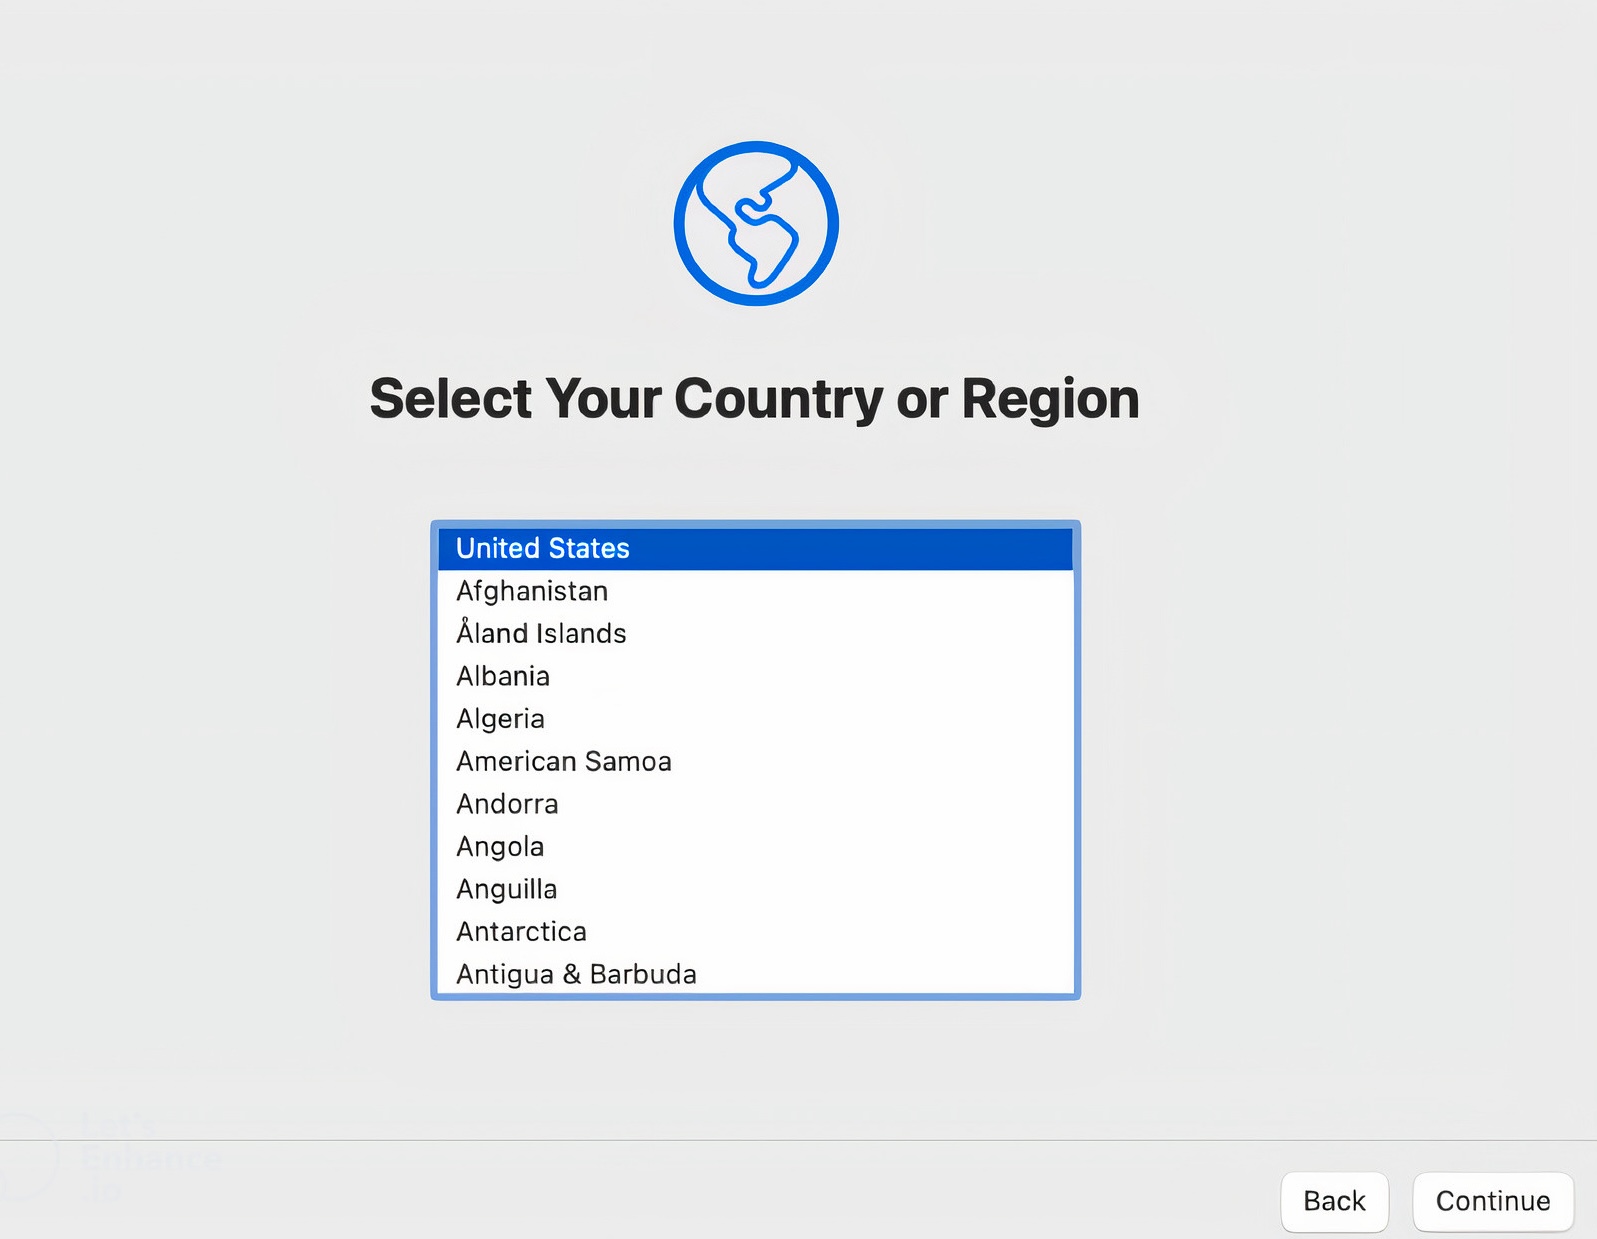
After restarting, the device will initially display a pane to select the country or region, followed by various other panes in the Setup Assistant, as listed below.
- Select Your Country or Region: users will be prompted to choose their country or region from a list. This sets the format of dates, temperature, and more for the Mac.
- Written and Spoken Languages: users can choose the language they want to use for their device.
- Select Your Wi-Fi Network: users should select their Wi-Fi network and enter the password. If Ethernet is being used, users can click Other Network Options and follow the onscreen instructions.
- Migration Assistant: users can migrate their data such as files, contacts, accounts, and more from another Mac to the new MacBook. They may also choose to transfer information from a Time Machine backup, or a startup disk located on their Mac.
- Sign in with Your Apple ID: users can either create a new Apple ID or sign in with an existing one. This step is crucial for accessing the App Store, iCloud, and other Apple services.
- Create a Computer Account: set up the main user account for the Mac choosing a username and password.
- Enable Location Services: users may be asked whether they want to enable or disable location services, which allow apps and services to determine their location.
- Screen Time: Screen Time lets users see their daily and weekly usage of their Mac, set limits on how long they can use certain apps, manage children’s screen time, and more. Users can turn it on, if required.
- Siri: users can turn on Siri and say, “Hey Siri” (so they can speak their Siri requests) during setup.
- Set up Touch ID: users can add a fingerprint to Touch ID, which they can use to unlock their Mac, authorize purchases with Apple Pay, and sign into some third-party apps.
- Choose Your Look: user can select Light, Dark, or Auto for the desktop appearance.
Once the Setup Assistant completes all necessary configurations, the next screen presented to the user is typically the login screen. Here, the user can log in with the user account created during the setup process. Upon successful login, the user is presented with the macOS desktop interface.


