Category filter
How to set up Web Content Filtering on Linux devices?
Hexnode UEM’s Web Content Filtering helps organizations control access to websites on corporate devices as per their security policies. These policies can include content restrictions, bandwidth limitations, and more. Since most corporate devices contain confidential information, allowing access to websites that do not meet the organization’s standards can pose significant security risks. Conversely, restricting access to only work-related websites can enhance productivity. Here’s how you can set up Web Content Filtering on Linux devices.
Configure Web Content Filtering
- Go to the Policies tab from the Hexnode UEM dashboard.
- Continue with an existing policy or create a new one by clicking on New Policy.
- Select Web Content Filtering from Linux > Security. Click Configure.
- Next, choose the Filter Type.
- Add the websites that are to be blocked or allowed in the provided text box and click on Add. Alternatively, websites can be uploaded in a CSV file by clicking on Choose file.
Blocklist web URLs
Blocklisting a URL prevents the user from accessing the specified website, while all other websites remain accessible. You can either manually add the URLs to be blocked in the text field or upload a CSV file.
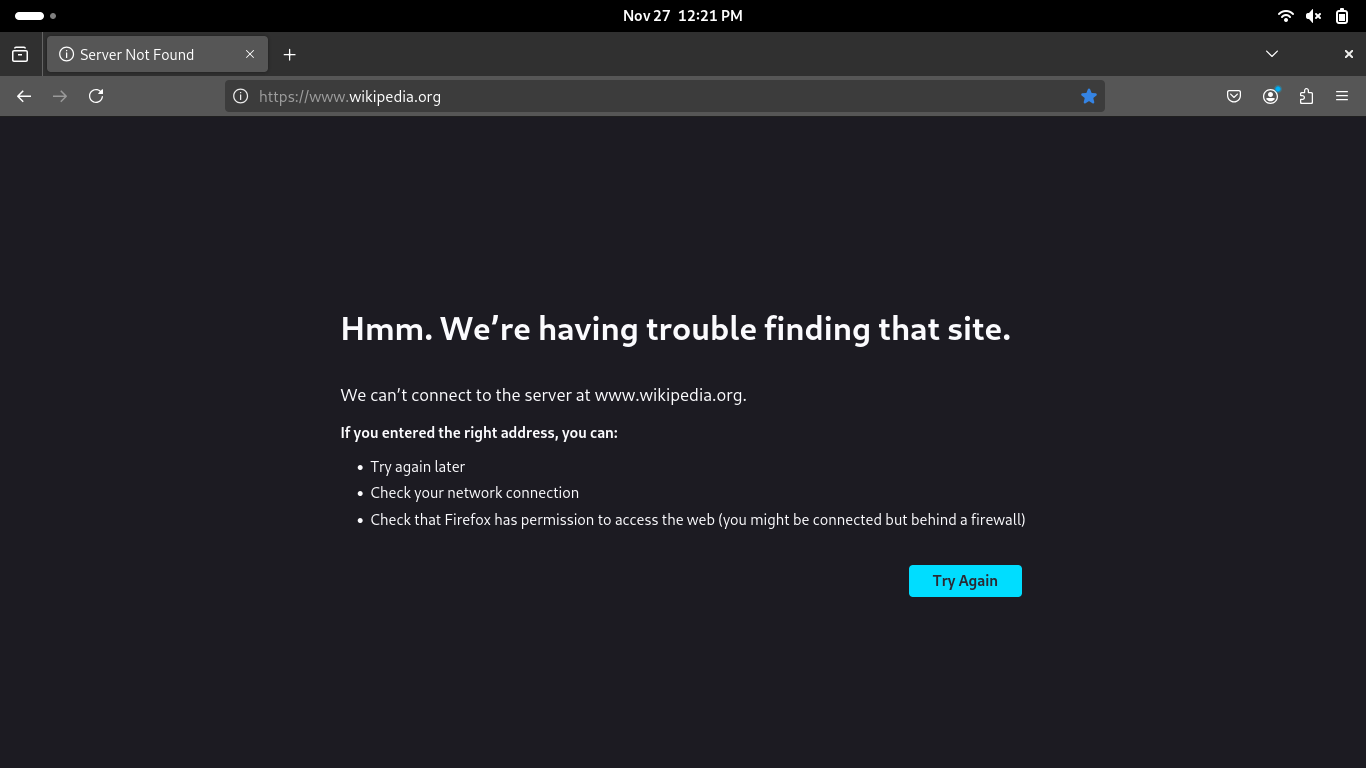
When the user tries to access a blocklisted website, the page does not load.
Allowlist web URLs
Allowlisting URLs limits user access to only the specified websites, while all other websites are blocked by default. You can manually add the allowed URLs in the text field or upload a CSV file.
When the user tries to access any other website that is not allowed, the page does not load.
Associate the policy with Linux devices
If you have not saved the policy yet,
- Go to Policy Targets > +Add Devices. Alternatively, you can choose to associate the policy to either device groups, users, user groups or domains from the left pane.
- Choose the target device/devices.
- Click Ok. Click Save.
If you need to add more devices, click on +Add Devices again and repeat the above steps. This won’t affect your previous selections.
If the policy already exists,
- Navigate to the Policies tab.
- Select the policy.
- From Manage drop-down, choose Associate Targets.
- Choose the target devices and click Associate.


