Category filter
How to Restrict User Login Time on Mac devices
Apple supports various in-built device usage restrictions on Mac. They help Administrator users limit the device activities of other user accounts. Organizations benefit from it as it enables them to set up downtime on corporate-owned macOS devices to block users’ access. Restricting user login time on the device ensures that the device is accessed only during effective hours. It would prevent illicit access to the device during the specified time, even if the user account credentials were compromised. The Time Limits policy for macOS restricts the users from logging into the machine for the specified time duration and is never misused for unlawful activities. Thus, the administrator need not hover over each account on the device manually to configure the usage limitations.
Creating Time Limit Policy for Mac
Specify the duration for which you wish to allow or prevent user access to the Mac via the policy.
- From your Hexnode MDM dashboard, navigate to Policies > New Policy. Assign a suitable name and description (optional) for the policy. You can also choose to continue with an already existing policy.
- Go to macOS > Security > Time Limits. Click Configure.
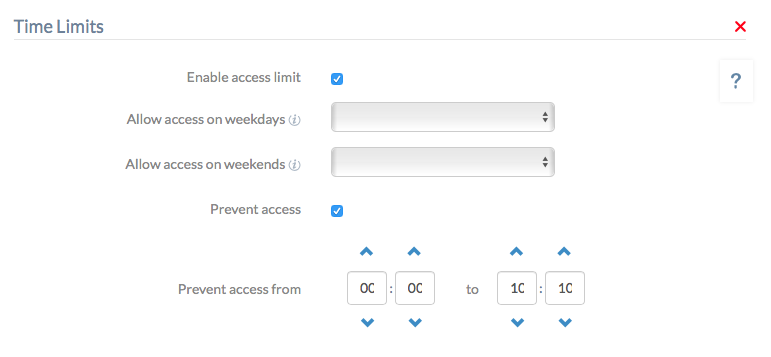
- Check the option Enable access limit to enforce time limit restrictions on the Mac device. Choose from the other available options based on your requirement:
- Allow access on weekdays– Allows access to the device from Monday to Friday for the specified duration.
- Allow access on weekends– Allows access to the device on weekends (Saturday and Sunday) for the specified duration.

- Check the option Prevent access to set the time duration for which user should be restricted from logging in to the device. Specify the time limit at which access has to be blocked at Prevent access from _ to _ (based on 24-hour clock).

- Click Save.
Associating policies with macOS devices
If you are editing an existing policy,
- Navigate to Policy Targets.
- Go to Devices / Device Groups / Users / User Groups / Domains.
- Select the target entities and click OK.
- Click on Save.
If you have already saved the policy,
- Navigate to Policies and choose the policy.
- From Manage drop-down, select Associate Targets.
- Choose the target entities and click Associate.
You can also associate the policy from the Manage tab.
- Navigate to Manage > Devices.
- Choose the target devices or device group.
- Click on Manage drop-down and select Associate Policy.
- Choose the desired policy and click Associate.
What happens at the device end?
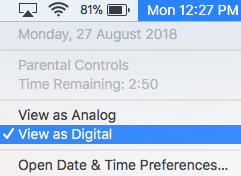
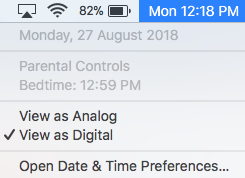
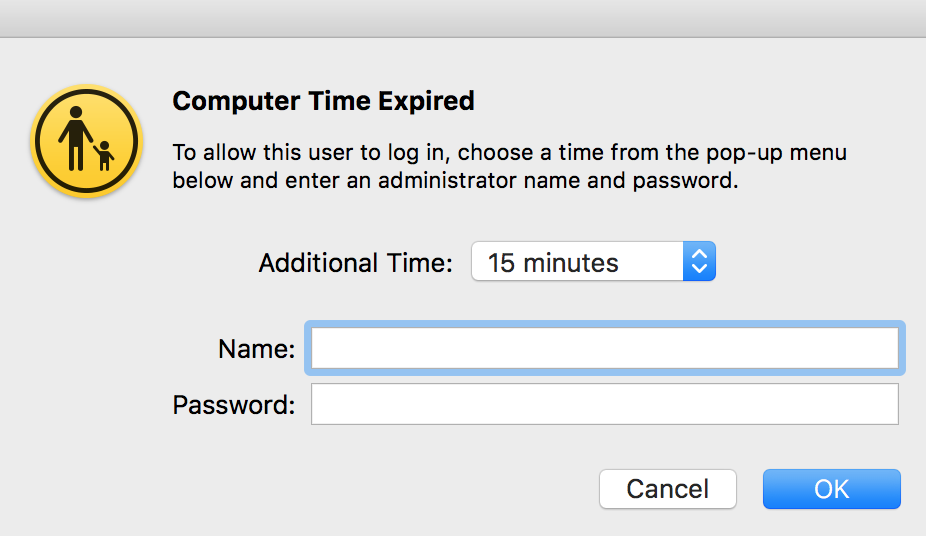
When the session times out, the user is logged out from the desktop and, if configured as such, shown an option to sign in again with admin credentials.


