Category filter
How to enroll a device in Android Enterprise as Work Profile on Company-Owned Device
Google has introduced a new feature for managing Work Profile on Company-Owned Devices (WP-C) in Android Enterprise. WP-C consists of devices owned by the organization and provided to employees for work and personal use. Enrolling these devices creates a dedicated work profile that effectively separates work-related data from personal information. This enrollment allows you to maintain control over the devices and enhance the device security without compromising user privacy. With Hexnode, you can enroll your device in Android Enterprise as a Work Profile on a company-owned device.
Initially, enroll your organization in Android Enterprise program and then follow the steps mentioned below to enroll your device as a Work Profile on Company-Owned Device (WP-C).
Hexnode UEM console configuration
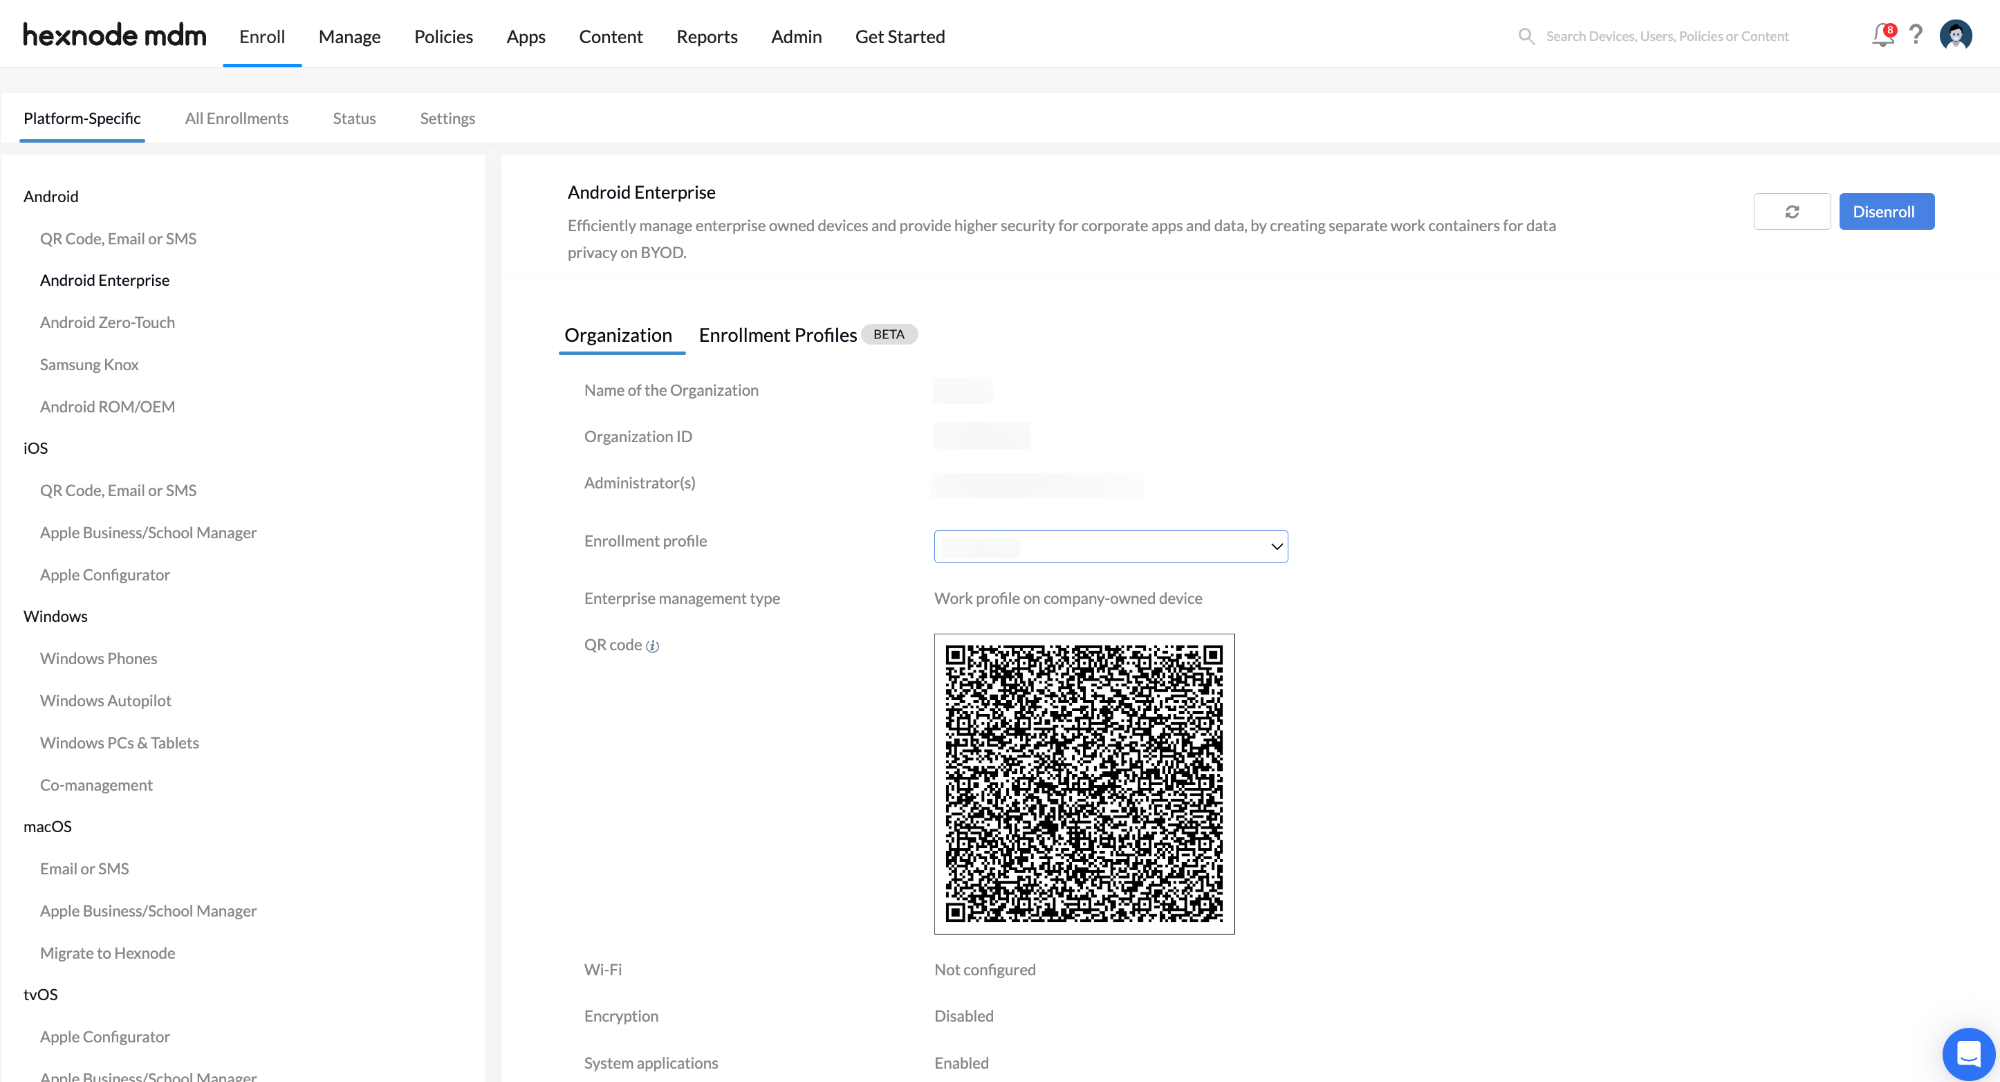
- Navigate to Admin > Android Enterprise > Organization.
- Under Organization, a QR code of the default enrollment profile will be displayed along with configured organization and enrollment profile details.
- Change the default enrollment profile to the desired one, where the Enterprise management type was set as Work Profile on a company-owned device during its creation. This will update the QR code and other details according to the configuration of the selected enrollment profile. You can create a new profile by navigating to Enroll > Platform-Specific > Android > Android Enterprise > Enrollment Profiles.
Device enrollment steps
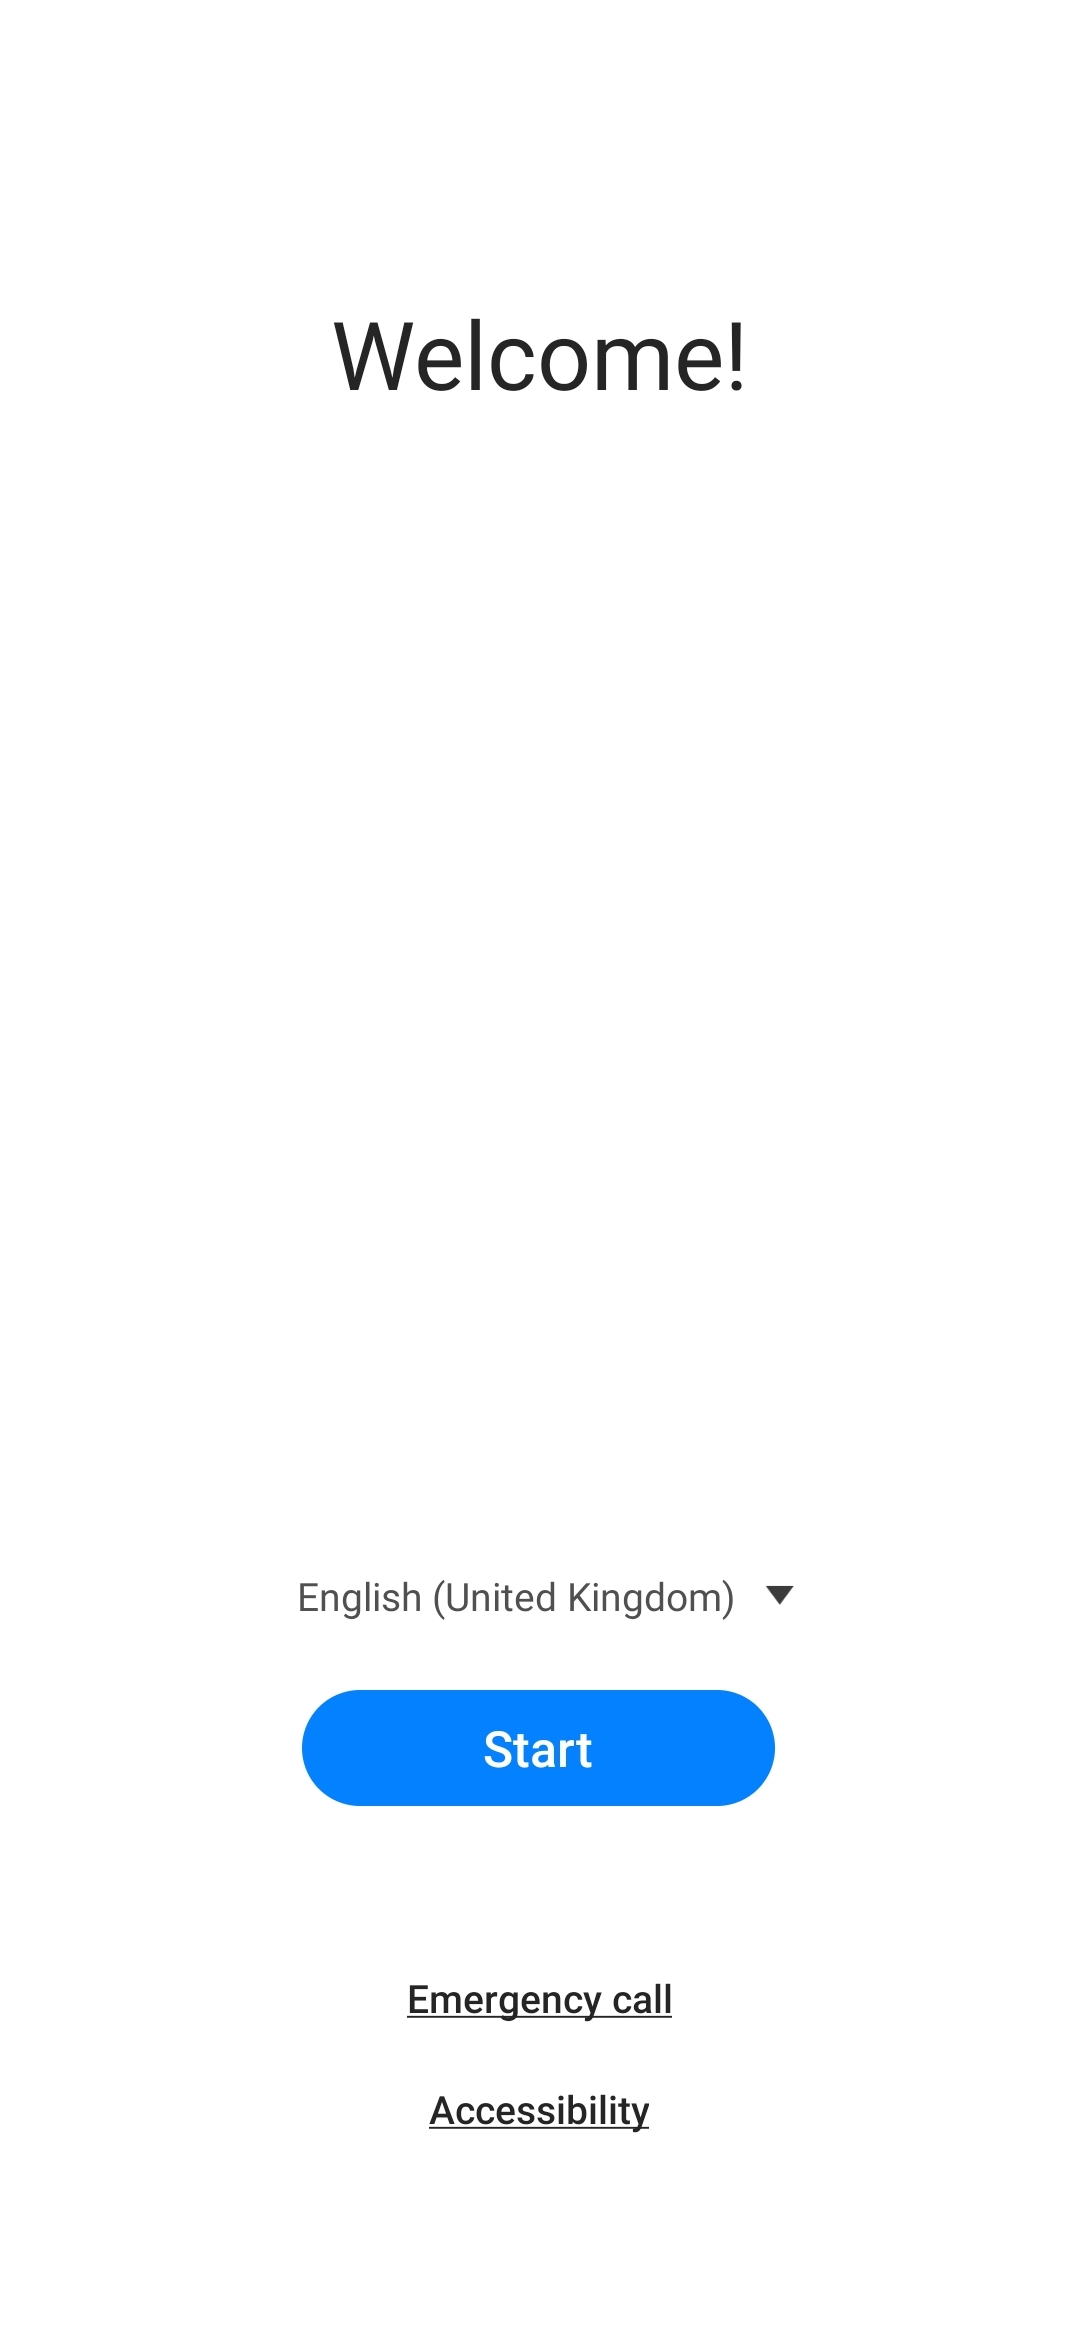
If your device is already set up, perform a factory reset to initiate enrollment. Make sure to remove all associated accounts from the device before executing the factory reset. You can start the enrollment directly from the welcome screen for new devices.
- Tap on the welcome screen 6 times.
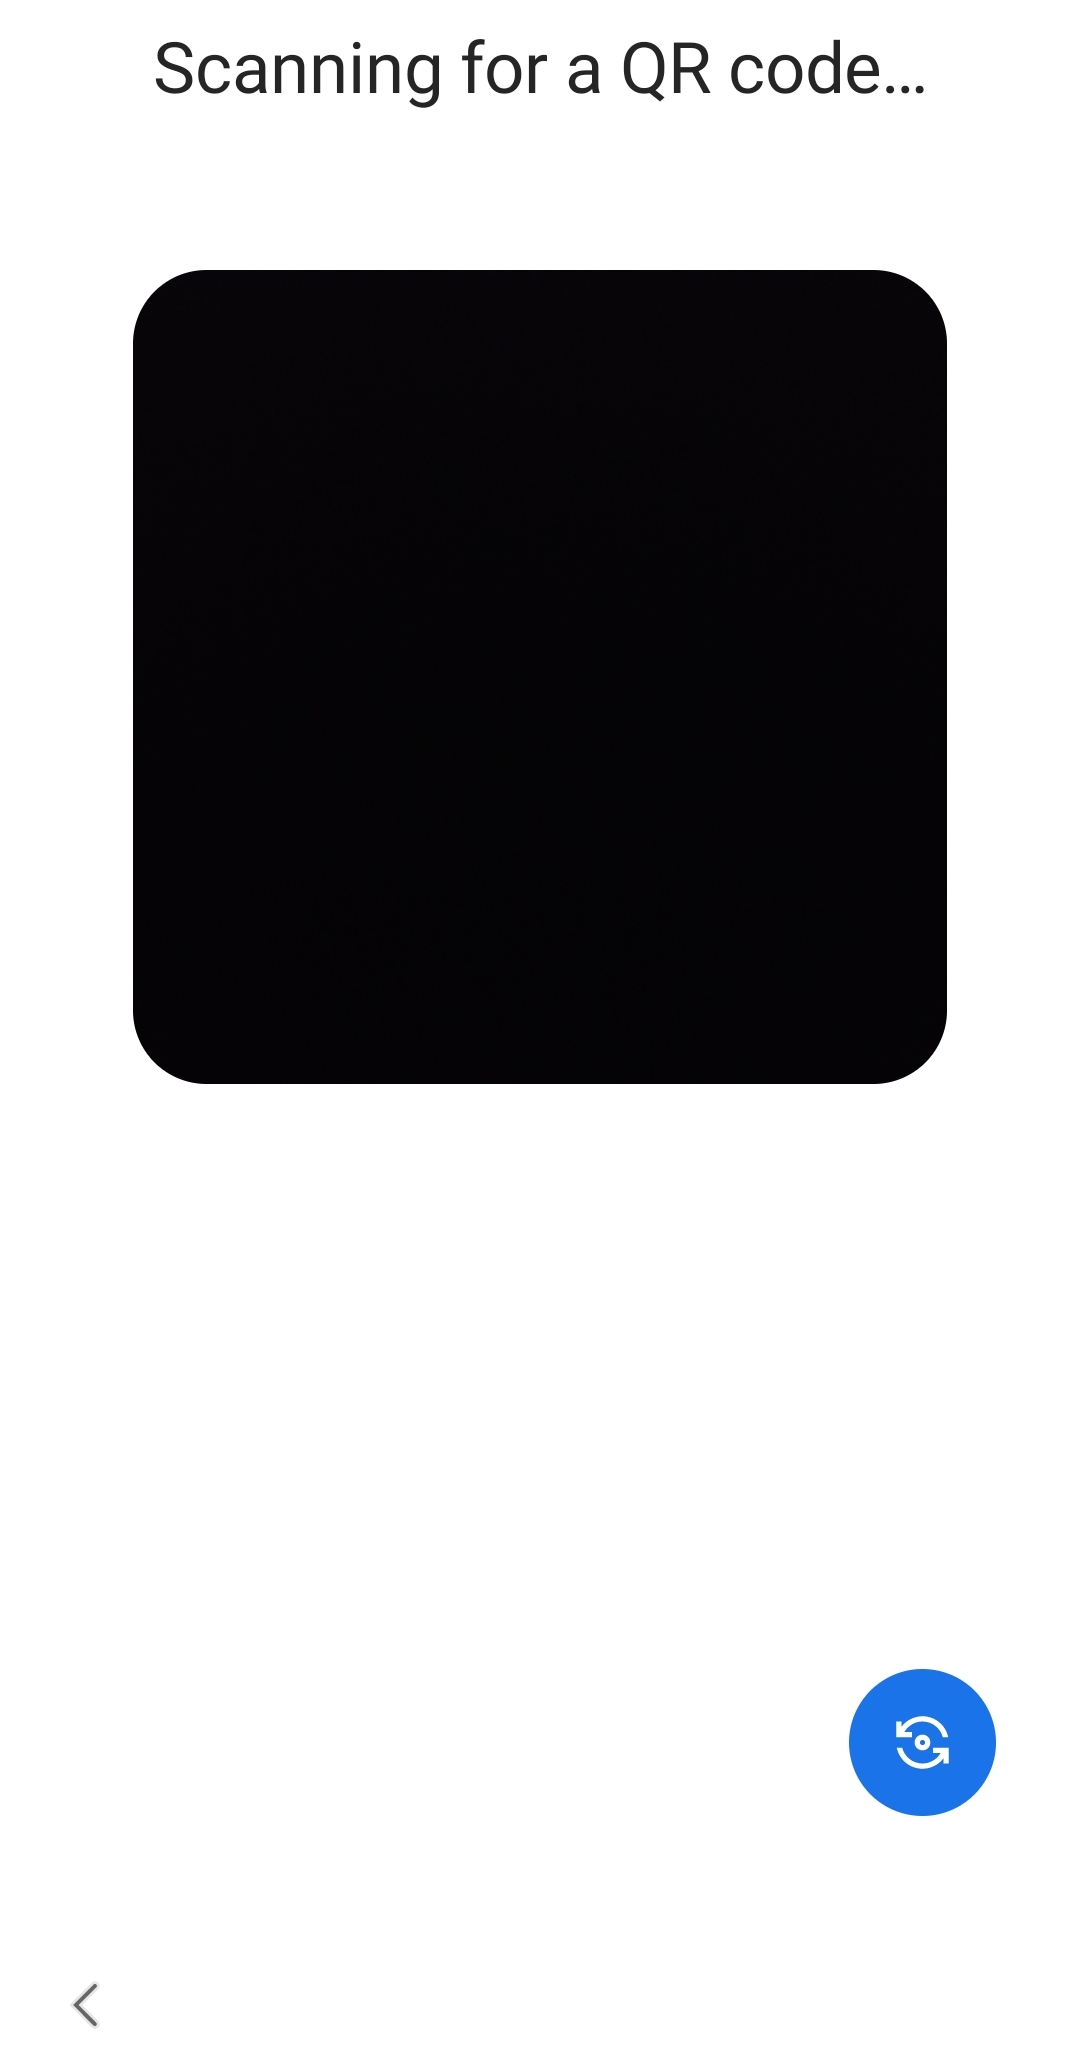
- A QR code reader will get installed on your device.
- Using the QR code reader, scan the QR code for ‘Work Profile on Company-Owned Device (WP-C)’. You can locate this QR code within your Hexnode portal by navigating to Admin > Android Enterprise > Organizations to view the QR code.
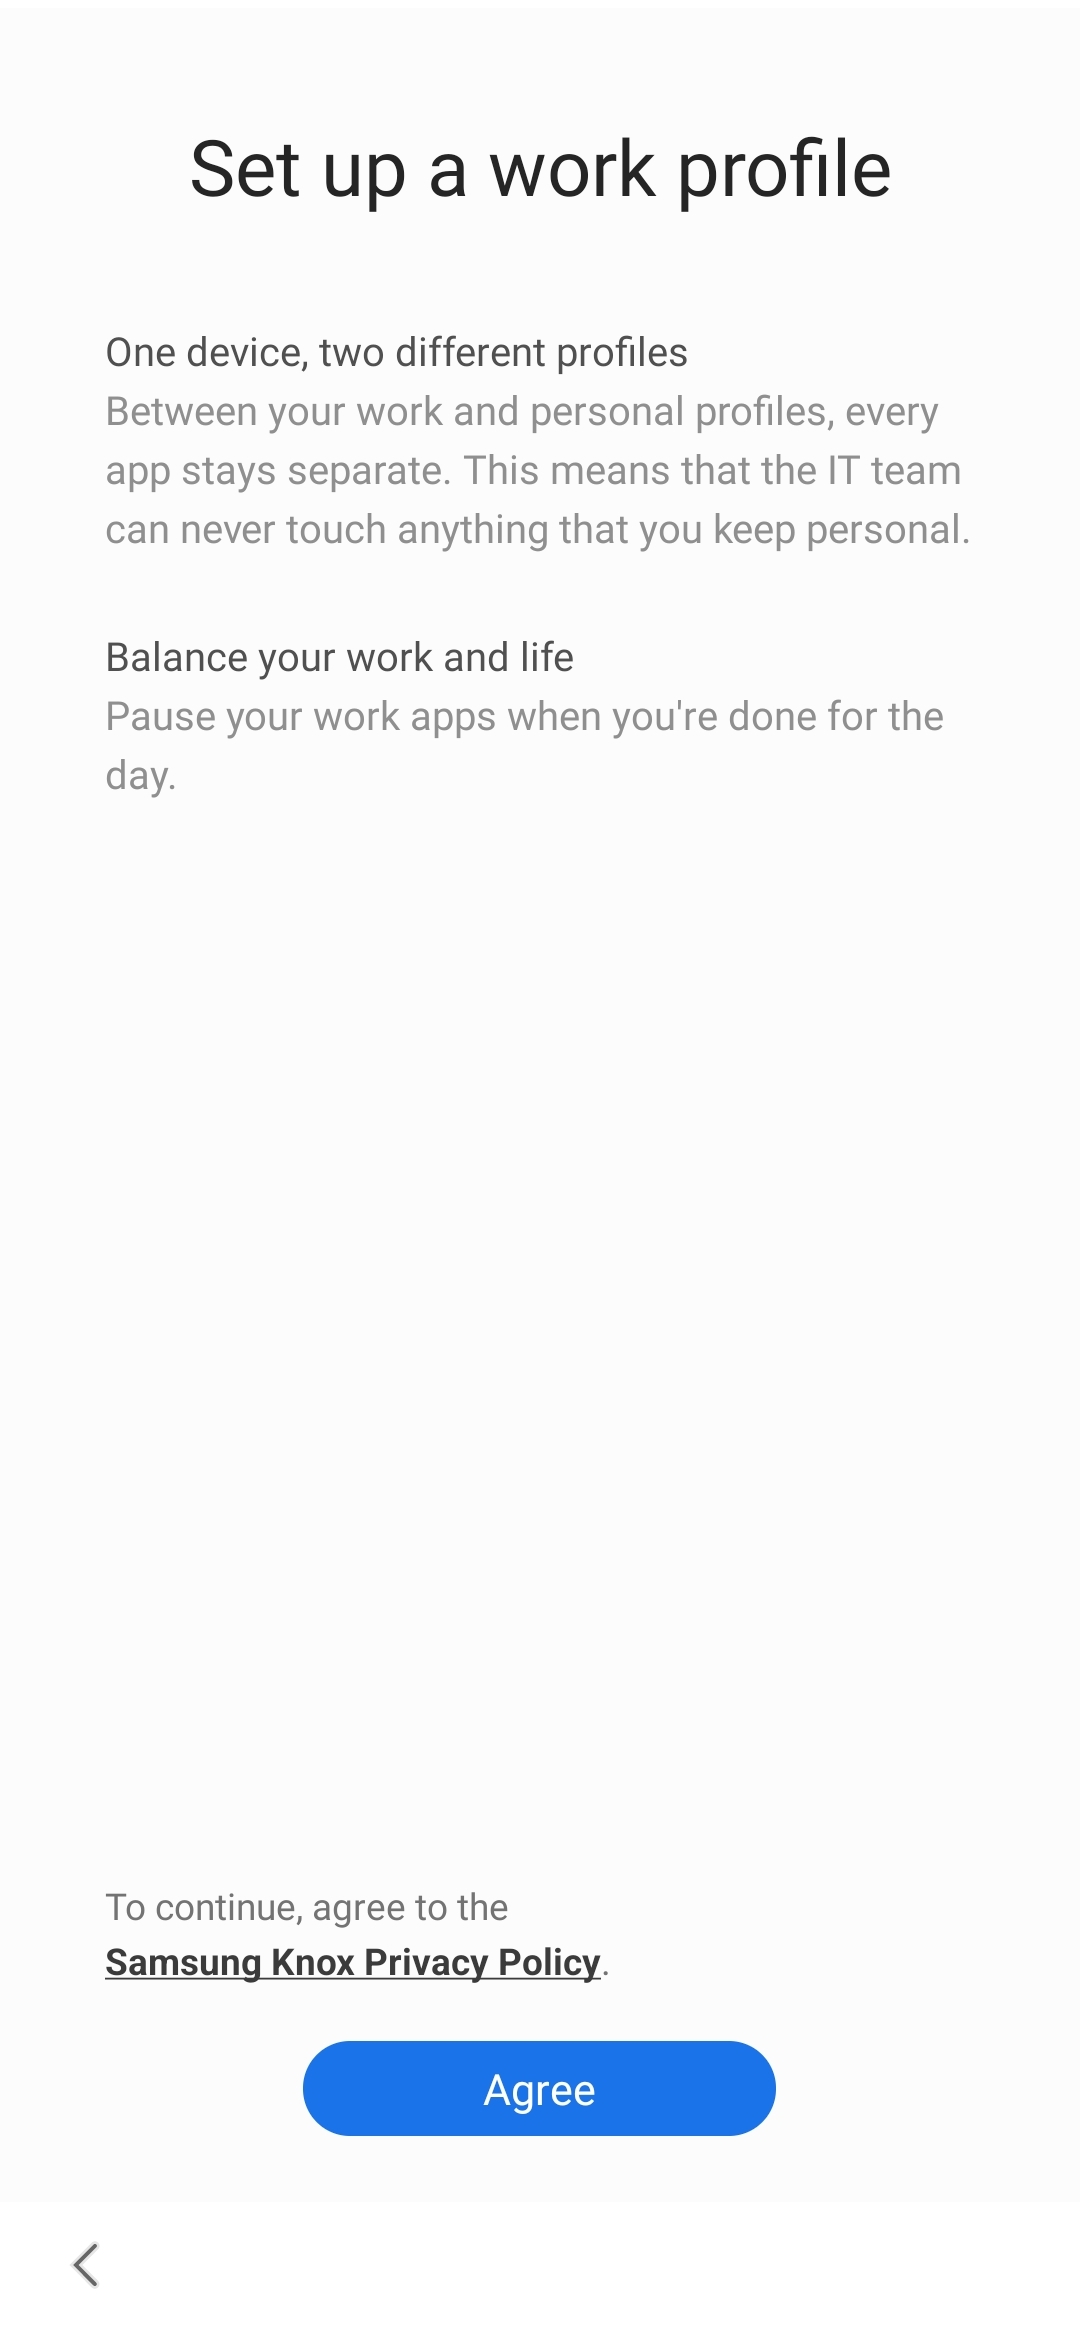
- Click on Agree to continue the installation process.
- Click on Agree after reading the Hexnode End-User License Agreement.
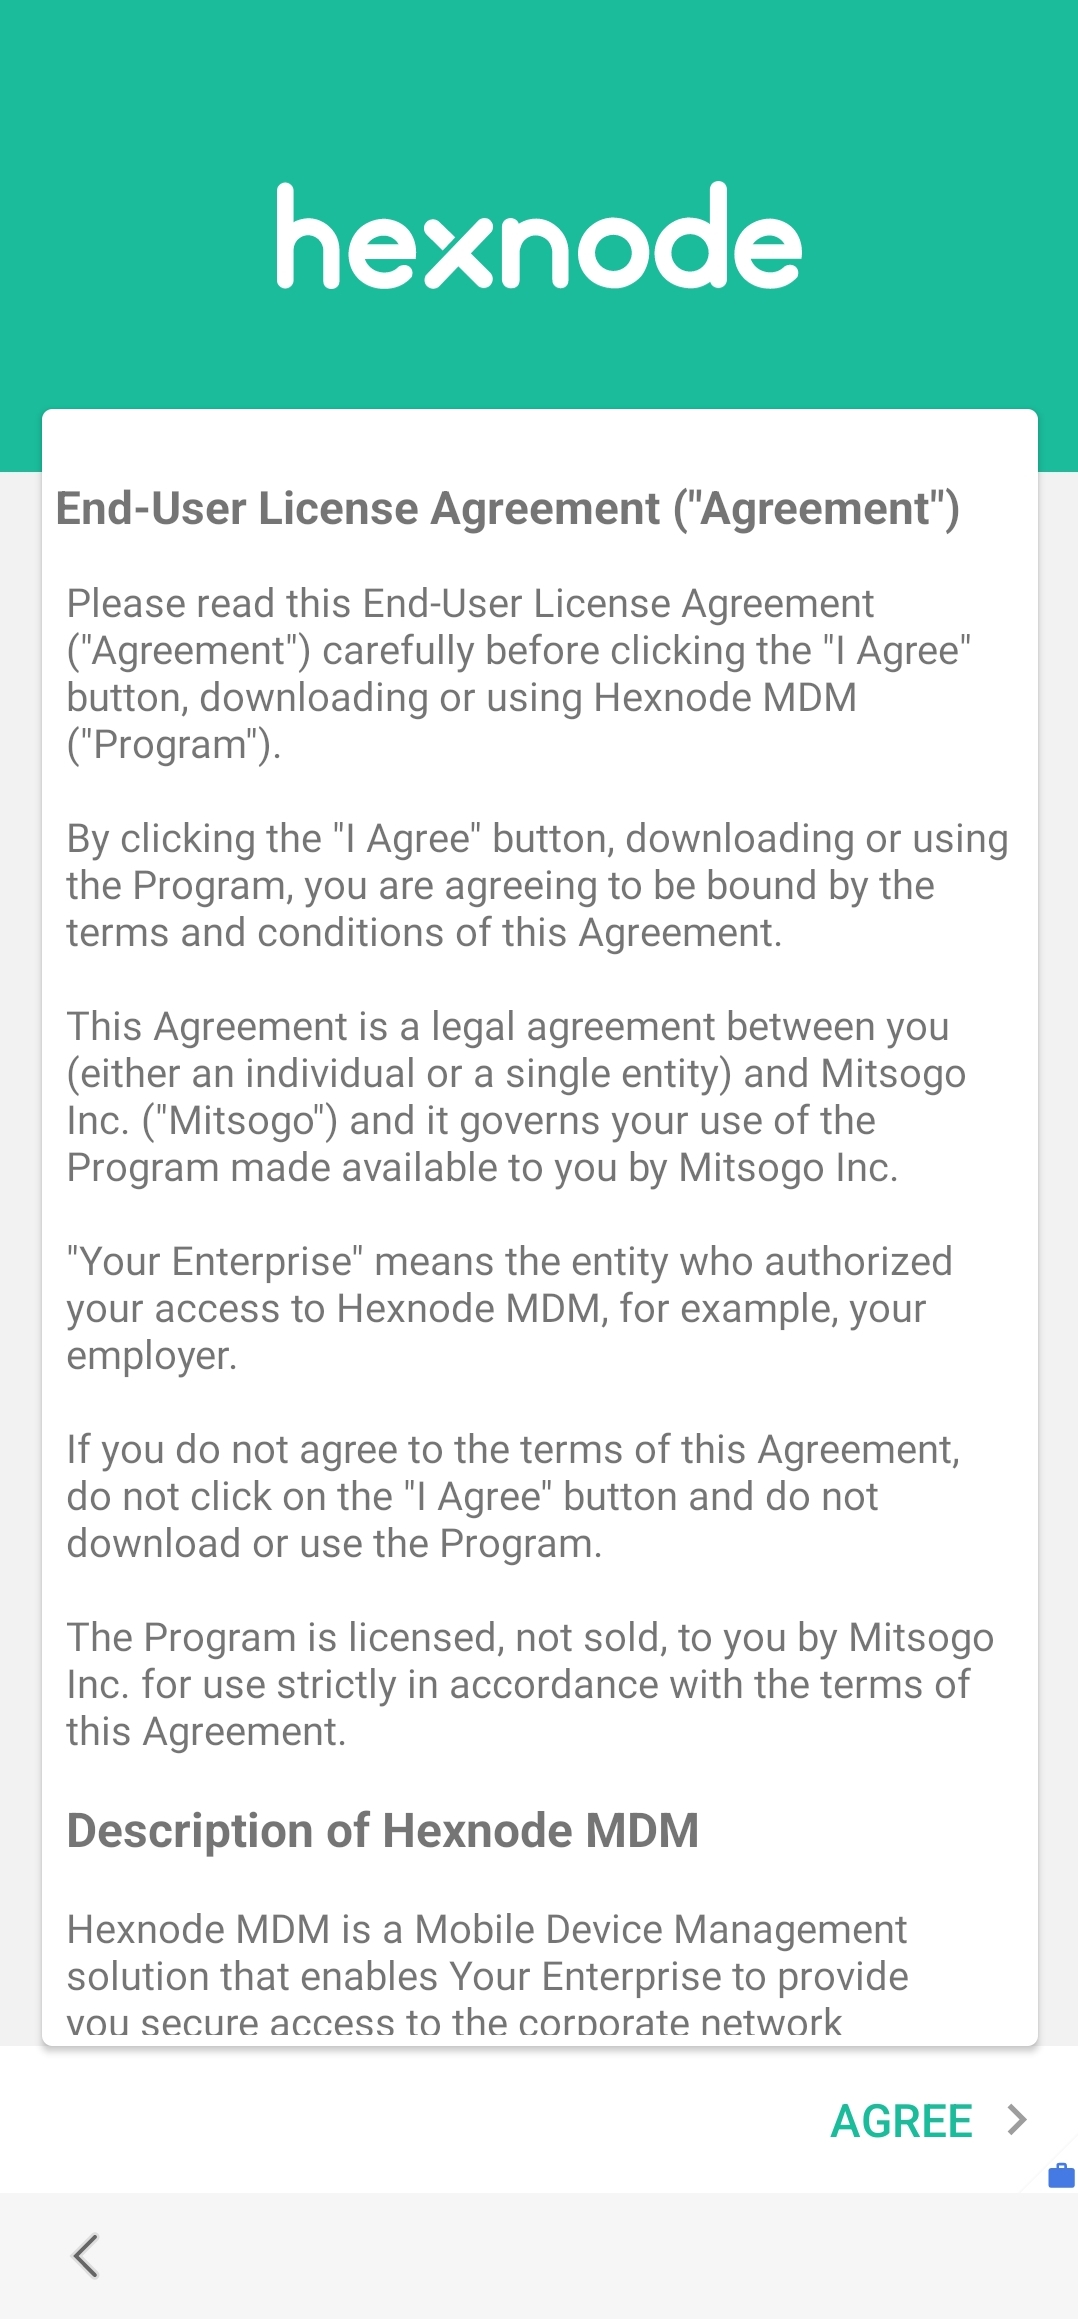
- Your device will begin enrolling with Hexnode UEM.
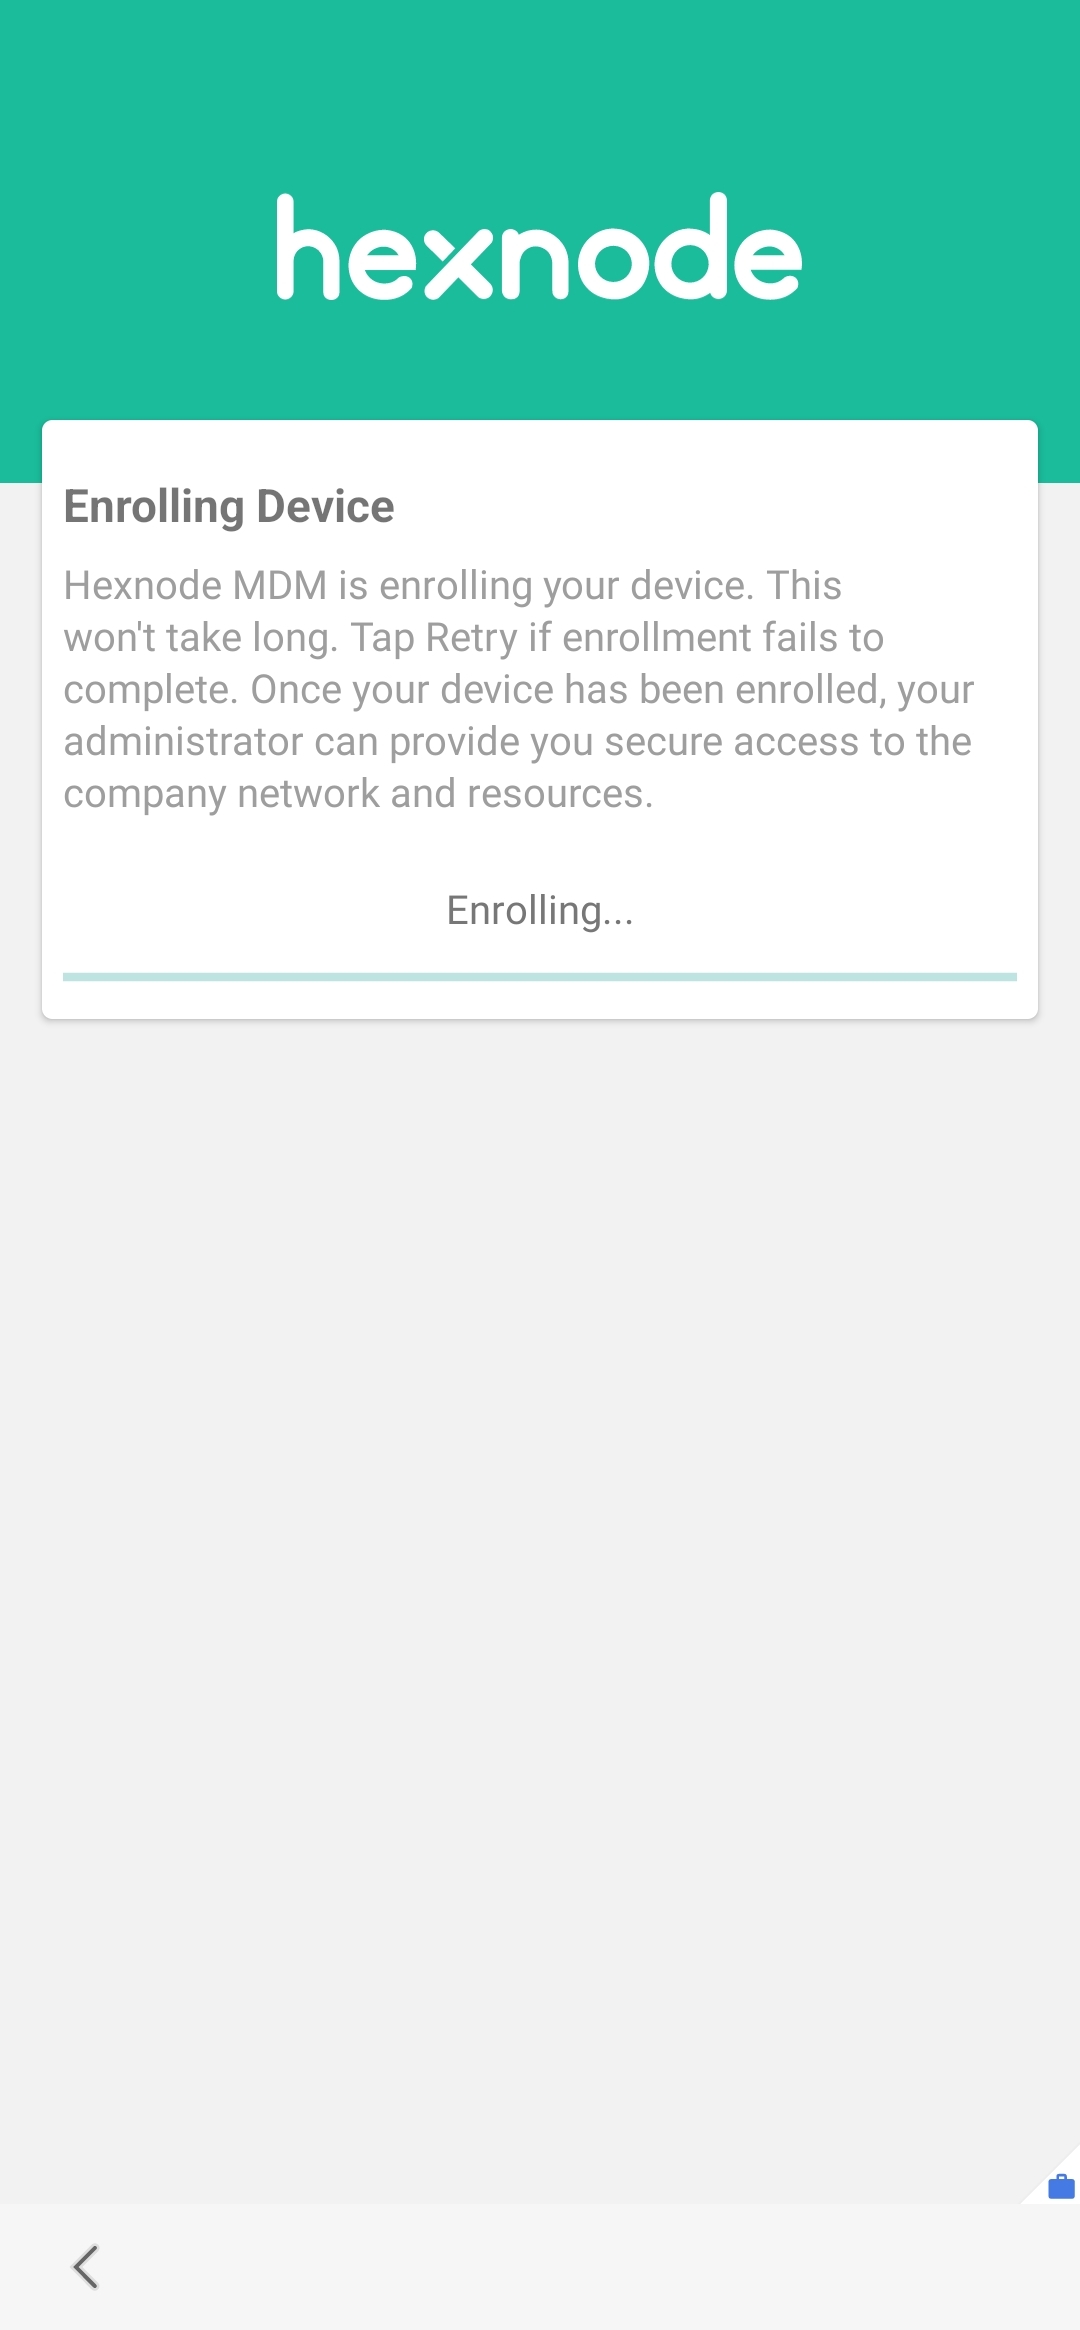
- Next, you will be brought back to some standard setup screens such as the option to add their personal Google account. You can either skip this option or continue with this step to complete the setup.
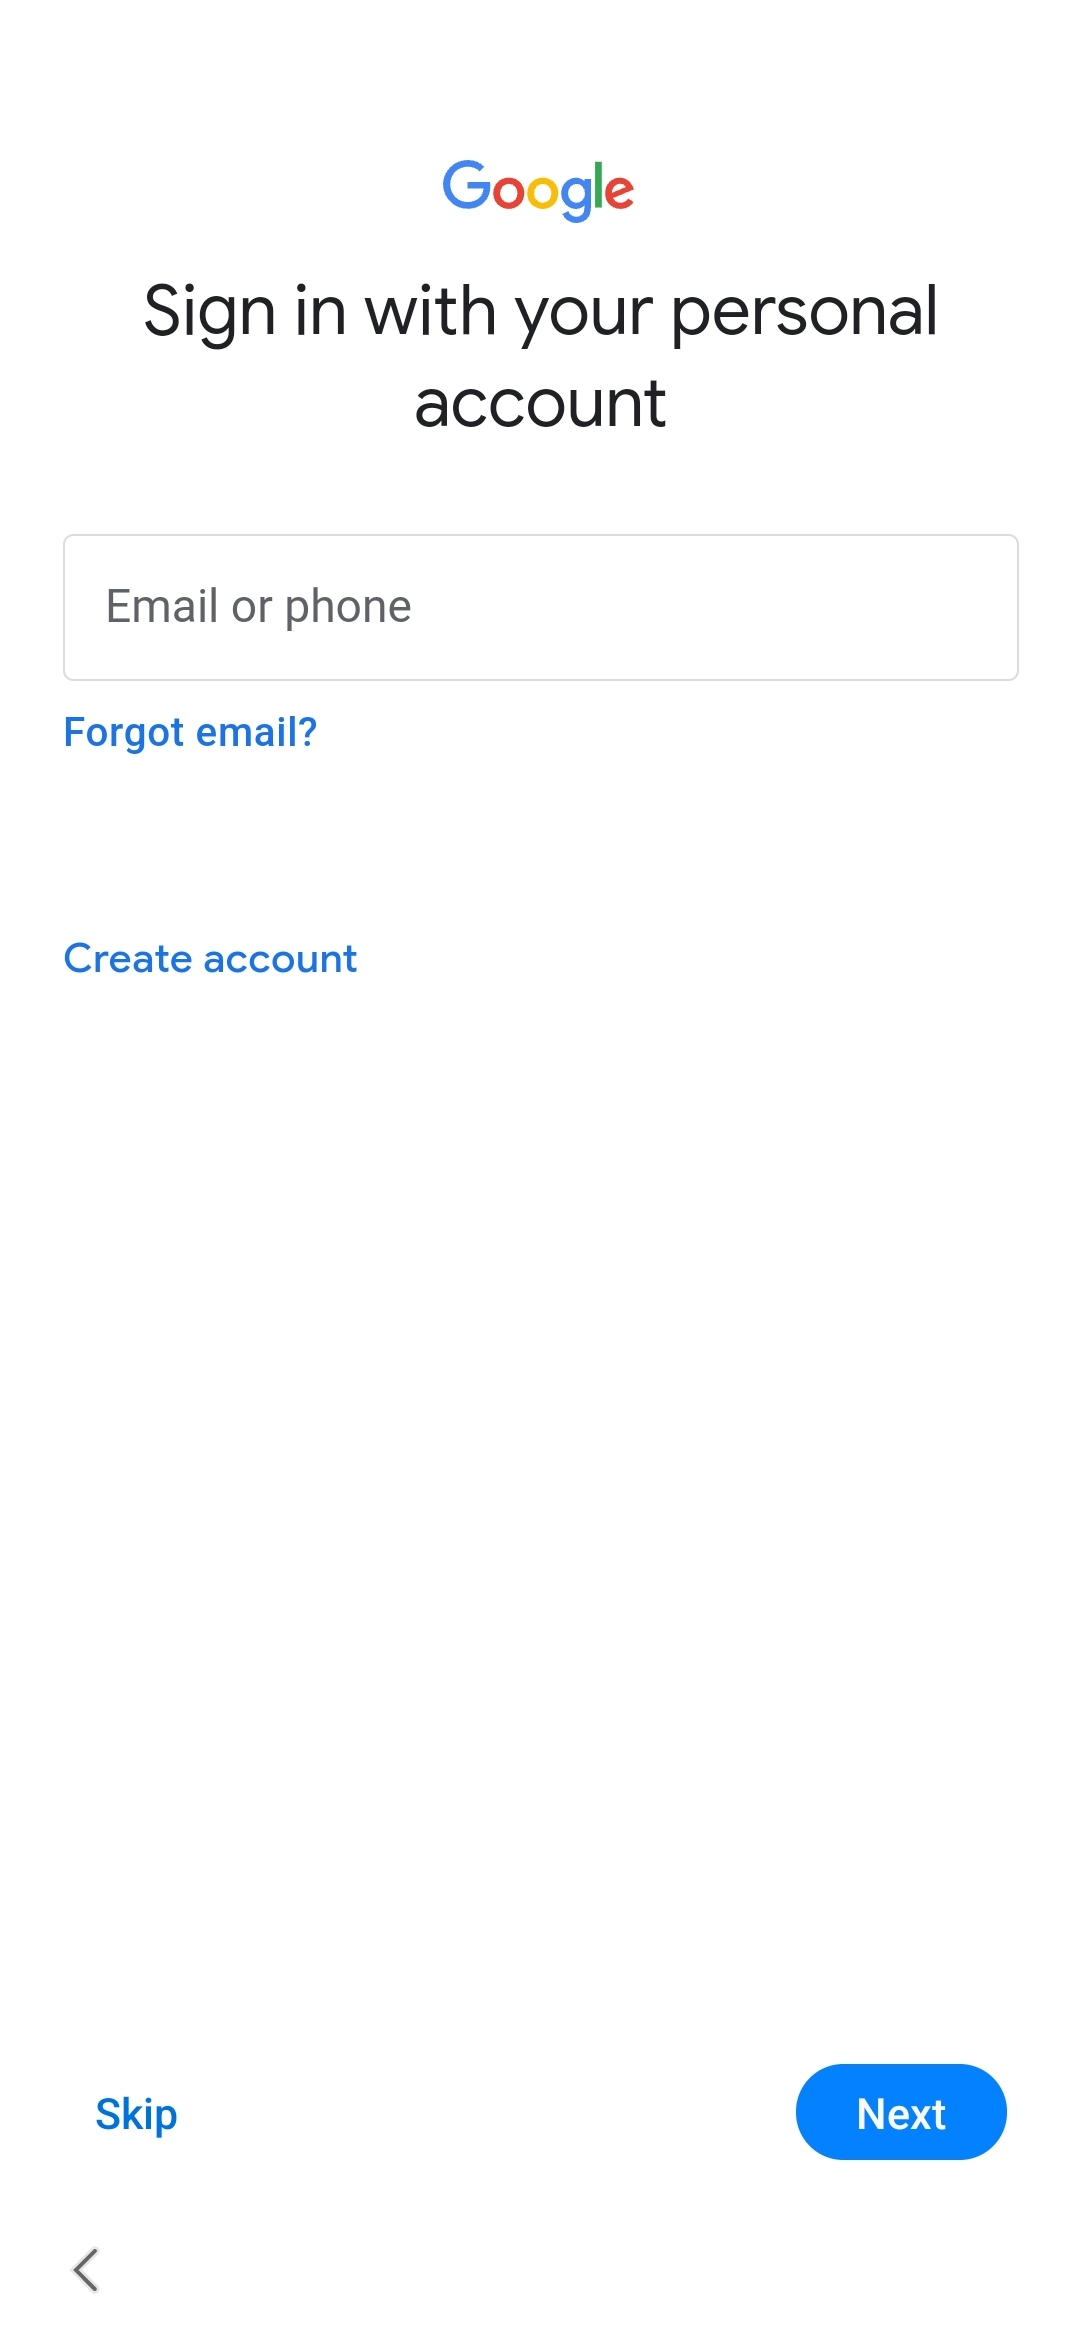
- The installation is successfully completed as soon as a work profile is created on your device.
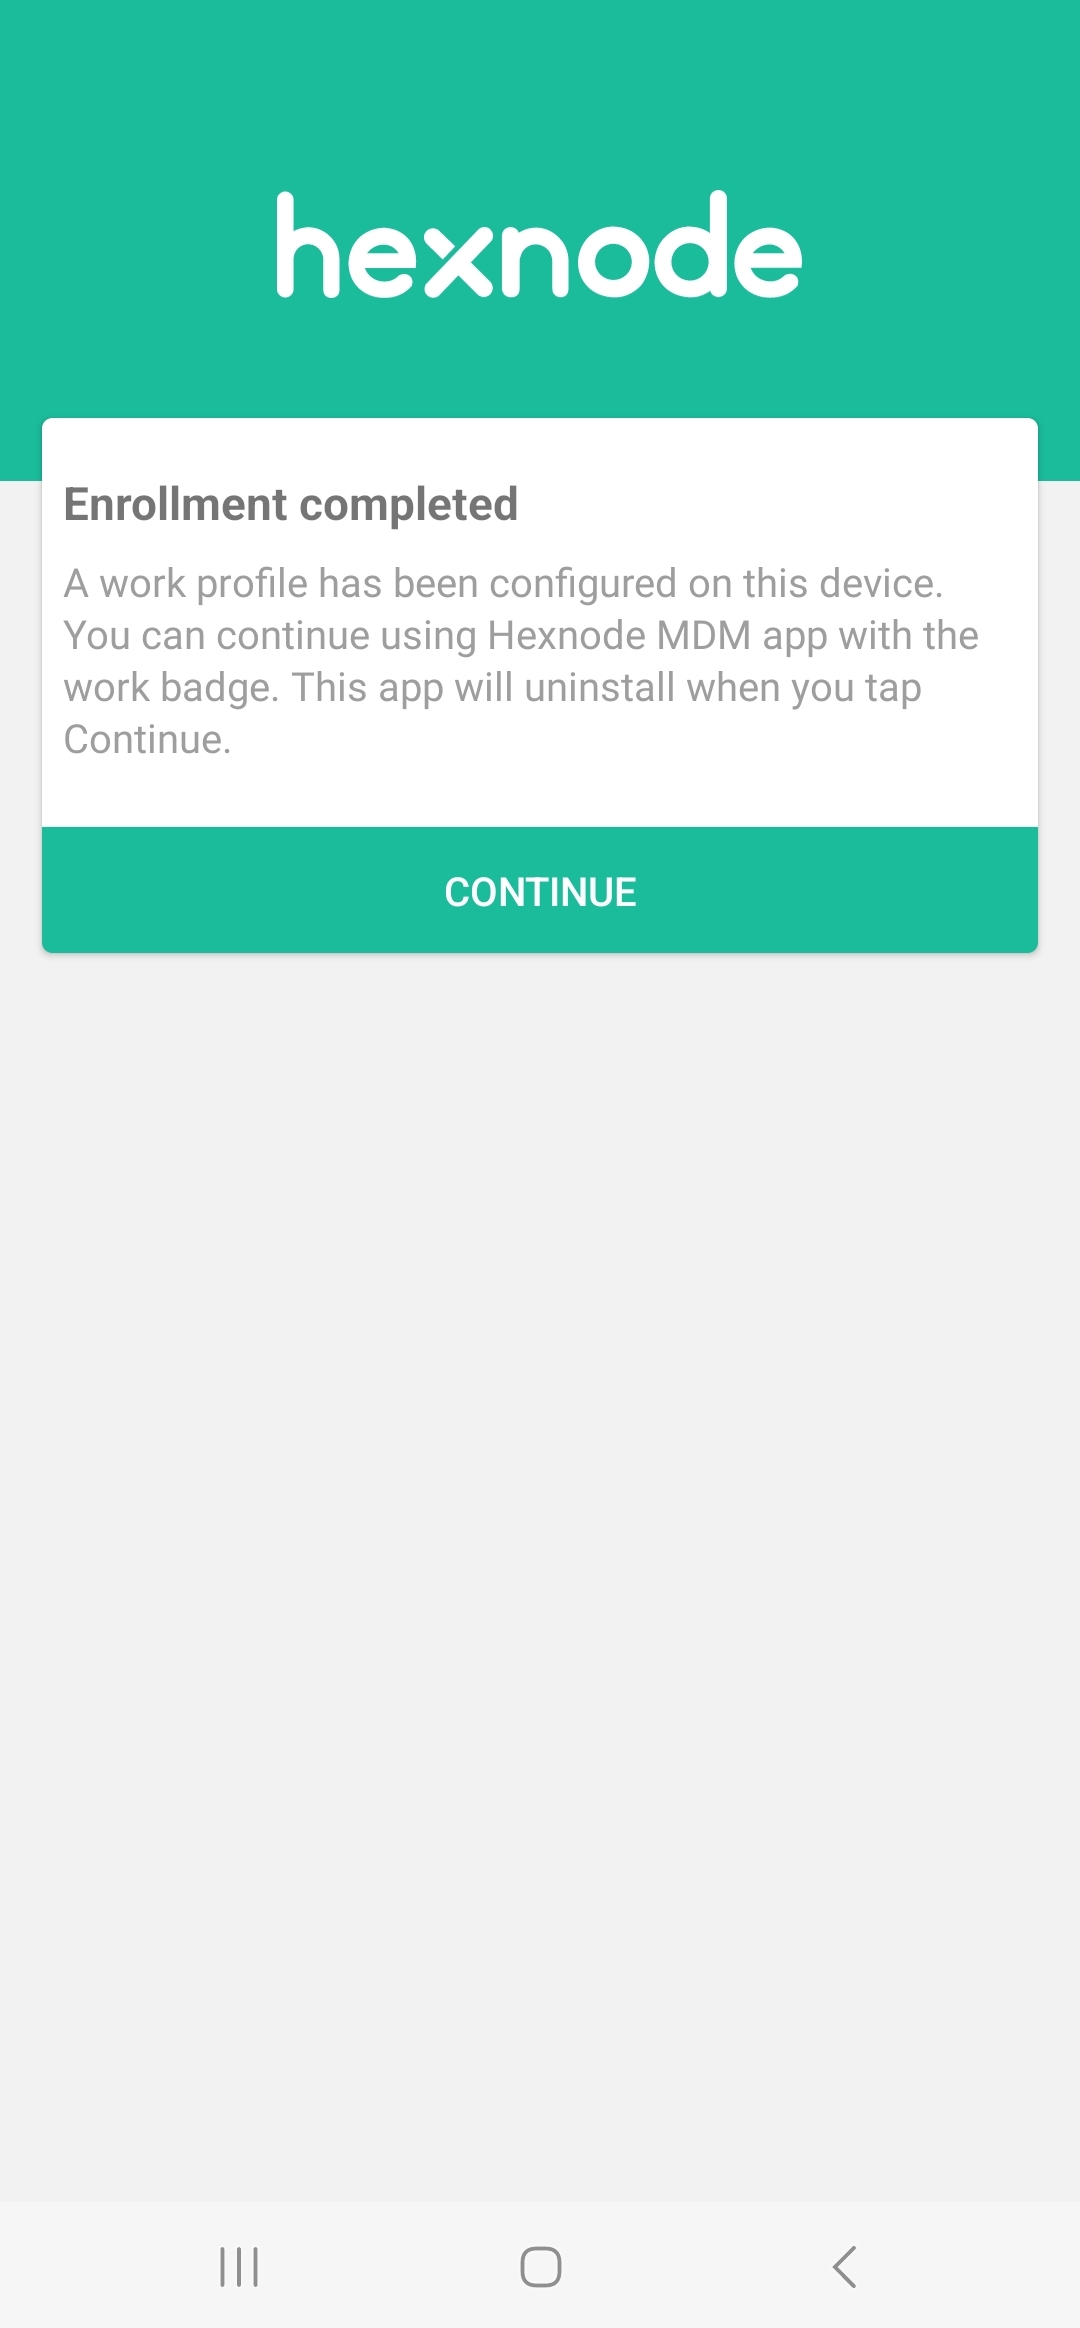
- After the work profile is created, an additional Hexnode for Work app, with a work badge on the icon, will be generated under the work profile.
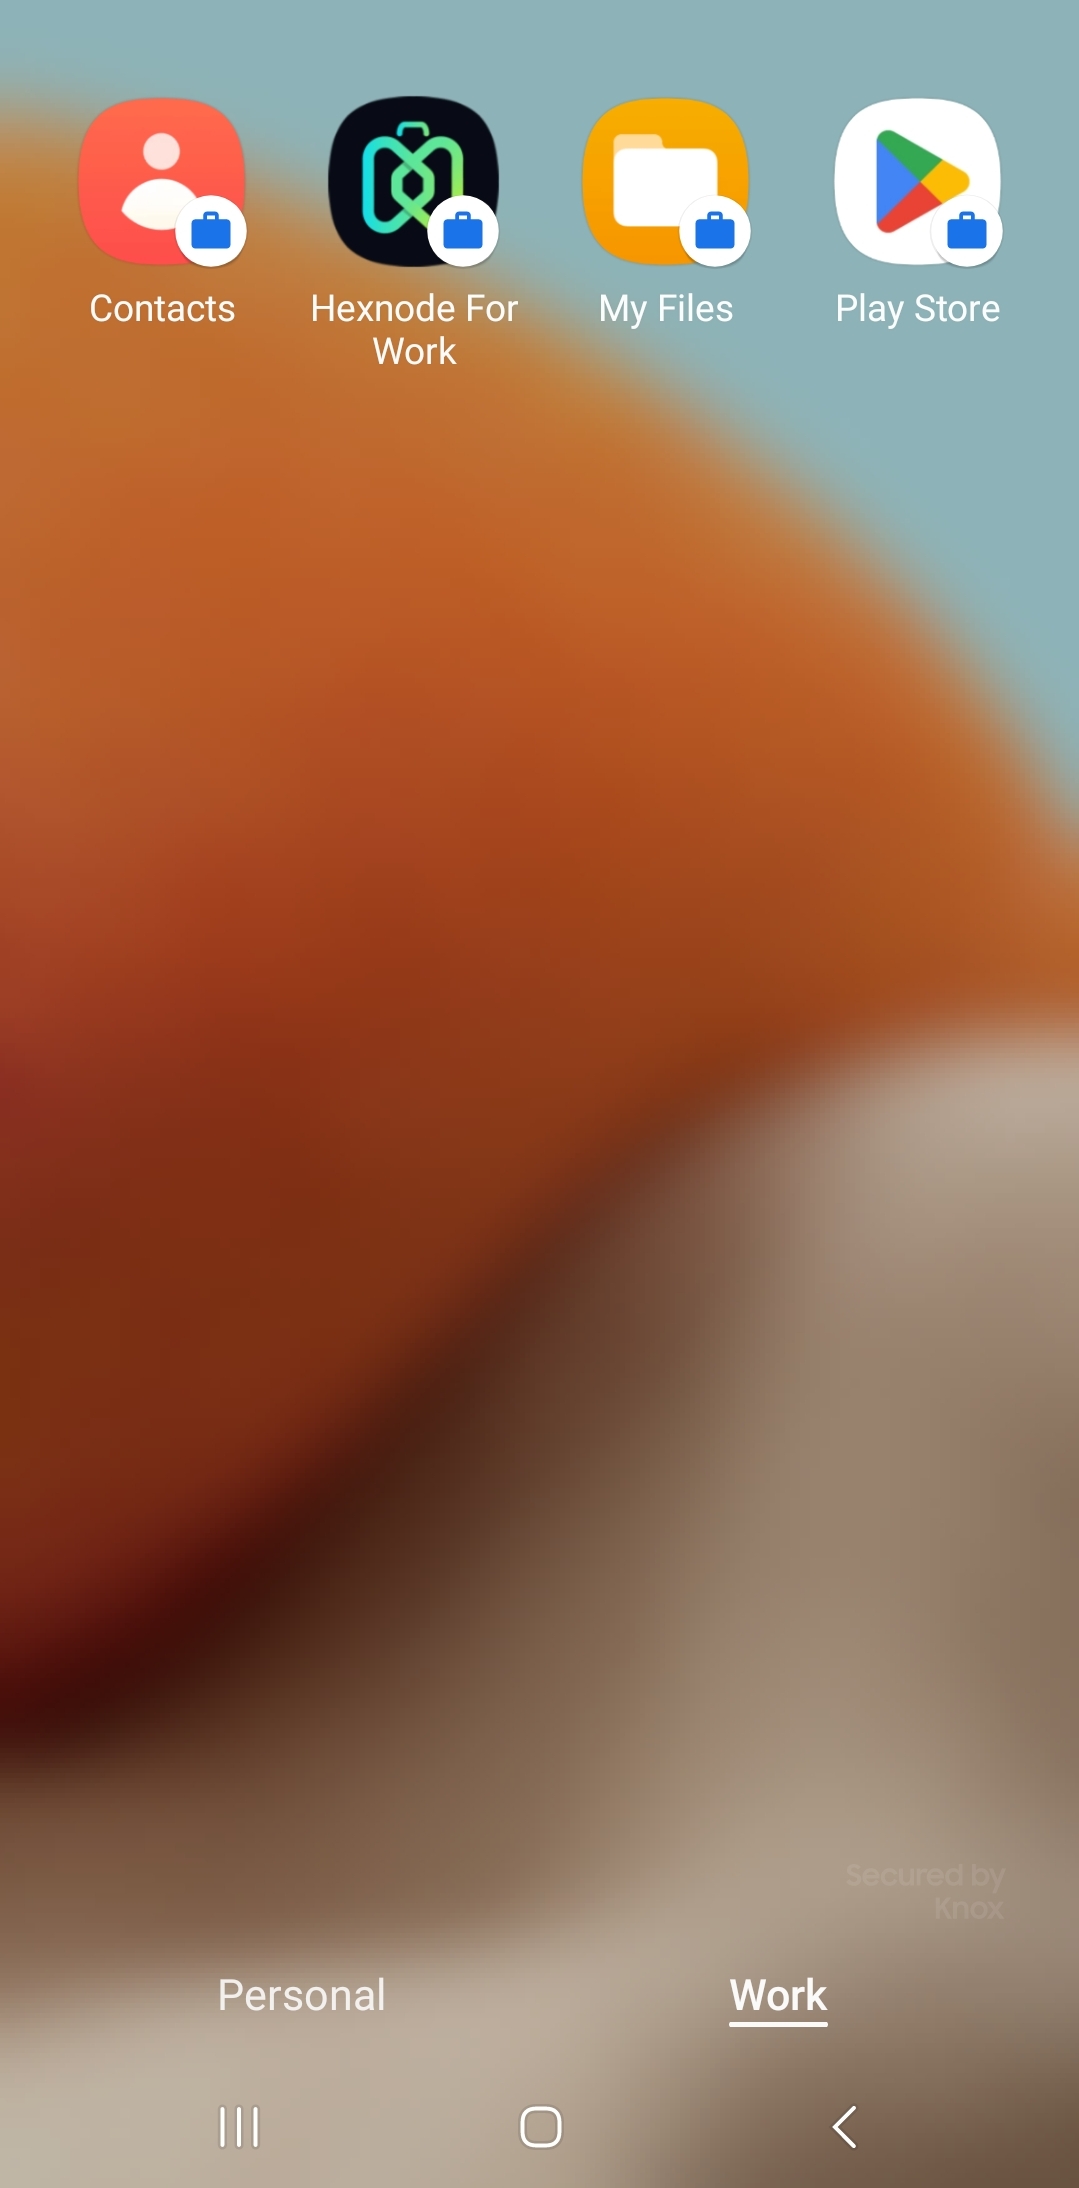
- Now open the Hexnode for Work app without the badge.
- The app will prompt its uninstallation. Tap Uninstall to uninstall the app.
After enrollment, the device will have a container that separates personal data from company data. You will also have the option to turn off the work profile on the device.
