Category filter
How to enable Multi App Kiosk mode in Android devices
Multi-app kiosk mode locks down the device to a handful of applications pertinent to the corporate-work requirements. Configuring kiosk mode limits the device usage to the specified applications by running only those apps the user needs to access. Kiosk mode lets you exert complete control over the device-usage by ensuring that they are utilized for the intended purpose. You can also configure multi-app kiosk mode on Android TV OS devices. This article describes how to enable multi-app kiosk on Android/Android TV OS devices from the Hexnode console.
Create a Multi App Kiosk Policy for Android Devices
Multi-app kiosk policy for Android devices can be configured using two different methods: Basic View and Advanced View.
Configure Basic View settings
The basic view provides a simple approach for creating a multi-app kiosk policy from the Hexnode MDM console. You can add the required apps and file shortcuts to be set in the multi-app kiosk mode. You can also customize the icon size for the applications and files to be displayed on the device’s home screen. To activate multi-app kiosk mode on the device using Basic View,
- Login to your Hexnode portal.
- Navigate to Policies.
- Select an existing policy or create a new one by clicking New Policy.
- Go to Kiosk Lockdown > Android Kiosk Lockdown > Multi App. Click Configure.
- Click on the + icon. Select either of the options:
- Add apps: To add the apps you wish to set in multi-app kiosk mode.
- Add file shortcuts: Add PDFs and video files as file shortcuts to access them from devices in multi-app kiosk mode. To add file shortcuts to the Kiosk lockdown policy, first, add them in Apps > File Shortcuts.
The app/file shortcut added to the policy can also be deleted later if required. To remove an added item, hover over the app icon to display a close button and click on it.
- You can determine the icon size for the apps/file shortcuts under Customizations. The icon will be displayed in the specified size on the kiosk home screen. Choose from: Small, Medium, Large, Extra Large, and Custom. ‘Custom’ option enables you to set app icon size in pixels. The minimum and maximum values are 36 and 150, respectively.
- Click Save.
Configure Advanced View settings
Advanced View gives you a more user-friendly approach to create multi-app kiosks on Android devices. It helps you determine how the apps should be displayed on the kiosk home screen. This user-friendly interface enables you to customize the way the apps appear on the device – drag and drop apps to the virtual device screen, designate positions for each app, confirm how the apps are placed for various screen orientations, specify the icon size, and much more. This enables accurate visualization of the kiosk home screen.
To configure Advanced View for multi-app kiosk:
- Login to your Hexnode portal.
- Navigate to Policies.
- Select an existing policy or create a new one by clicking New Policy.
- Go to Kiosk Lockdown > Android Kiosk Lockdown > Multi App. Click Configure.
- Click on Switch to Advanced View.
- Select the type of Android device. You can configure the multi-app kiosk policy interactively for Phone, Tablet, and TV.
- Advanced View displays the apps and file shortcuts under the Applications and Files section. All the apps in the Hexnode app inventory and files added as kiosk file shortcuts (Content > Kiosk File Shortcuts) appear here. You can search the apps and files individually. You can also filter out apps separately based on several app types: Enterprise app, Managed Google app, Web app, System app, Store app, and File shortcut. Any combination of the available filters can be used. The app version can be seen by hovering the mouse pointer over the respective app. Please note that web apps do not have any specific versions.
- Drag and drop the required app/file shortcuts to the virtual device screen displayed beside. Advanced View provides several features that can be used to customize the kiosk home screen.
- As the apps and file shortcuts are positioned on the virtual device screen, you can see that they get arranged in grids. Grid View divides the device screen into a specified number of rows and columns. You can align apps and files by dragging them to any desired position within the grids. The available grid dimensions for Phone and Tablet are 5 * 3, 5 * 4, 5 * 5, 6 * 3, 6 * 4, 6 * 5 and Custom. In case of TV, the dimensions vary from 3 * 5, 4 * 5, 5 * 5, 3 * 6, 4 * 6, 5 * 6 and Custom. ‘Custom’ enables you to specify the grid dimension of your choice.
- You can choose the screen orientation to be Portrait, Landscape, or Autorotate under Orientation, to preview the device screen and determine how the apps will be placed on the kiosk home screen when screen orientation changes.
- By default, icons of the apps and file shortcuts are displayed in Medium size. Icon Size lets you select the size for app/file shortcut icon displayed on the device. Set up the icon size from: Small, Medium, Large, Extra Large, and Custom. ‘Custom’ option enables you to set app icon size in pixels. The minimum and maximum values are 36 and 150, respectively.
- More pages can be added to the virtual device screen by clicking on the ‘+’ button. You can also add and arrange items on the newly added pages. Once added to the virtual device screen, the app or file shortcut can be successively selected, dragged, and hovered over the ‘<‘ or ‘>’ buttons to reposition it between pages. Remove any page by clicking on ‘–’. Navigation between pages is possible with the ‘<‘ and ‘>’ buttons.
- Apps and files added to the policy can be removed if required. Click on the close button displayed on the top right of the corresponding grid to remove the app.
- Click Save.
Associate Policies with Devices / Groups
If the policy has not yet been saved.
- Navigate to Policy Targets.
- Click on +Add Devices.
- Select the devices and click OK.
- Click on Save to apply the policies to devices.
Apart from devices, you can also associate the policies with device groups, users, user groups and domains from policy targets.
If the policy has been saved, you can associate it by another method.
- From Policies, check the policies to be associated.
- Click on Manage → Associate Targets and select the device.
- Click on Associate to apply policy to the devices.
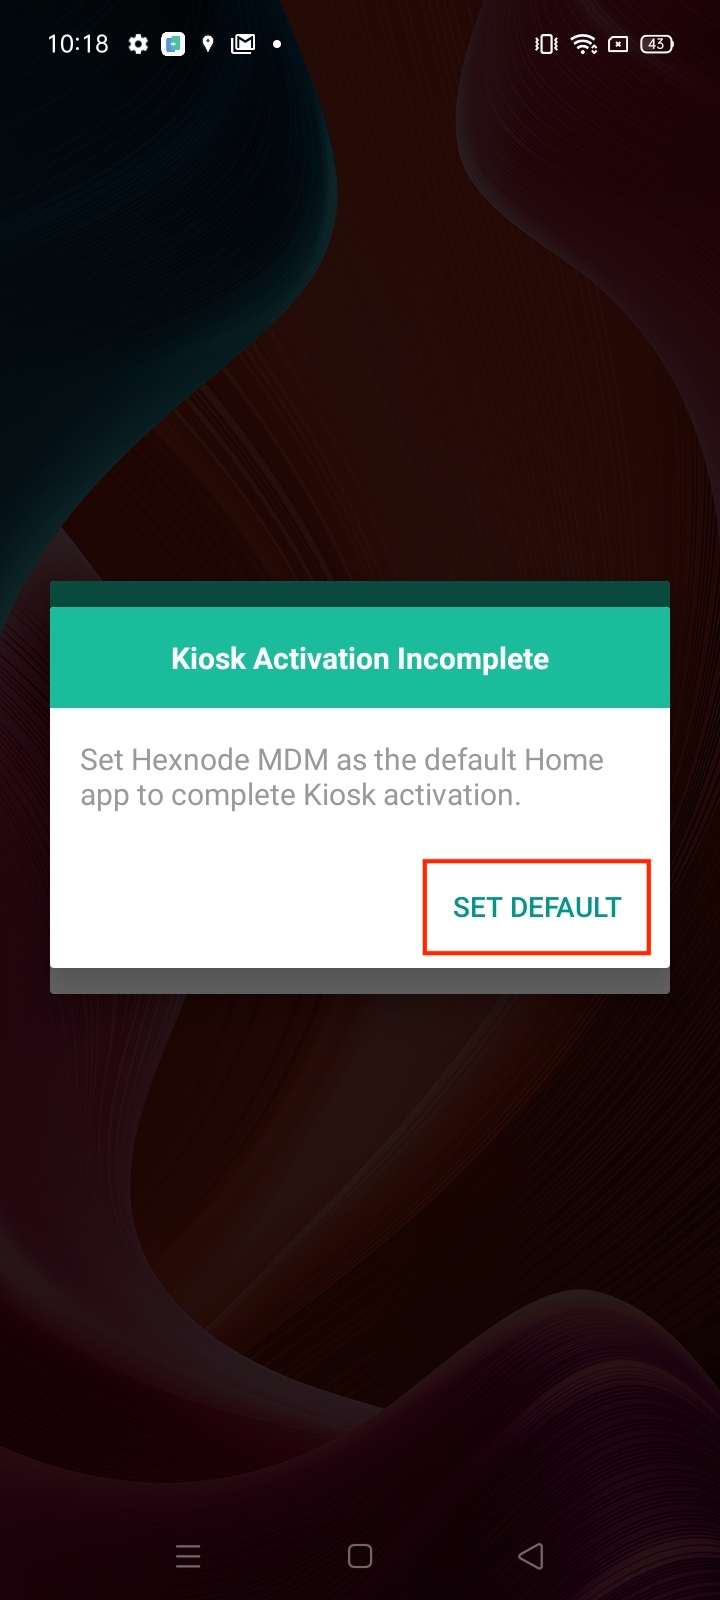
Once the policy is associated, a prompt appears on the Hexnode MDM app requesting the user to activate the Kiosk mode.


