Category filter
Create enrollment profile for Android Enterprise devices
This document helps you to create and configure Android Enterprise – Enrollment Profiles according to your requirements.
Hexnode UEM simplifies device management by enabling Android Enterprise enrollments through customized enrollment profiles. These enrollment profiles allow IT administrators to configure various device settings, app permissions, and device configurations for efficient onboarding. These pre-configured enrollment profiles help specify settings for organization to enroll their devices in Android Enterprise – device owner or Android Enterprise – Work Profile on Company-Owned Device (WP-C).
On the Hexnode UEM console,
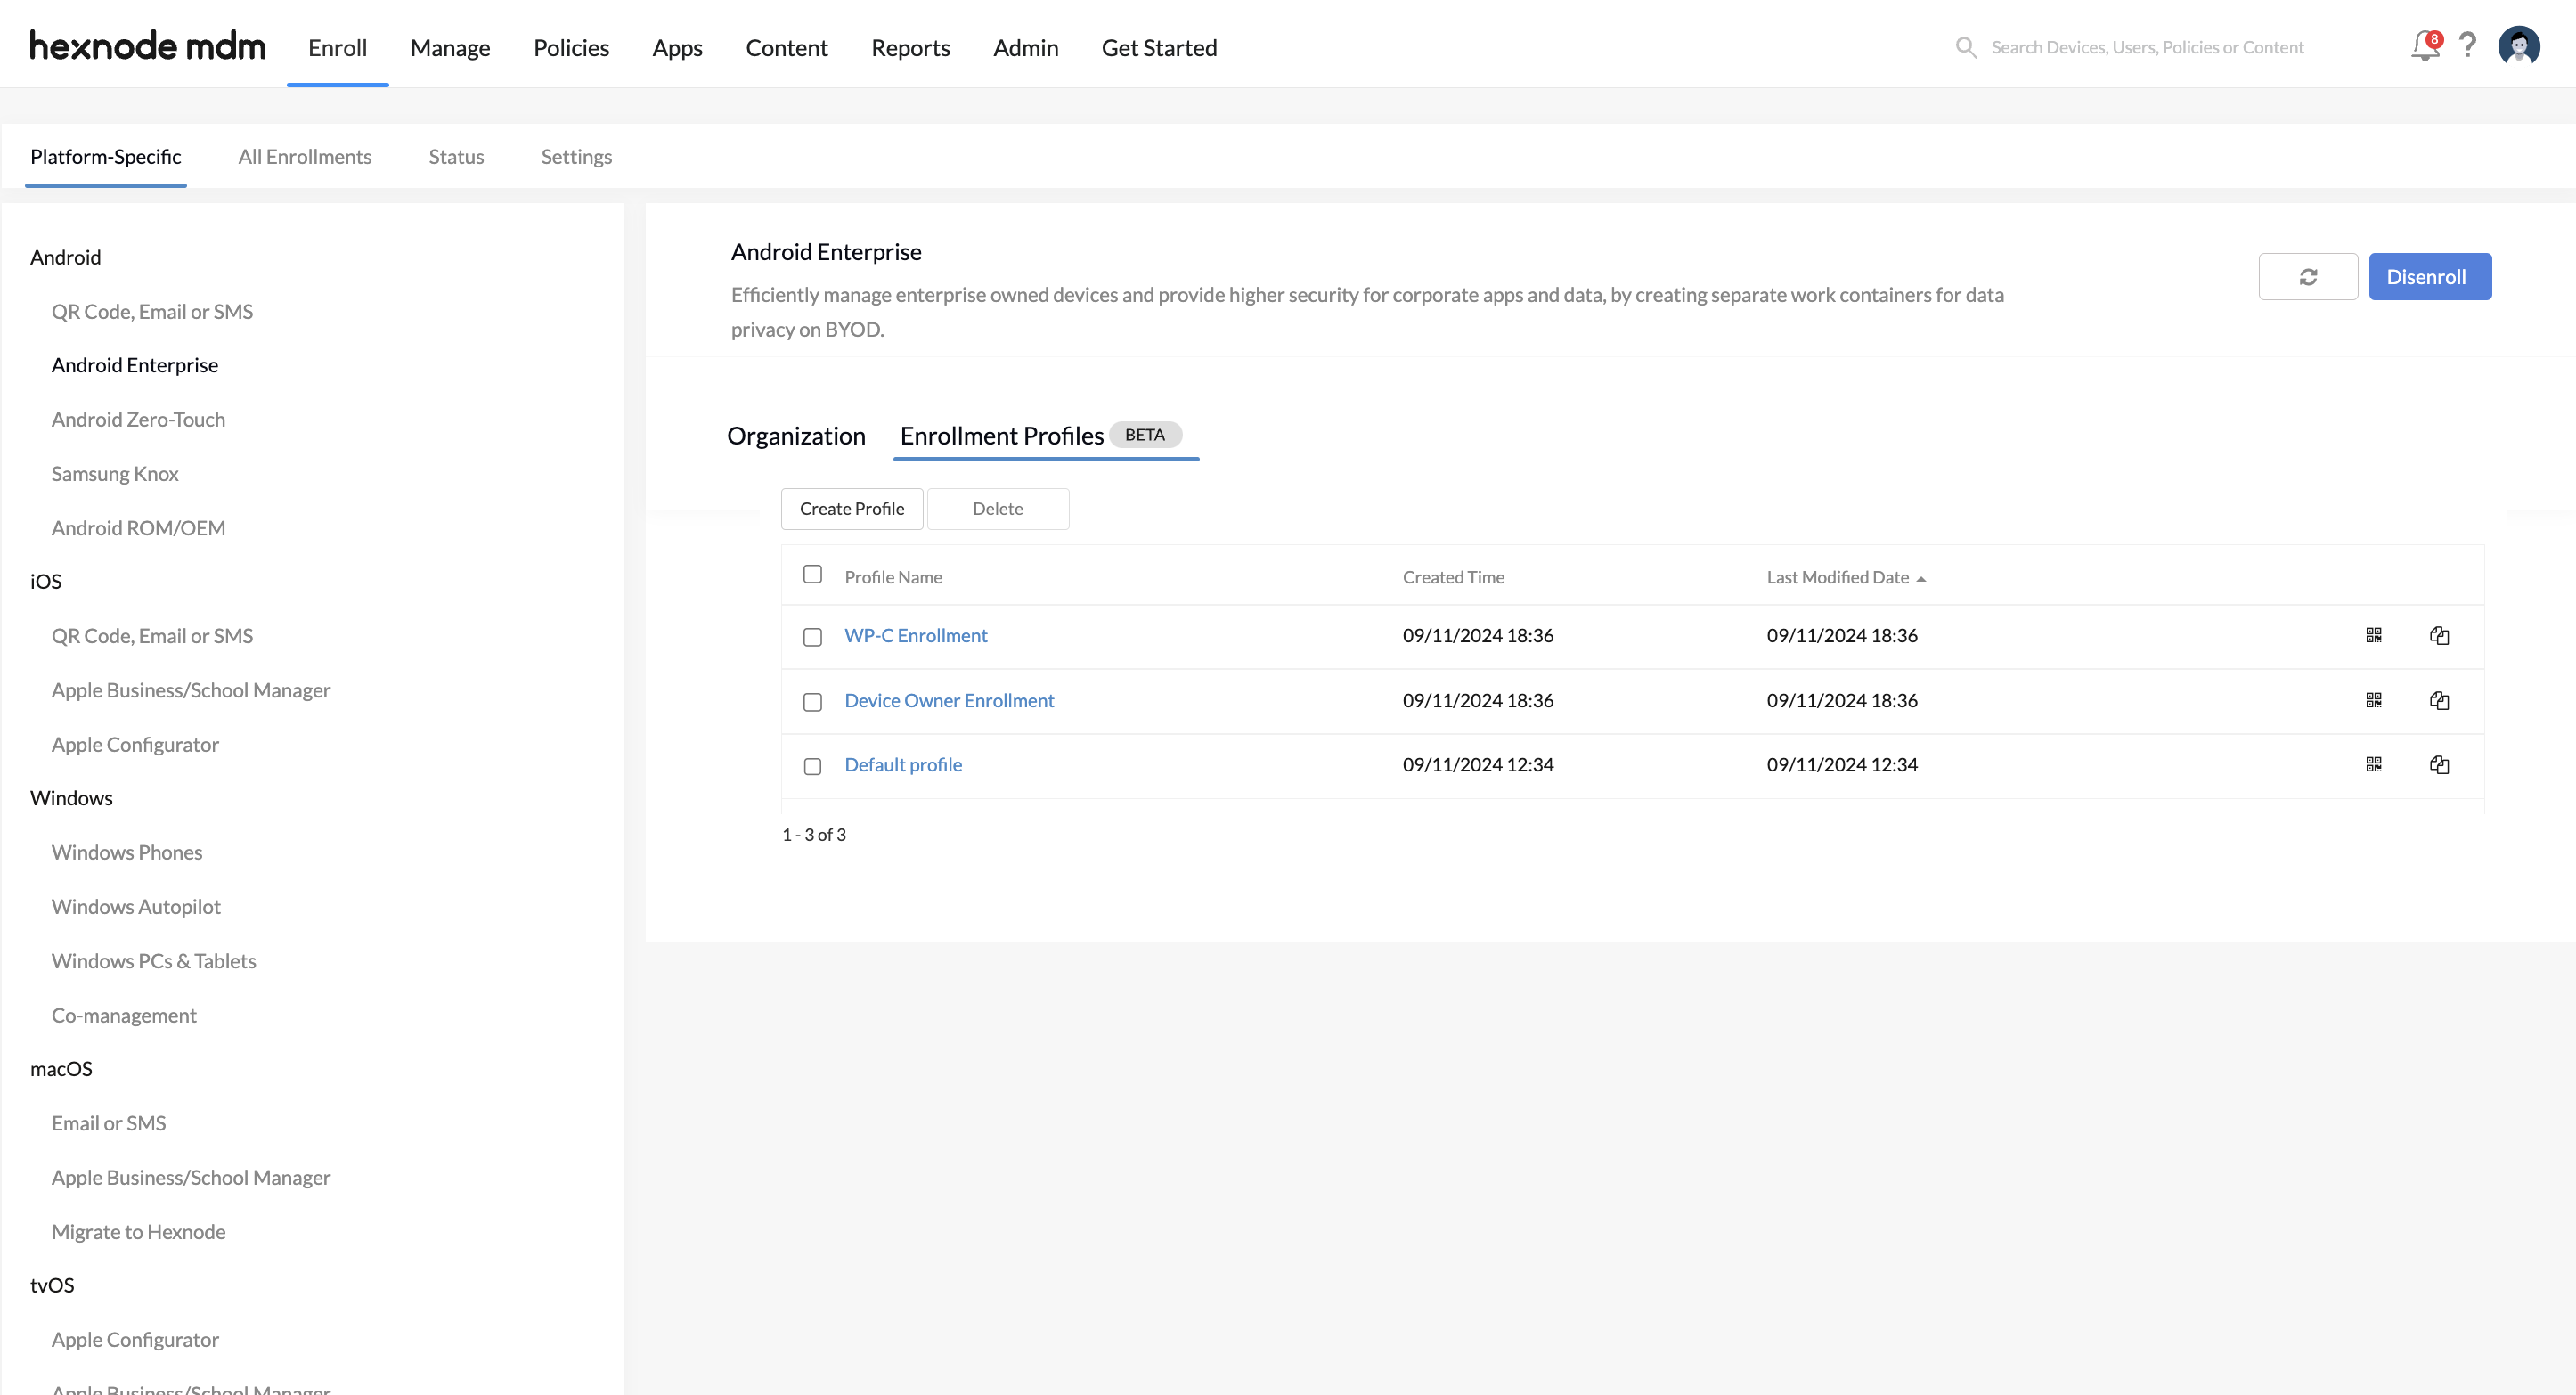
- Navigate to Enroll > Platform-Specific > Android > Android Enterprise > Enrollment Profiles.
- Click on Create Profile to configure the enrollment profile according to your preference.
- Device Owner
- Work profile on company-owned device
- Domain: Select the domain where the user resides. This can be Hexnode UEM’s local directory or any integrated directory domains.
- Default User: Choose the user in the selected domain to whom the devices will be assigned.
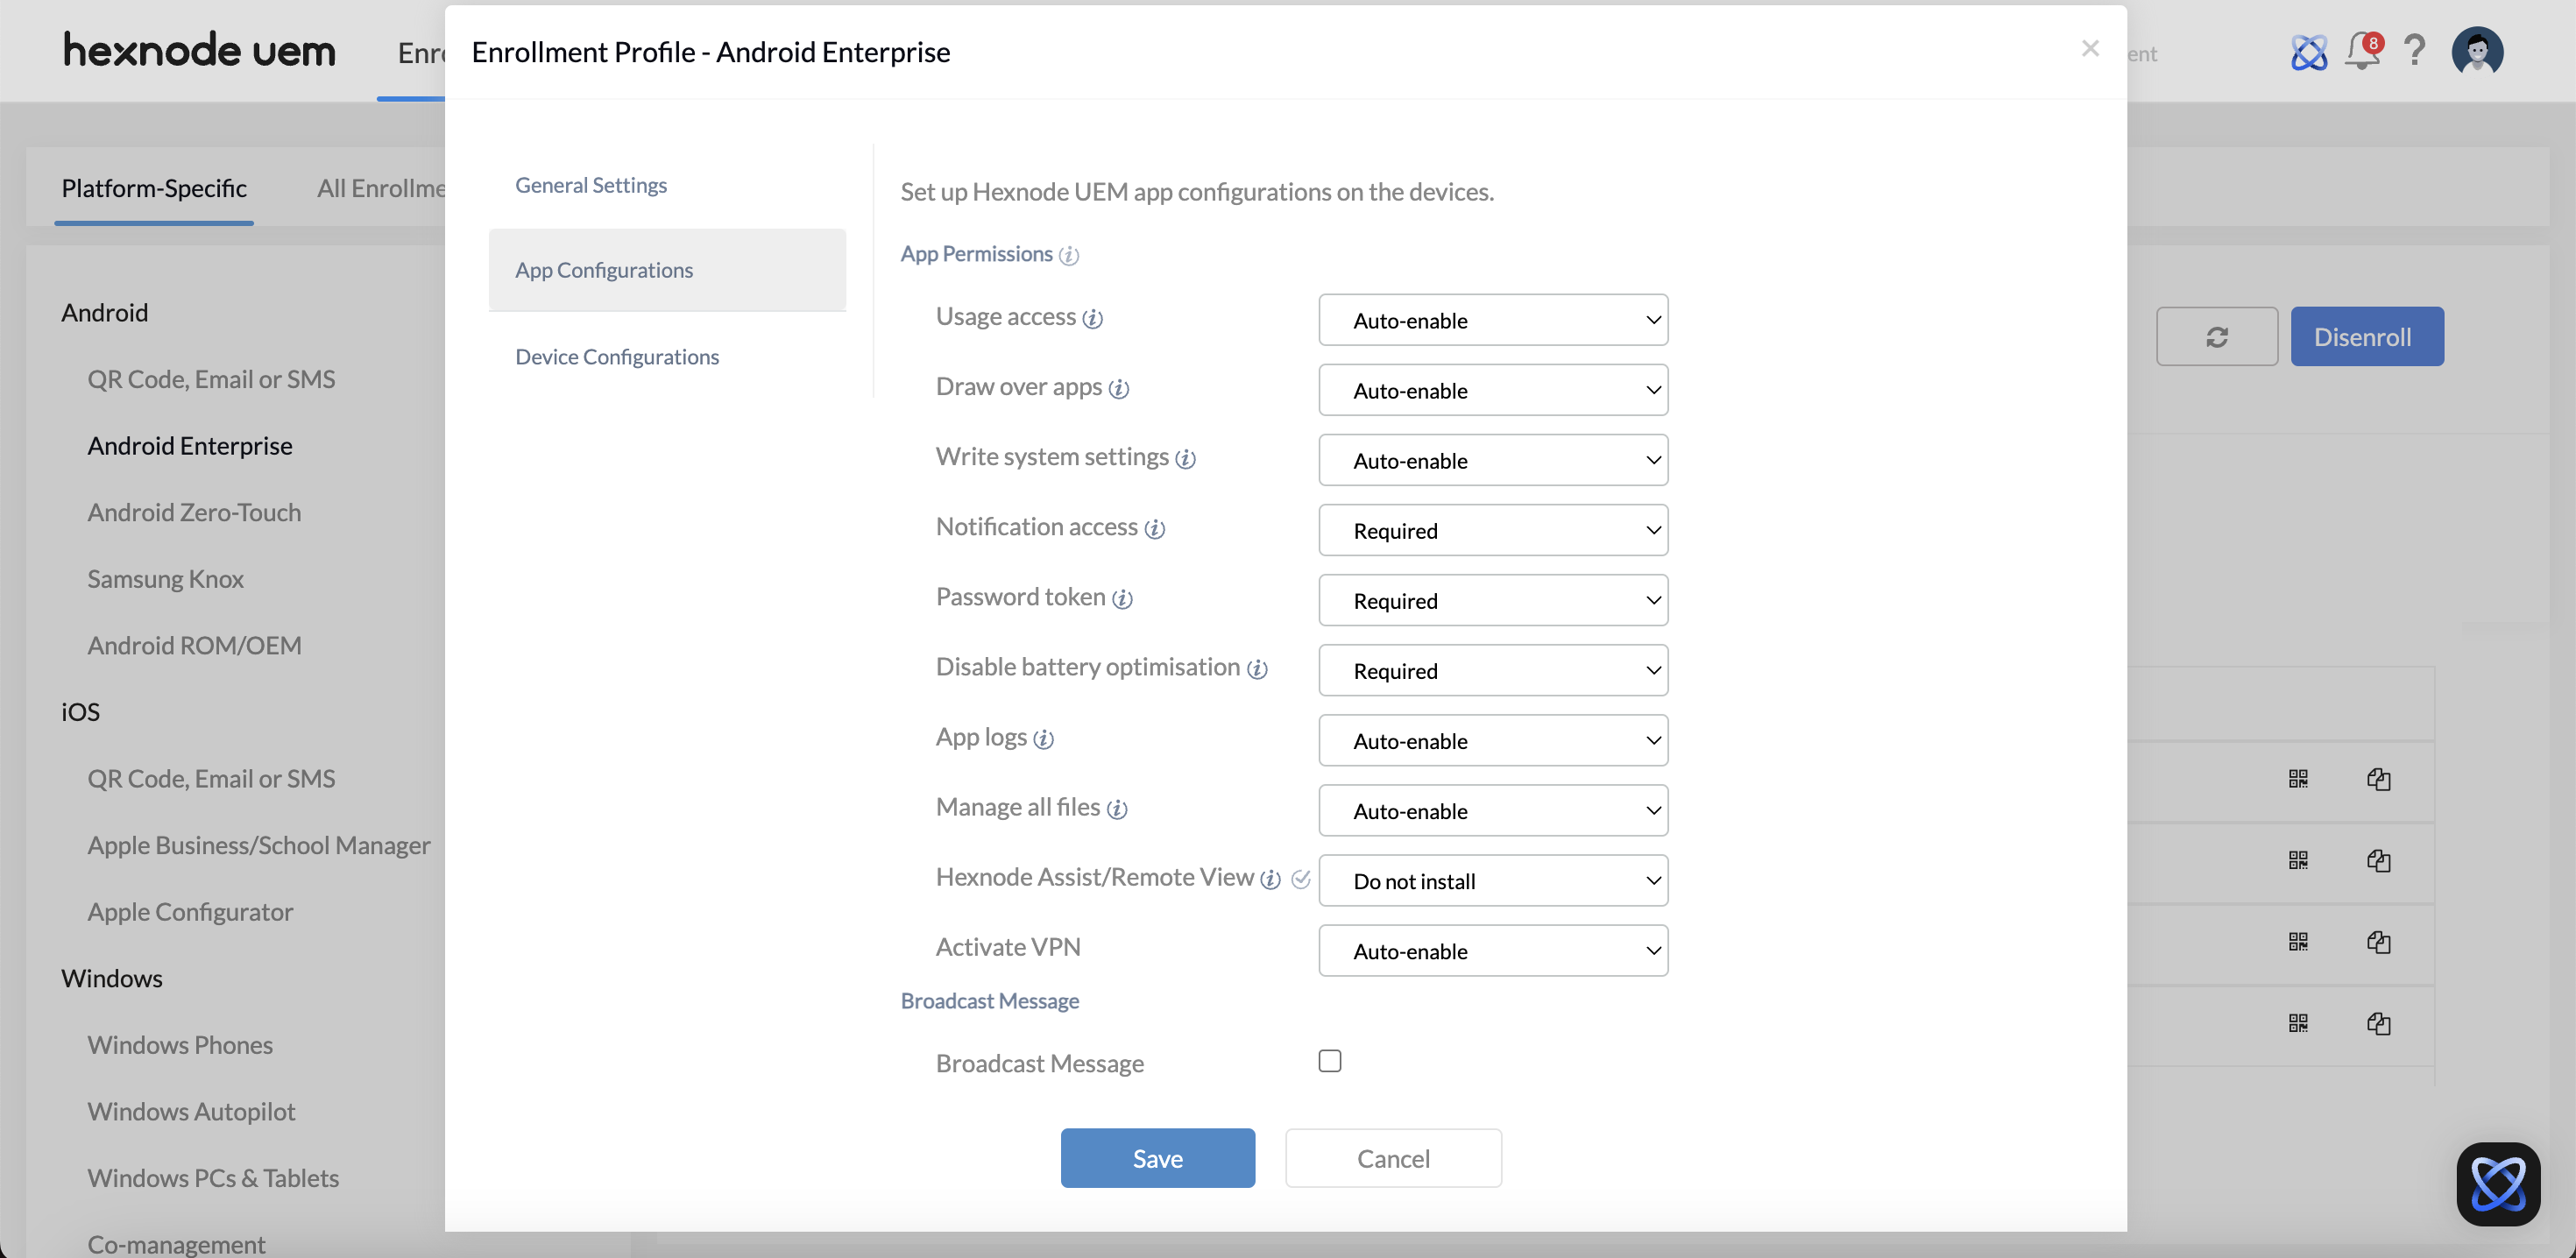
- Auto-enable: If an app permission is set to Auto-enable, it is automatically granted during device enrollment. App permissions such as Usage access, Draw over apps, Write system settings, App logs, Manage all files and Activate VPN can be set to Auto-enable. The Auto-enable app permission is supported on devices running Android 9+.
- Required: If a permission is set to Required, it will be displayed during enrollment, and the user must enable it to complete the process.
- Do not prompt: If an app permission is set to Do not prompt, it will not appear during enrollment via Device Owner or Work Profile – Company-Owned (WP-C).
- Device Model
- IMSI
- ICCID
- IMEI
- Phone Number
- Device MAC Address
- Device Serial Number
- Device Manufacturer
- Enrolled User Username
- Enrolled User Domain Name
- Enrolled User Principal Name
- Enrolled User Email
- Personalized Device Name
- Device Name: Enter a custom name for the device. Wildcards
are supported. - Append number: Assign a sequential number to each enrolled device’s name by appending it to the end.
For example: Devicename-1, Devicename-2, and so on.
- Starting number: Define the starting number for the appended sequence.
- Device Name: Enter a custom name for the device. Wildcards
- None
- WEP
- Password: Enter the password of the Wi-Fi network.
- WPA/WPA2
- Password: Enter the password of the Wi-Fi network
- 802.1x EAP
- Accepted EAP Method (Protocols): select an EAP method (protocol) from the following options
- PWD
- Identity: The username or identifier used to authenticate the user on the network.
- Password: A secret key used alongside the identity to securely authenticate the user.
- Click on Save to create the profile.
General Settings
| Settings | Description |
|---|---|
| Profile name | Enter a unique name for the profile. This is a required field. |
| Profile description | Provide a brief description about the profile. |
| Enterprise management type | Select the preferred management mode:
This is a required field. |
Authentication mode
| Authentication mode | Description |
|---|---|
| Use Global Authentication | Uses the authentication mode configured under Admin > Enrollment > Authentication Modes. |
| Enforce Authentication (Self Enrollment) | Users can enroll their devices using local credentials created by the admin or dedicated credentials from any integrated directory domains, such as Google Workspace account credentials. |
| No Authentication | Allows device enrollment without user authentication. Specify the user to whom the device will be assigned.
|
App configurations
When enrolling an Android device with Hexnode UEM, specific permissions must be granted to the Hexnode UEM app to ensure effective device management and security. Admins can choose either of the following options to configure different app permissions.
The different app permissions that can be configured for the Hexnode UEM app are:
| App Permissions | Description |
|---|---|
| Usage access | Enable monitoring of apps on the device to activate lockdown mode. |
| Draw over apps | Permit the app to overlay other apps on the device for activating lockdown mode. |
| Write system settings | Grant permission to adjust system settings such as brightness, screen orientation etc. |
| Notification access | Enable the app to notify users with important information via notifications. |
| Password token | Allow the app to remotely clear the device password using a password token. |
| Disable battery optimisation | Ensure uninterrupted background syncing by turning off battery optimisation. |
| App logs | Enable the collection of app logs for troubleshooting and monitoring. |
| Manage all files | Grant access to manage all files on the device. |
| Hexnode Assist/Remote View | Choose whether to automatically install the Hexnode Assist or Remote View app for remote screen viewing and controlling during enrollment or not. |
| Activate VPN | Allow the app to activate a VPN for secure network connections. |
| Broadcast Message | Enable this option to customize a broadcast message that will be displayed on the device after enrollment. |
If the admin has configured certain permissions as Do not prompt and wish to grant them after enrollment, the user can do so directly from the Hexnode UEM app. To access the permissions, go to Navigation > Settings, tap the three-dot icon in the top right corner, and select Permissions. From there, you can enable the necessary permissions as needed.
Device Configurations
| Device Configurations | Description |
|---|---|
| Enrolled device name | Choose the name that should autofill as the Device Name when the device is enrolled. Options include:
|
| Add to device groups | Select the device groups to which the enrolled device should be added. |
| Department | Specify the department the device belongs to. |
| Asset tag | Enter an asset tag to identify the device. |
| Device notes | Add any additional notes or information relevant to the device. |
Wi-Fi Settings: You can either choose No Wi-Fi network configuration or Add Wi-Fi network configuration to QR Code. If Add Wi-Fi network configuration to QR Code option is chosen, specify the following parameters to add a Wi-Fi configuration to the QR Code:
| Wi-Fi Settings | Description |
|---|---|
| SSID | Specify the identification name of the Wi-Fi network. |
| Connect to hidden network | Allow users to connect to a hidden Wi-Fi network, the one whose SSID is not broadcasting. By default, connecting to hidden networks is disabled. |
| Security Type | Select the preferred Security Type. The available options are:
|
Skip encryption: Enable this option to skip device encryption while enrolling the device. This option is enabled by default.
Enable system applications: Enable this option to allow system applications on the device. This option is also enabled by default.
Deleting the Enrollment Profile
- Select the profile(s) you want to delete.
- Click the Delete button and confirm by clicking Yes.
- Enter your password and click Confirm.
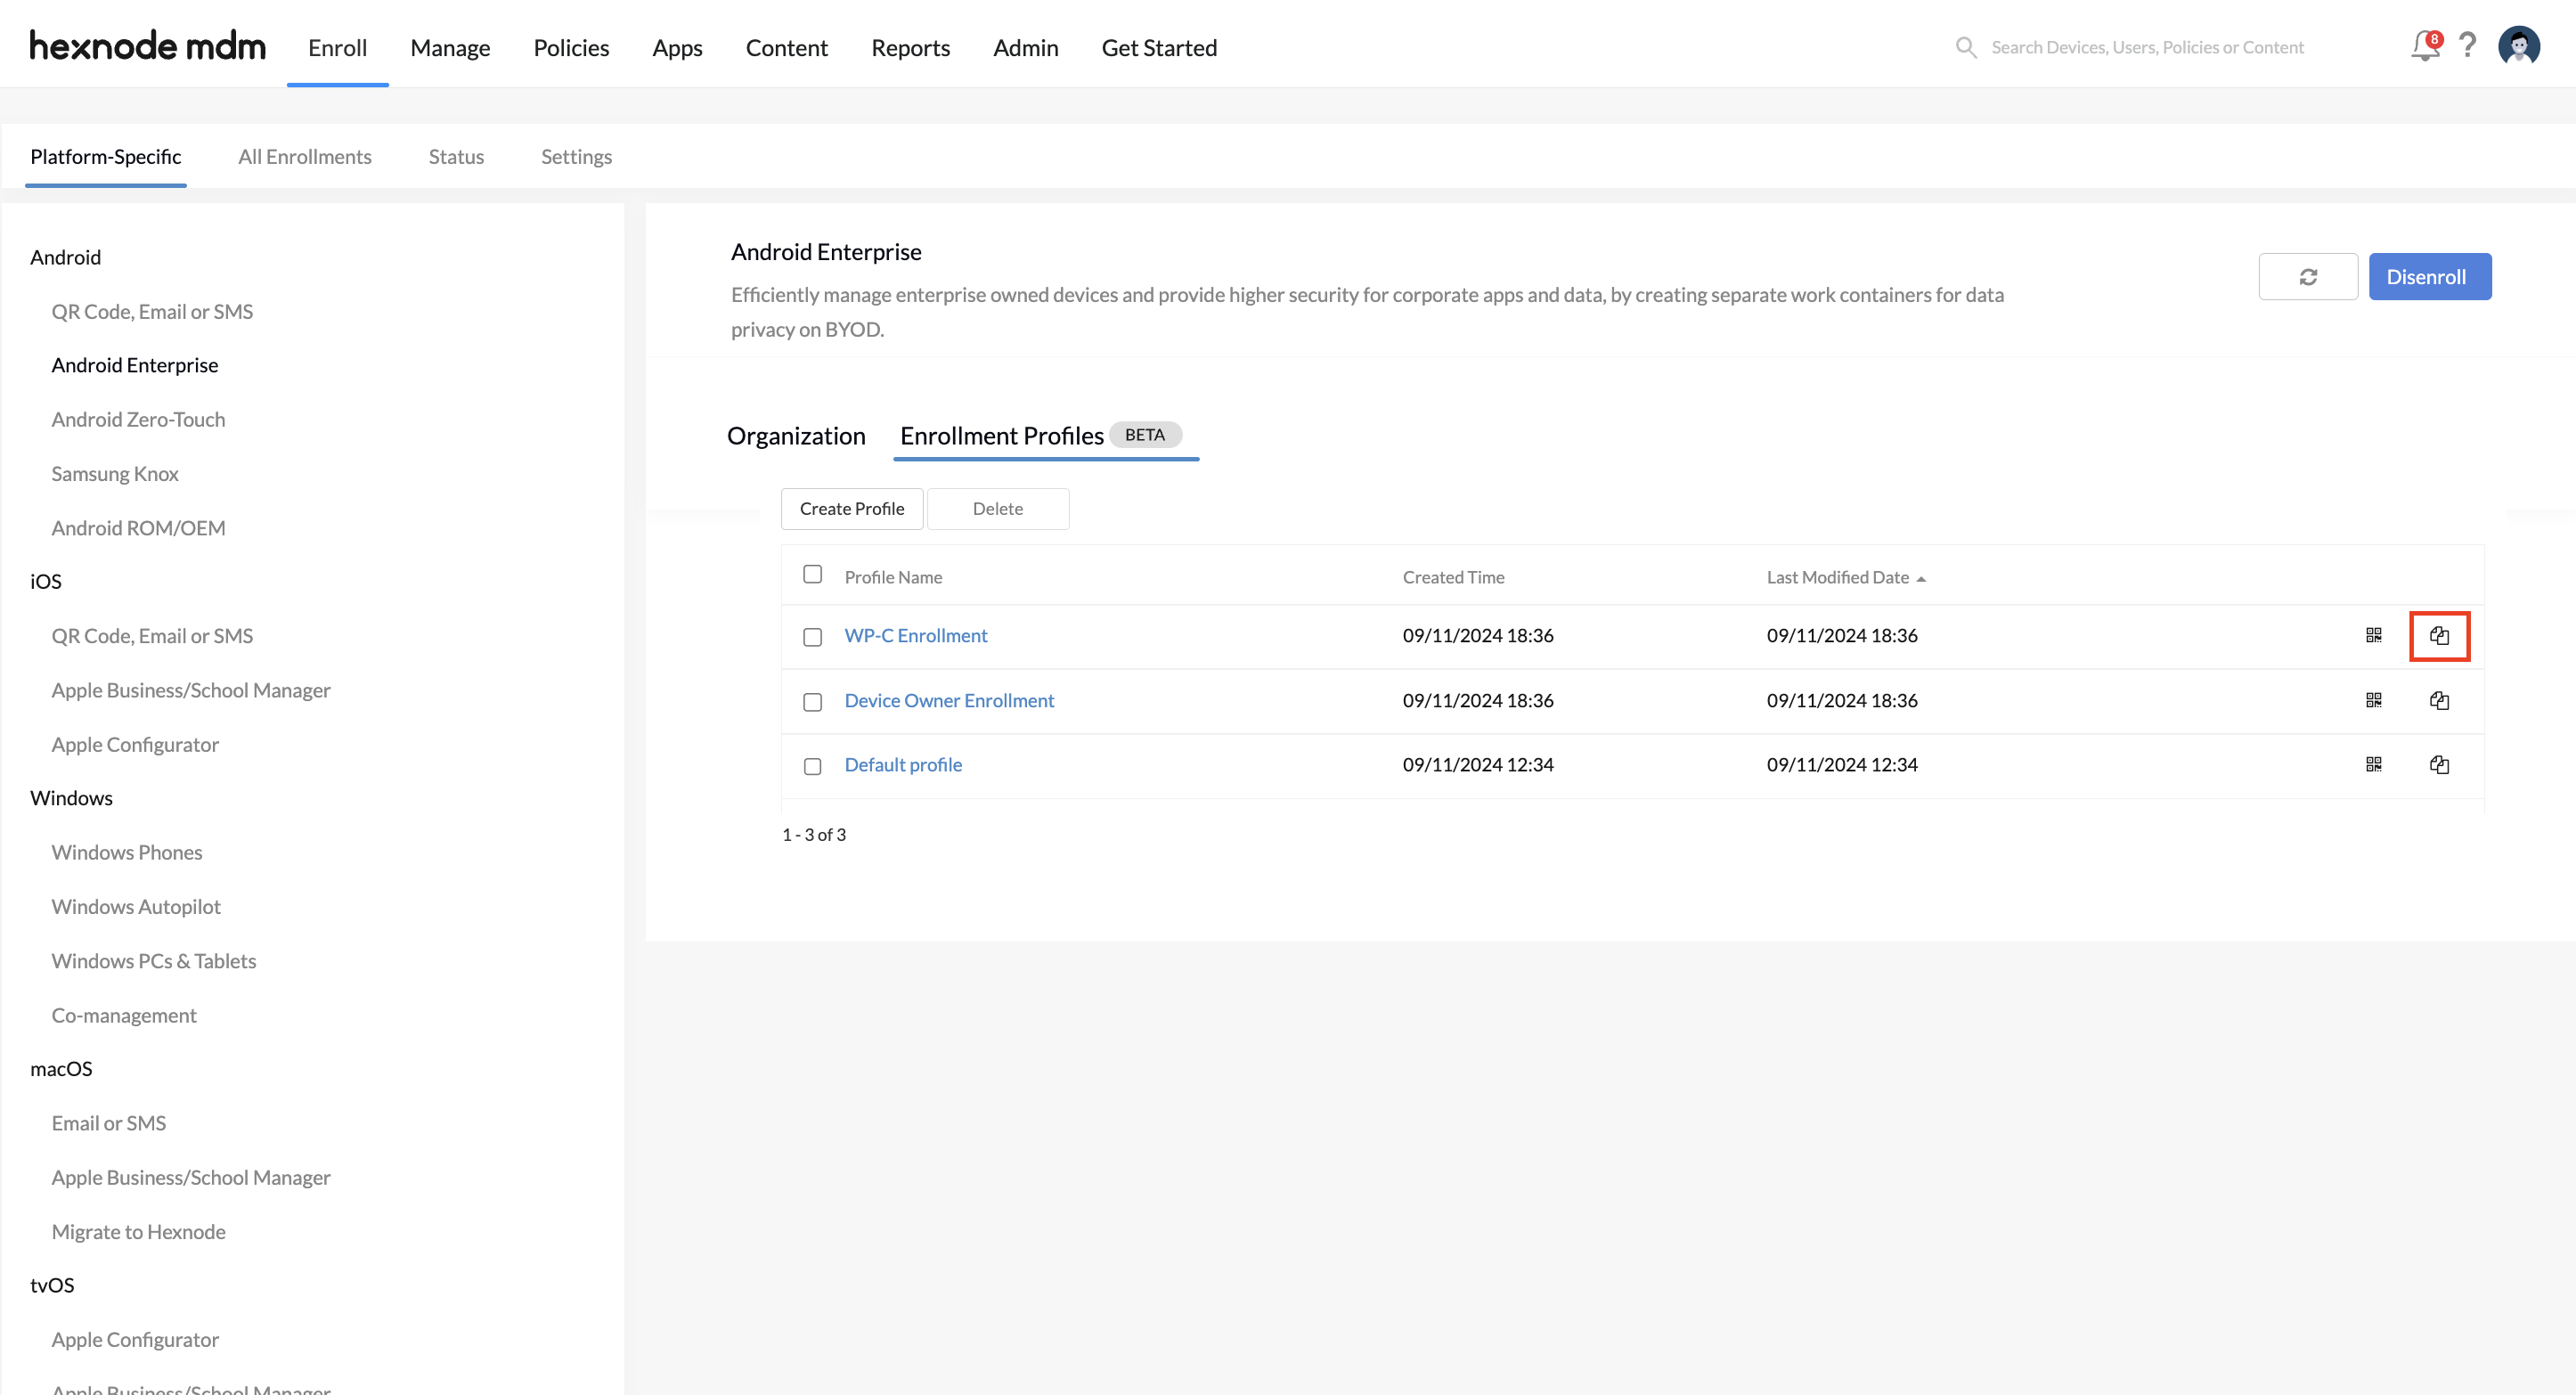
Cloning the Enrollment Profile
- Select the profile you want to clone.
- Click the Clone icon on the far-right side of the profile.
- Modify the cloned profile if needed and click Save.
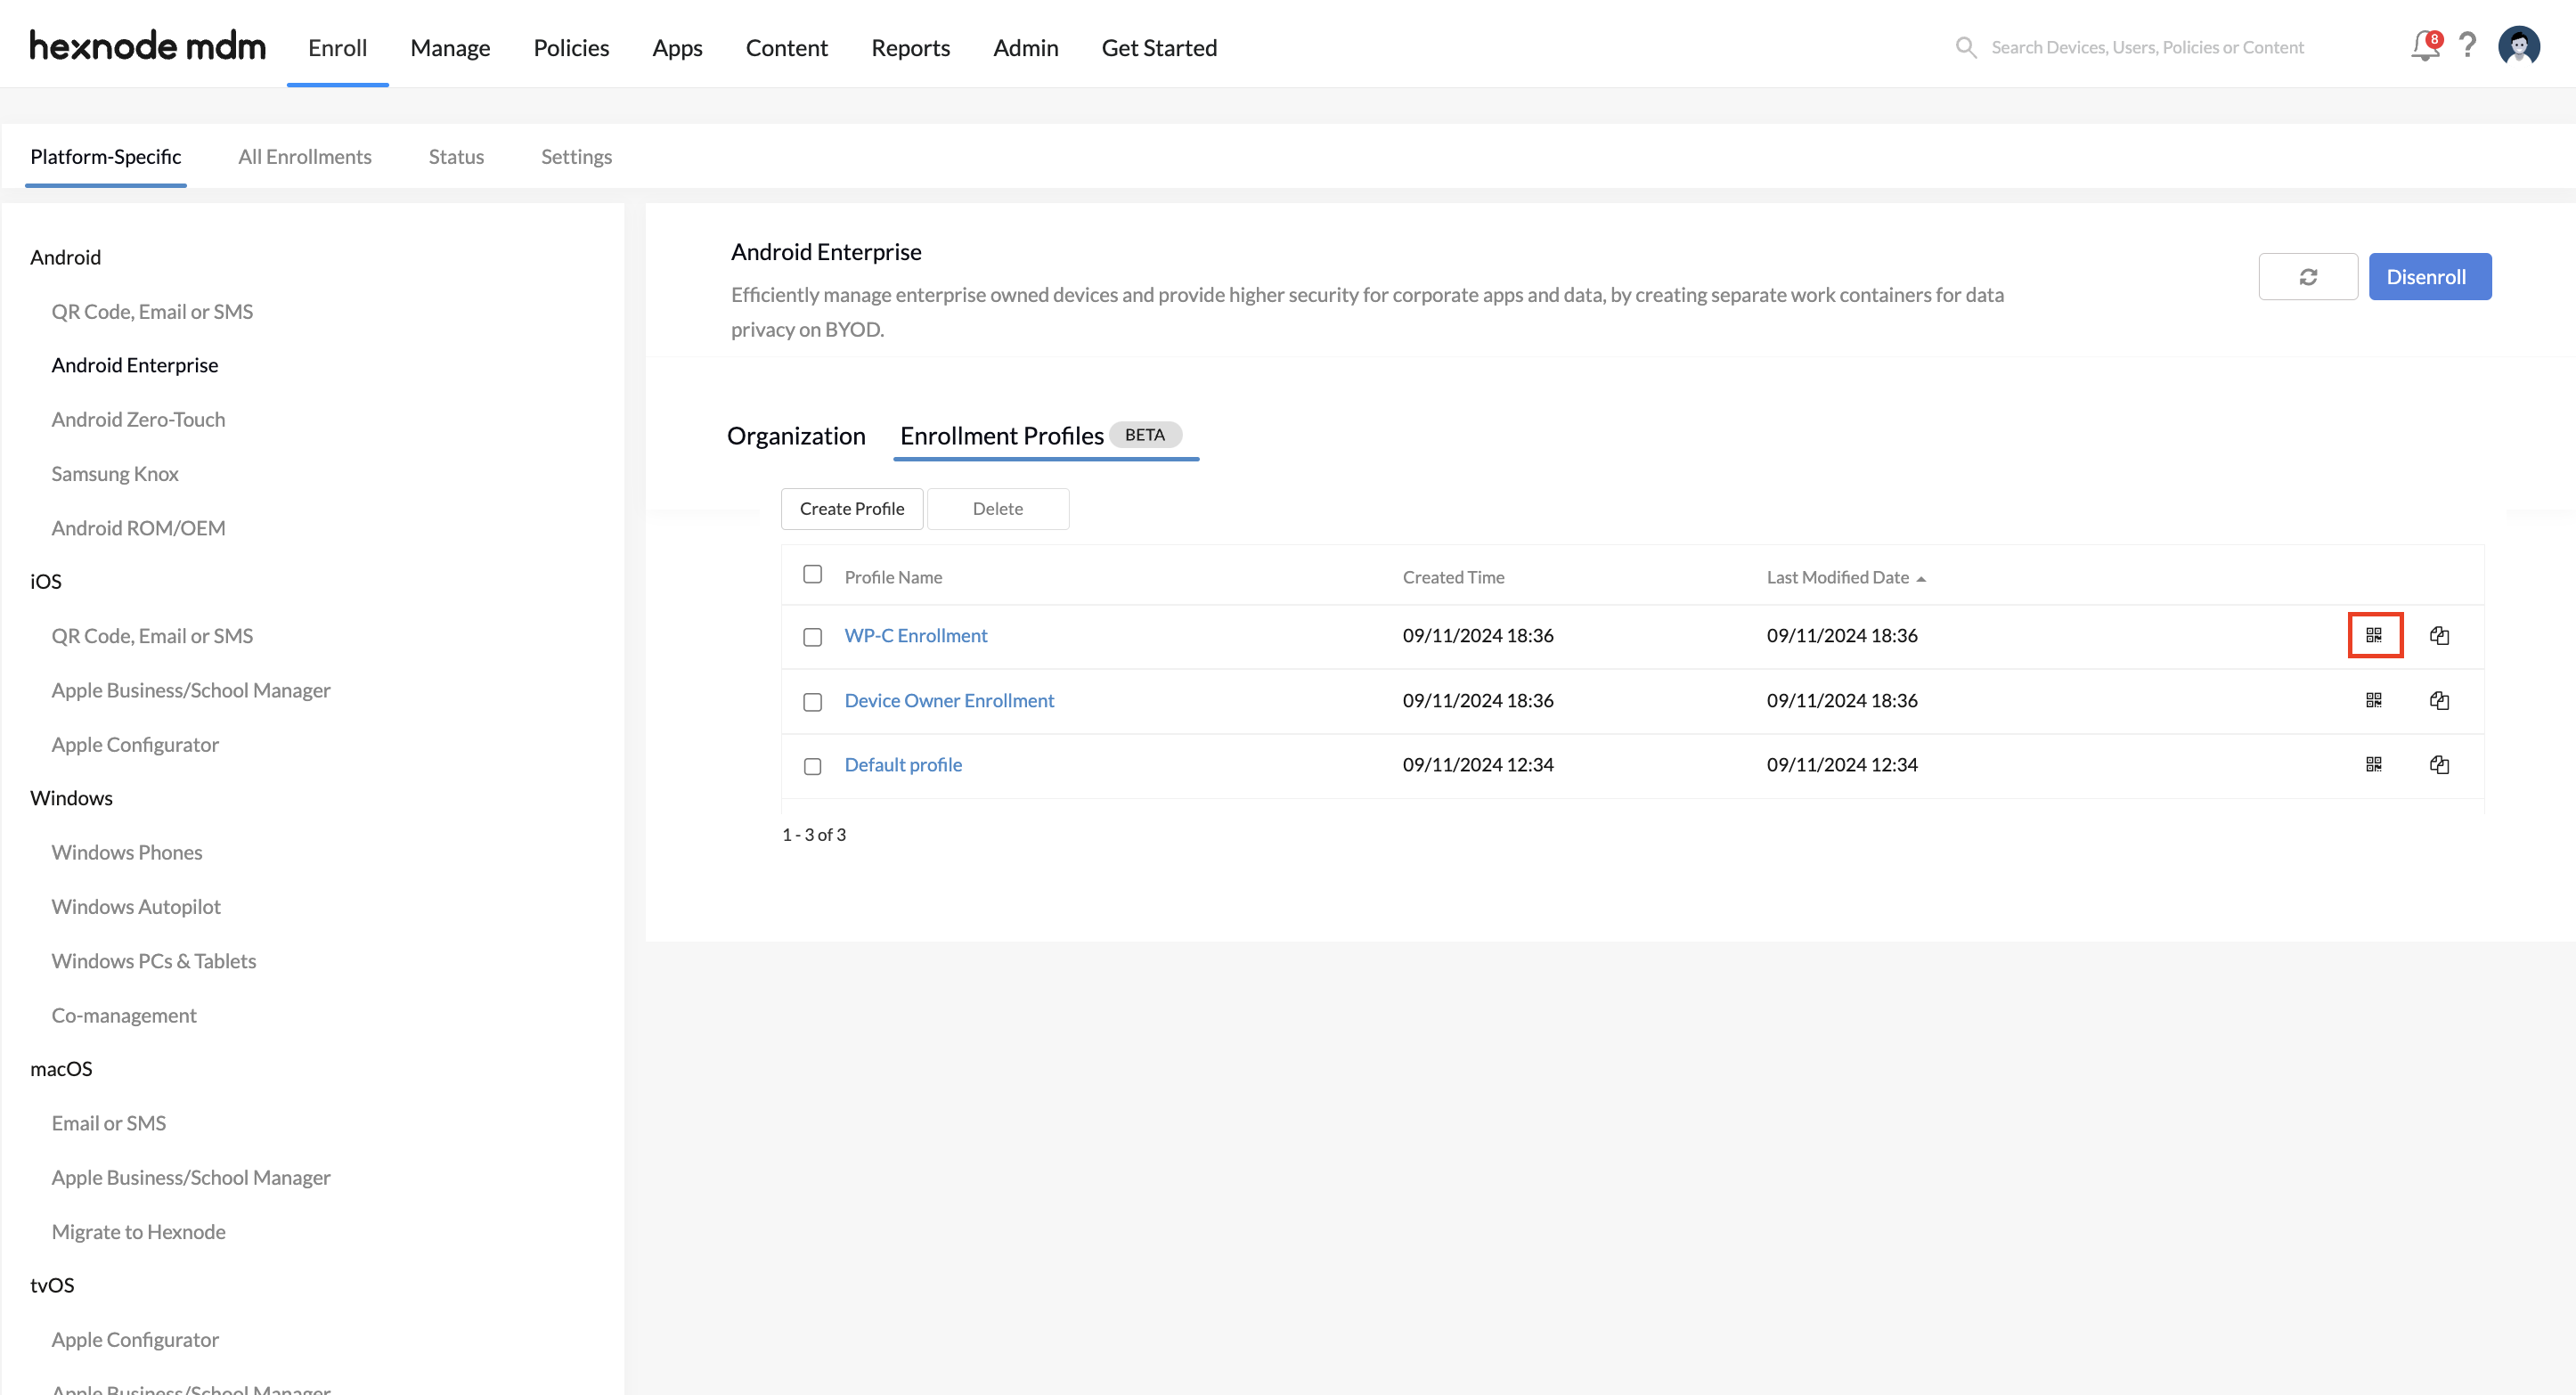
In the Enrollment Profiles sub-tab, access the QR code for a configured profile by clicking the QR icon on the far-right side. This QR code can be used to enroll the device in Hexnode UEM as per the enrollment profile’s configuration.


