

Category filter
Create custom reports in Hexnode UEM
Custom reports in Hexnode enable IT admins to build customized reports from scratch based on their requirements. Admins can choose the type of report based on which the relevant condition filters and data columns will be presented. They can also choose from preconfigured templates to create a custom report.
To create a new Custom report,
- Login to your Hexnode portal.
- Navigate to Reports > Custom reports > Add.

- Choose a report type based on your preferences. Based on the chosen report type relevant conditional filters and data columns will be listed.
Report Type Description Device A custom device report helps generate a comprehensive record of managed devices added to Hexnode. User A custom user report helps generate a consolidated report of all the users added to Hexnode. Location A custom location report helps generate a detailed report of locations traversed by the devices enrolled in Hexnode. Application A custom application report helps generate a summarized report of all the applications managed through Hexnode. Audit A custom audit report helps generate a detailed report on all the events taking place in your Hexnode UEM portal. Action A custom action report helps generate a detailed report on all the remote actions executed through your Hexnode UEM portal. - Upon choosing a report type, add the Report Name and the Description.
- Use the Condition Filter to specify the criteria required to create a report. You can add multiple conditions as filters to create a specific report. The information satisfying the defined criteria will form the corresponding custom report.
- Use the Data Columns to select what data fields should be selectively included for the applied conditions in the report. Data Columns typically represent the various attributes or characteristics of the devices being managed. By default, Device Name column is selected and cannot be removed. You can choose preferred columns from the Available Columns section. Upon selection, these columns will be listed under the Selected Columns section right after the Device Name column. You can rearrange the order of the columns by clicking and holding the left side of the column name, then dragging it.
- If not selecting the report type, you can choose a preconfigured custom report template from the following options:
- Devices with a specific app (All devices that have a specific application installed.)
- Devices with a specific app version (All devices that have a specific application version installed.)
- Audit history of a specific technician (All events and actions executed by a specific technician within the portal.)
- After selecting the preferred template, you can customize it just like in the report type section.
- Click Save in the top-right corner after configuring the report.
- Moreover, you can schedule reports at specific intervals to send to different recipients via email and also export the report to your device as a PDF or CSV file.
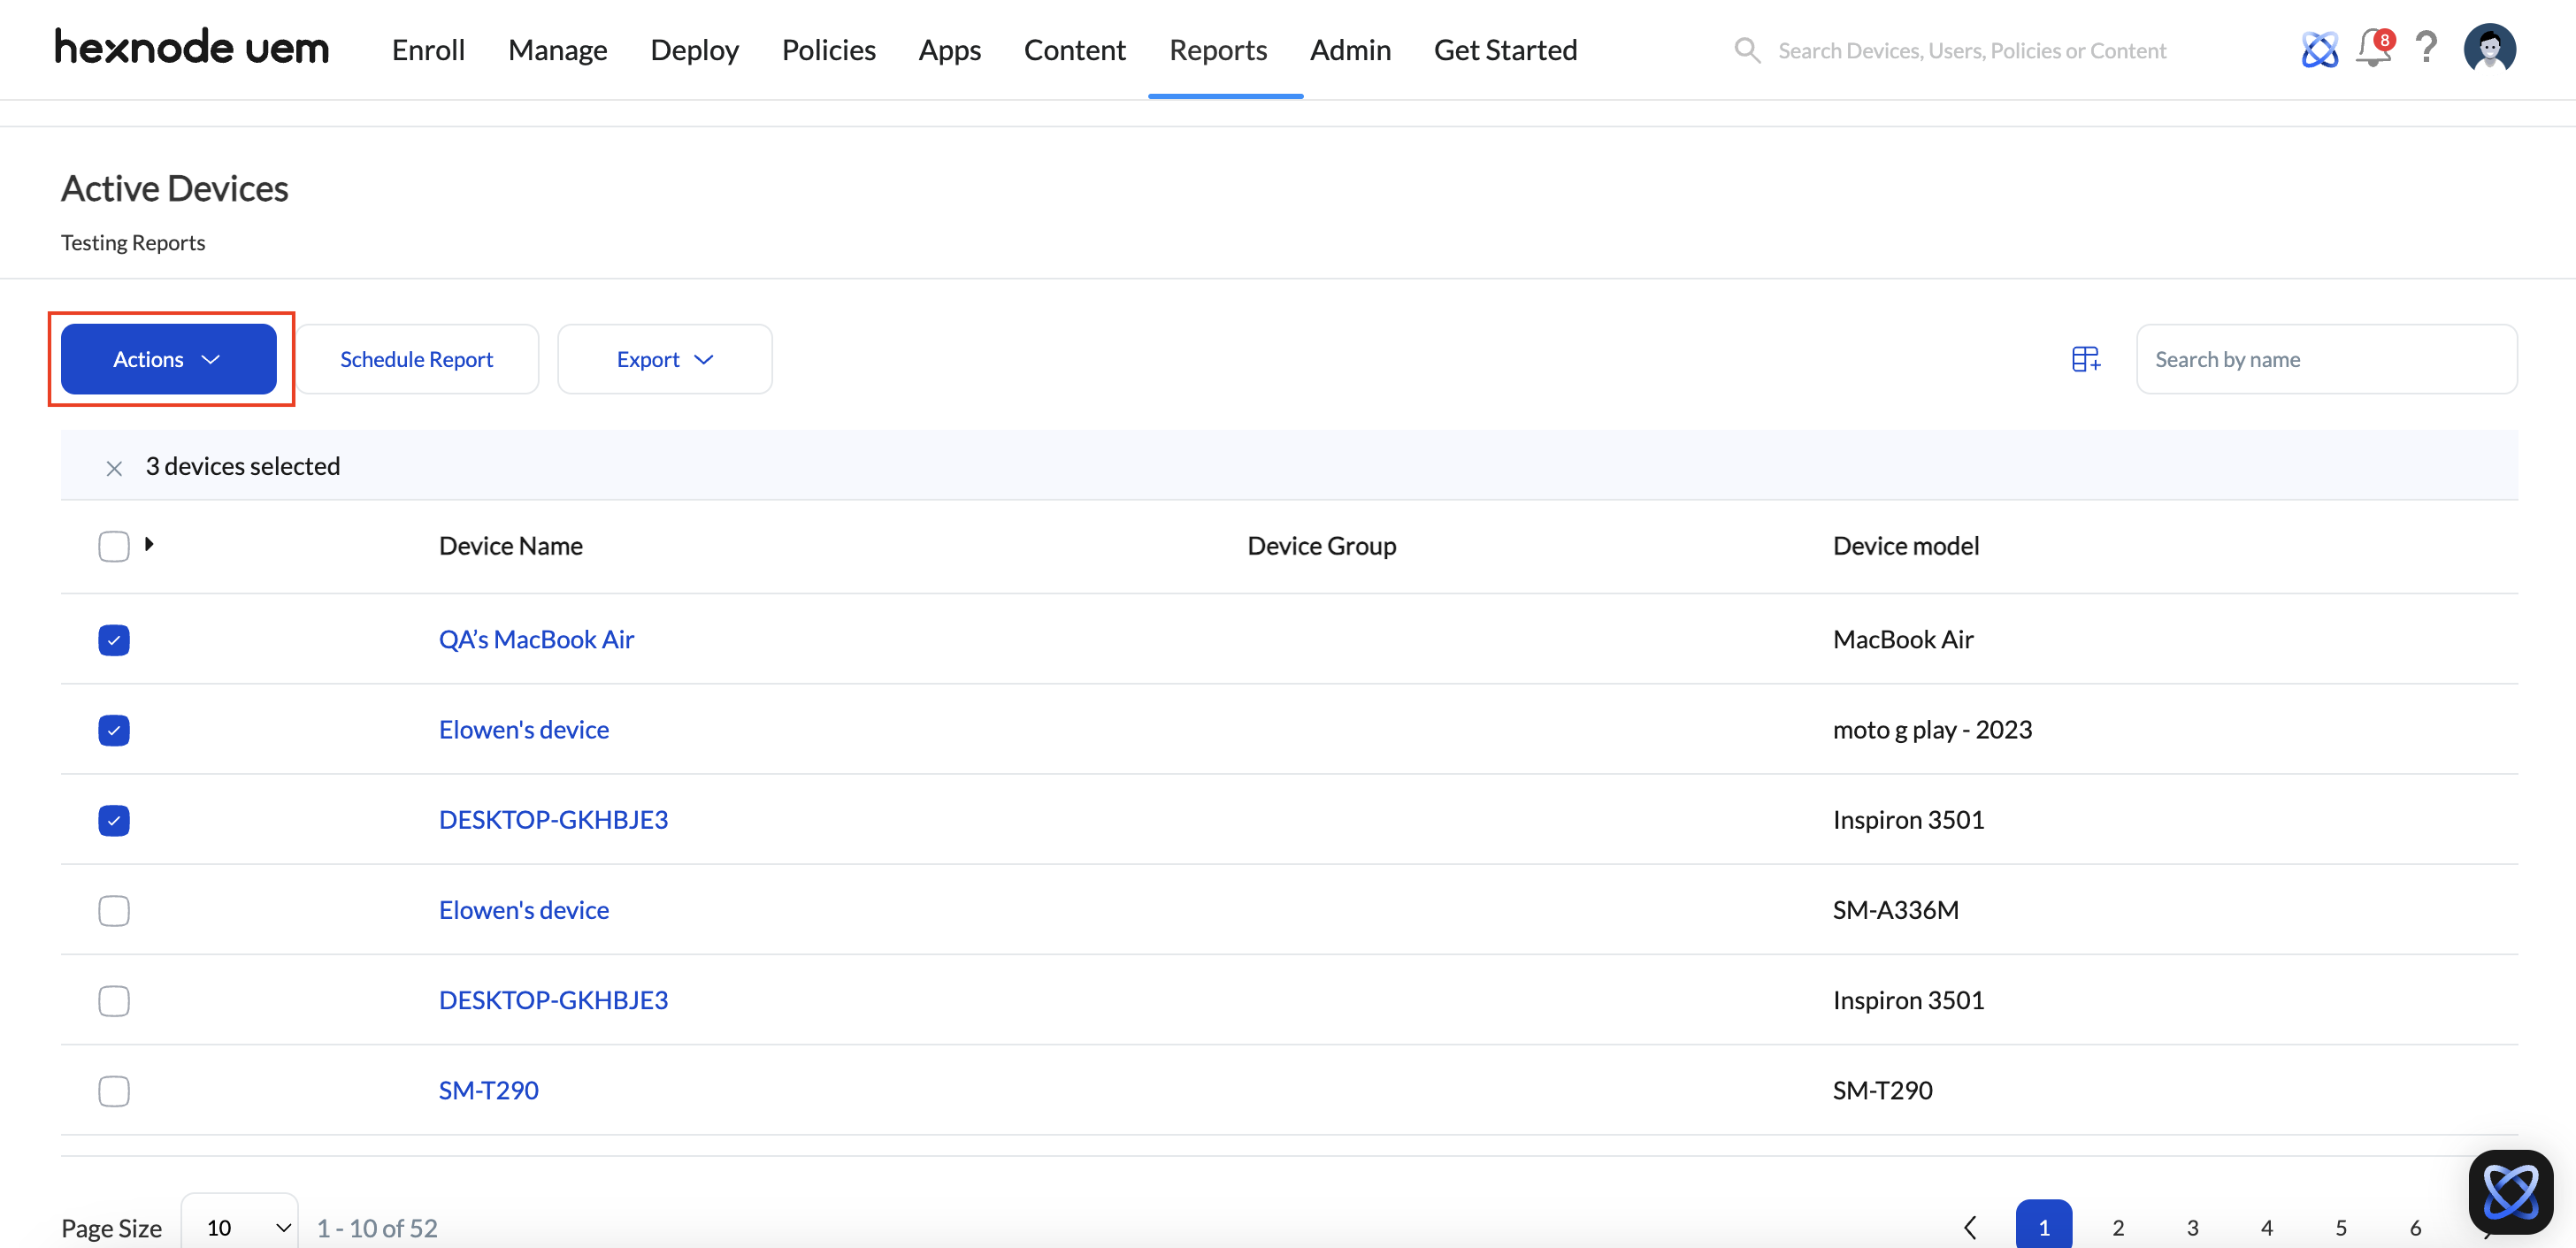
- Actions can be initiated on the devices listed in custom reports. This can be done by selecting a specific report, and then choosing the devices from the list on which the actions will be performed.
Need more help?


