Category filter
How to configure Exchange ActiveSync on macOS devices?
Configuring Exchange ActiveSync allows auto-setup of Exchange server settings on macOS devices remotely. It syncs Mail and web services like Calendar, Contacts, Reminders, and Notes hosted on an Exchange server with the enrolled devices. Hexnode provides an intuitive platform to create an Exchange ActiveSync policy for a corporate account, allowing users to access these services even when they are working offline.
Configure Exchange ActiveSync Account via Policy
To configure Exchange ActiveSync via policy,
- Login to your Hexnode UEM portal.
- Navigate to Policies > New Policy. Assign a suitable name and description (optional) for the policy. You can also choose to continue with an existing policy.
- Go to macOS > Accounts > Exchange ActiveSync. Click Configure.
| Settings | Description |
|---|---|
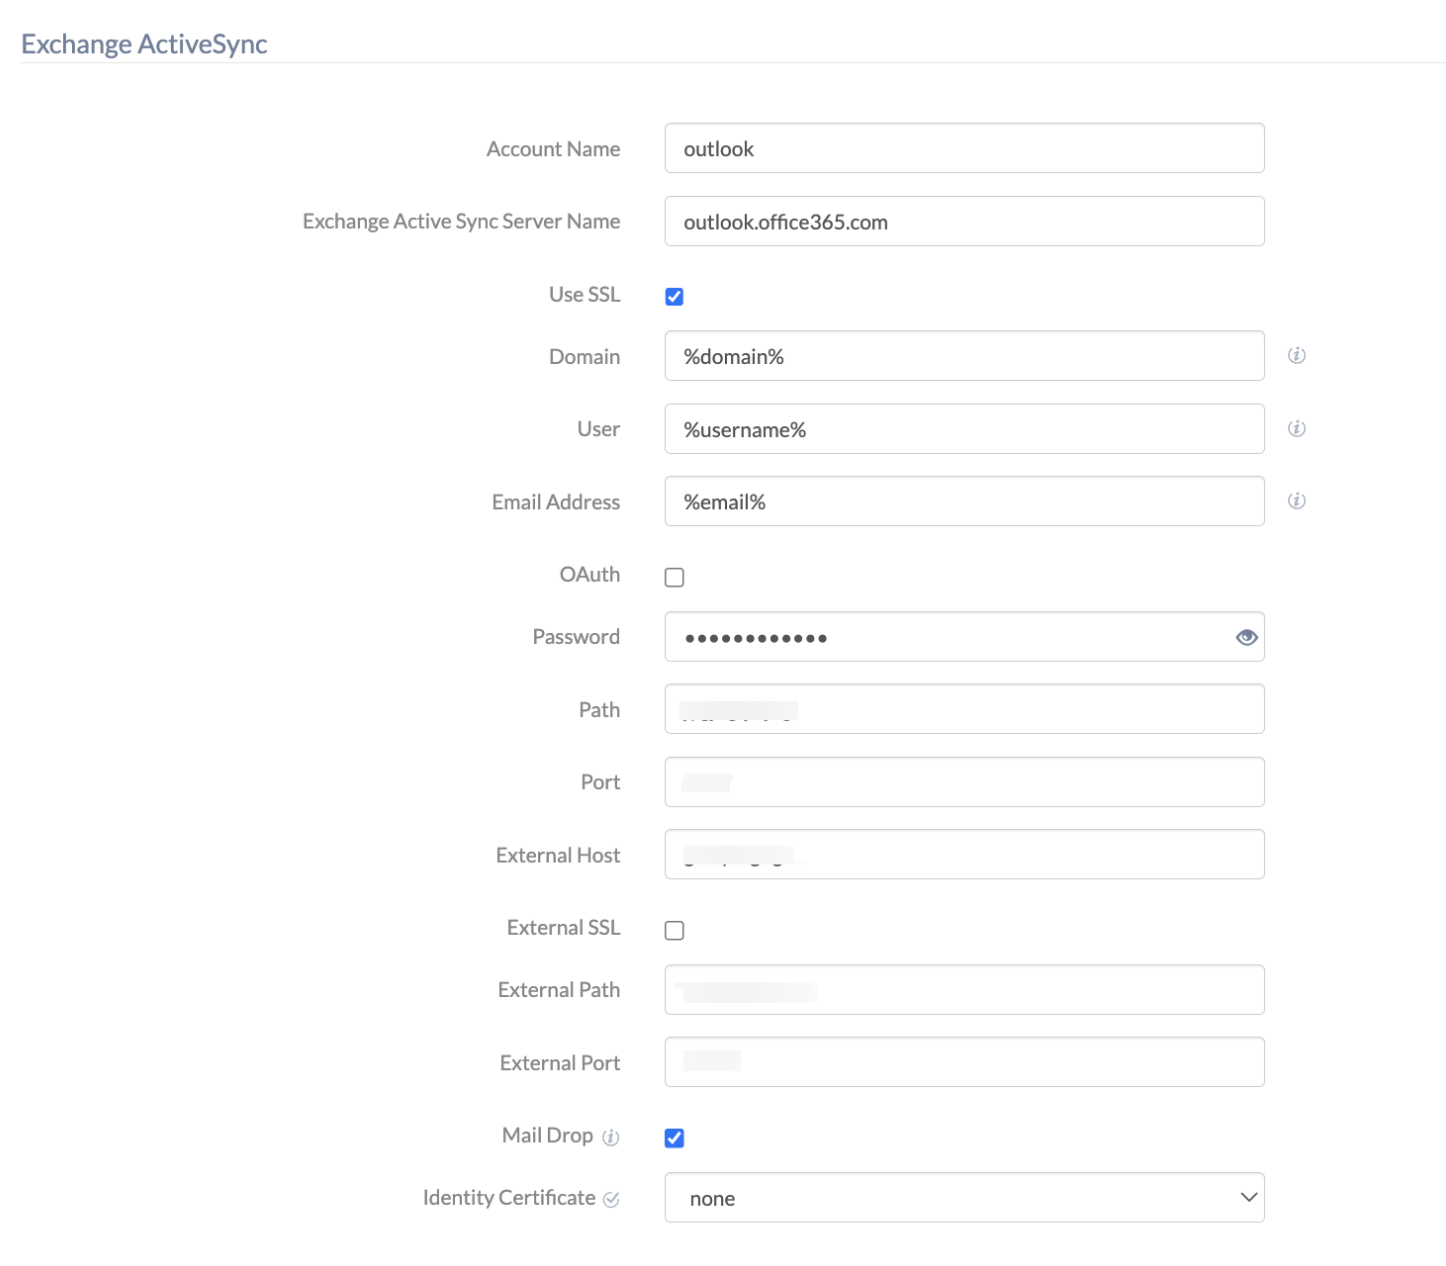
| Account Name | Account name specifies the name of the account which will be displayed on the device. |
| Exchange ActiveSync Server Name | The hostname or IP address of the Exchange server used by the account. |
| Use SSL | Send all communication through Secure Socket Layer (SSL). SSL secures a network connection by sending encrypted information to the server. |
| Domain | Enter the domain name for the Exchange ActiveSync account. This field supports the use of wildcards. The supported wildcards are:
|
| User | The username of the Exchange ActiveSync account. The following wildcards are supported:
|
| Email Address | The email address associated with the Exchange ActiveSync account. You can also use the following wildcards:
|
| OAuth | Specifies whether the connection should use OAuth for authentication, disabled by default. |
| OAuth Sign in URL | Specifies the URL to be loaded for authentication via OAuth when auto-discovery service is not used. Note: The field is mandatory if OAuth is selected. |
| Password | The password associated with the Exchange username provided above. |
| Path | The location of the host. |
| Port | Port number to communicate with the ActiveSync host. |
| External Host | Enter the fully qualified domain name (FQDN) or IP address of the external Exchange host. |
| External SSL | Determine whether to secure connections between the macOS devices and the external Exchange host using SSL. |
| External Path | The location of the external host. |
| External Port | Port number to communicate with the external Exchange ActiveSync host. |
| Mail Drop | The Mail Drop option, when enabled, lets the users use the Mail Drop option when sending large files via the Mail app. These files can be up to 5 GB in size. |
| Identity Certificate | Admins can upload an Identity Certificate to authenticate the identity of a user connecting to an Exchange server. Identity certificates uploaded at Policies > macOS > Security > Certificates only are displayed here. |
Associate policy with devices/device groups/users/user groups
If the policy has not been saved,
- Navigate to Policy Targets > +Add Devices.
- Choose the target devices and click Ok. Click Save.
- You can also associate the policy to device groups, users, user groups, or domains from the left pane of Policy Targets tab.
If the policy has been saved,
- Go to Policies tab and choose the desired policy.
- Click on Manage drop-down and select Associate Targets.
- Choose the target entities and click Associate.
What happens at the device end?

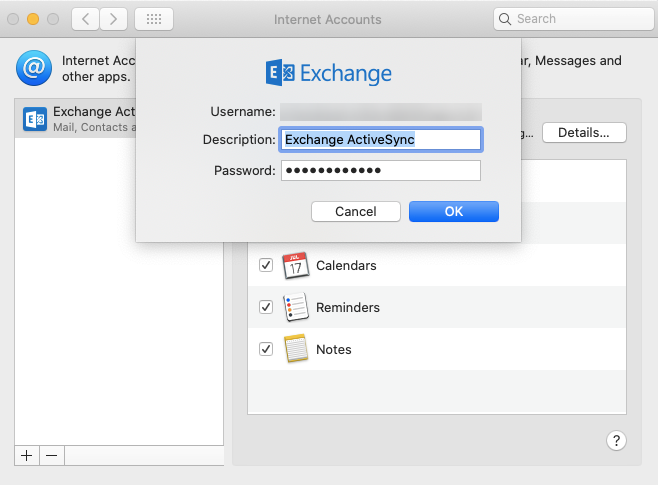
Once the policy is associated, the Exchange ActiveSync account with the given specifications gets configured on the target device.


