Category filter
Configure Associated Domains on macOS devices
This document helps you to configure associated domains using Hexnode.
Apple’s Associated Domains allow macOS applications to securely interact with specific websites by establishing a verified connection between the app and it’s associated domain. This connection enables advanced features such as universal links, password autofill, and extensible app SSO. These features provide a seamless and secure experience by allowing apps to open specific web content, autofill credentials, or handle authentication requests directly from trusted websites. Hexnode UEM lets you remotely configure associated domains on managed macOS devices, enabling secure app-to-web interactions.
Configure Associate Domains
- On your Hexnode UEM console, navigate to the Policies tab.
- Choose an existing policy or create a new policy by clicking on New Policy. Provide a suitable name and description (optional).
- Select Associated Domains from macOS > Configurations.
- Click Configure to configure the associated domains.
- Click on +Add Associated Domains, and in the Add Associated Domains window, configure the following options:
- App Identifier:
Specify the app identifier in the format Team ID.Bundle ID. The Team ID is a
unique 10-character alphanumeric string assigned by Apple to a developer account, while the Bundle
ID is the unique identifier of the app within that account.
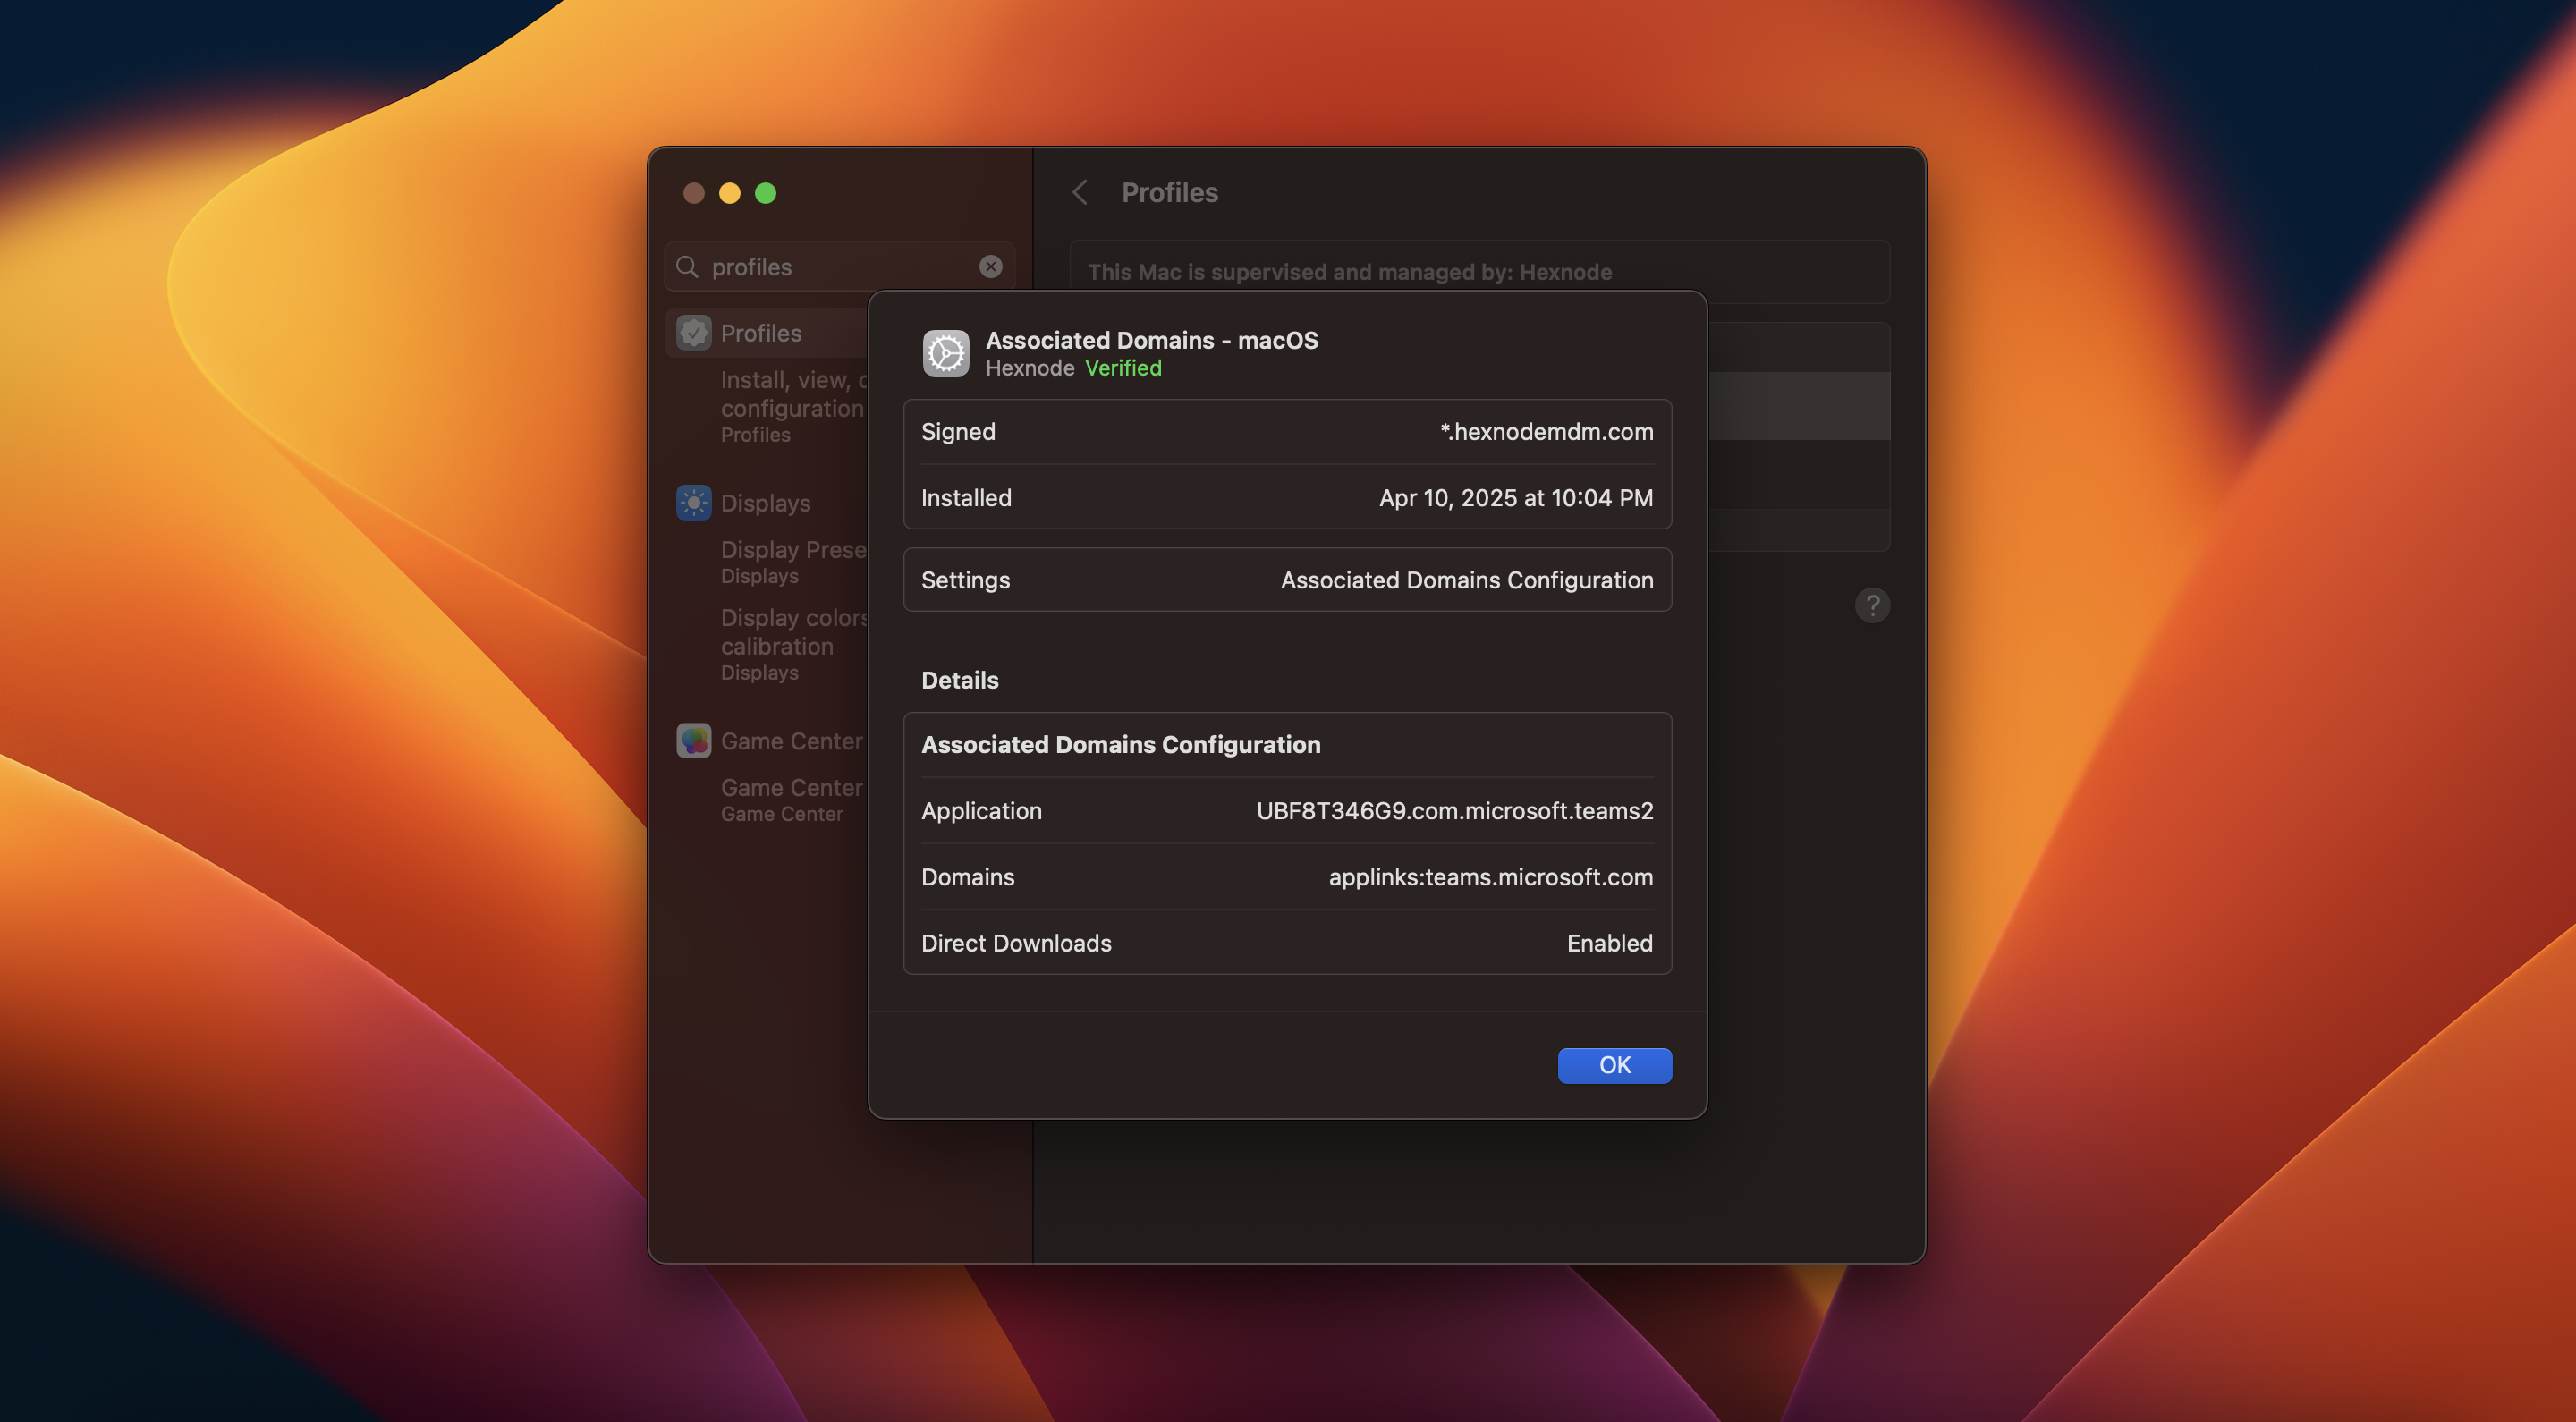
For example, the app identifier for Microsoft Teams is: UBF8T346G9.com.microsoft.teams2 - Domains:
Enter domain values in the format service:domain. The domain name must be a fully qualified domain
name, such as www.example.com. Use prefix *. to allow association with all subdomains of a
domain.
For example, use applinks:*.example.com to include all subdomains. After entering the domain(s), click.
+Add to include them. - Enable direct download:
Enable this option to allow direct download of data. Instead of using Apple’s CDN server, the data will be downloaded
from the primary server of the specified domain.
- App Identifier:
Associate the policy with target entities
If you haven’t saved the policy,
- Navigate to Policy Targets.
- Select the required Devices, Users, Device Groups, User Groups or Domains.
- Click on Save.
If you have already saved the policy,
- Navigate to Policies > My Policies and select the required policy.
- Click on Manage > Associate Targets.
- Select the required Devices, Users, Device Groups, User Groups or Domains.
- Click on Associate.
What happens at the device end?
The Associated Domains policy gets configured on the device end. Once the policy is applied, apps configured with the correct entitlement and domain association can use advanced features like universal links and SSO.