Category filter
Enroll ChromeOS devices in Hexnode UEM
ChromeOS is an open-source operating system based on Linux, developed and maintained by Google. It features a simple user interface and offers essential tools such as the Chrome web browser, Chrome web apps and extensions, apps via the Google Play Store, and even Linux terminal support. The OS integrates with Google services like Google Drive and Gmail, offering a cohesive user experience. Due to its lightweight nature and open-source foundation, ChromeOS can be installed on a variety of devices, like those running Windows, macOS, or Linux.
Hexnode UEM provides various management options for ChromeOS devices. In order to manage a ChromeOS device, it must first be enrolled in Hexnode UEM. Enrollment establishes a connection between the device and the Hexnode UEM server, enabling smooth communication and management.
How to enroll ChromeOS devices?
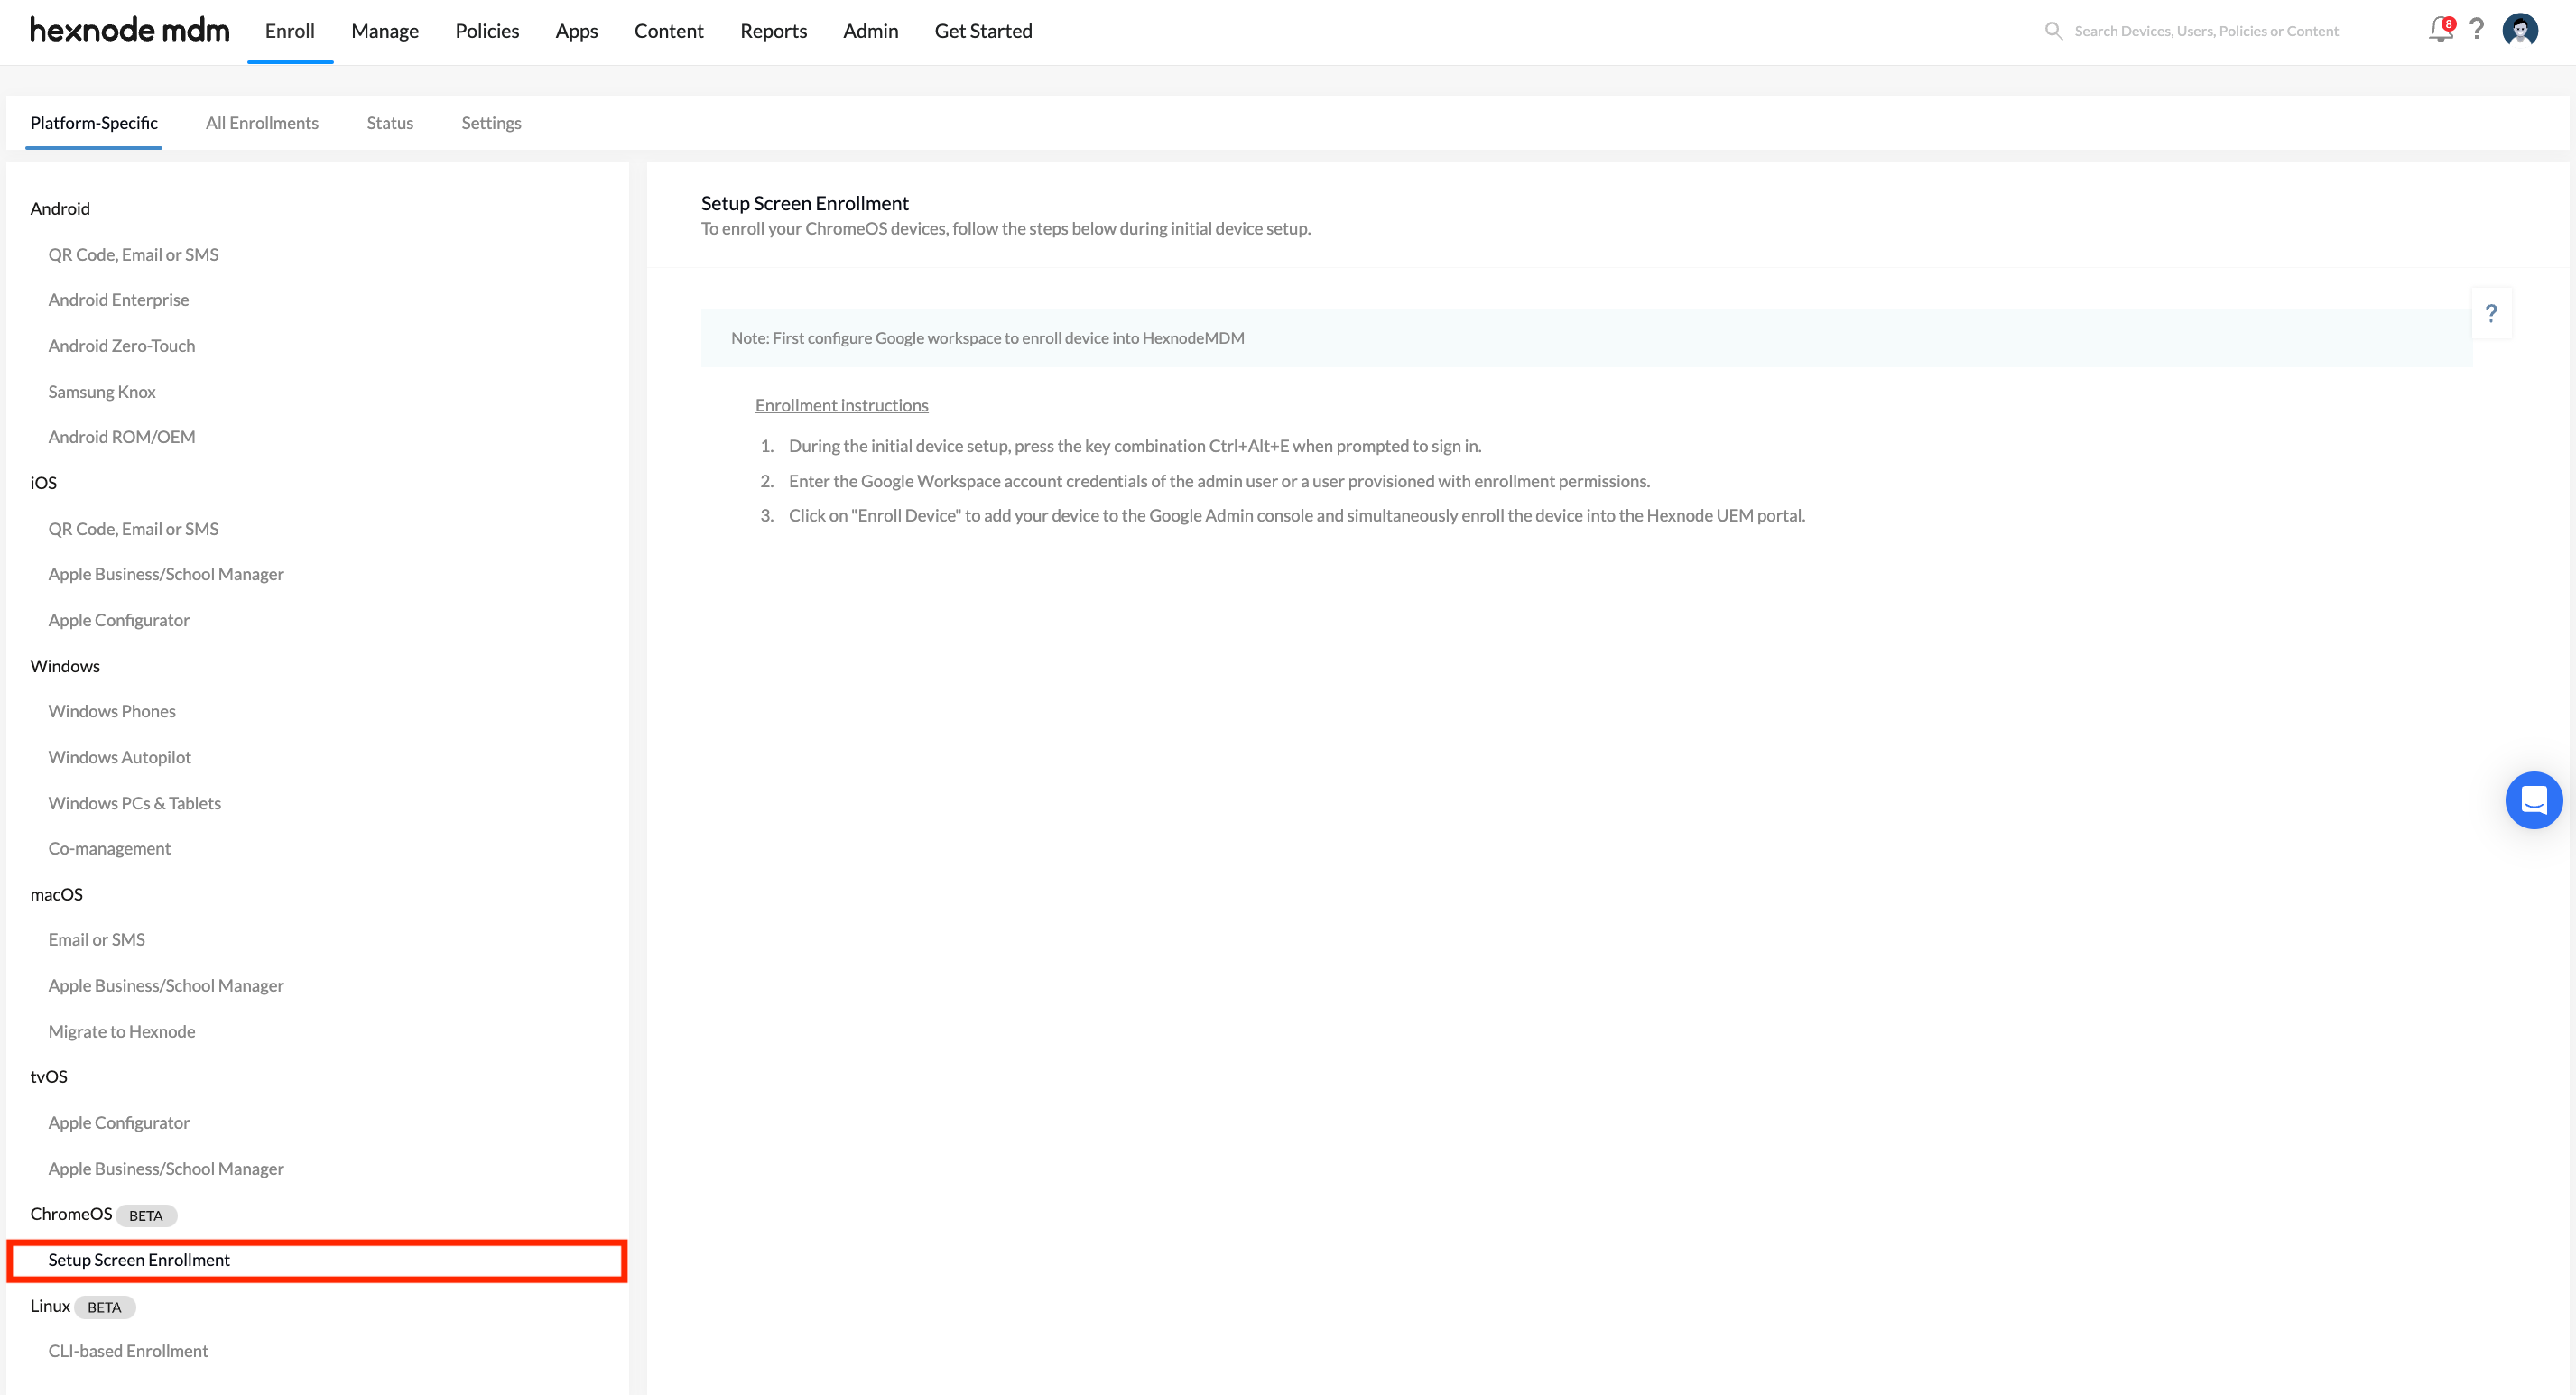
- General Enrollment: Follow a series of steps on your Chromebooks to manually enroll them into the Google Admin console and simultaneously into Hexnode UEM.
Google offers ChromeOS Flex, a Linux-based, open-source, cloud-based, and secure operating system for PCs and Macs. With the help of ChromeOS Flex, you can convert a PC or Mac into a ChromeOS device. Google provides a list of certified models that can run ChromeOS Flex efficiently. Once converted this PC or Mac can be enrolled using general ChromeOS enrollment. - Bulk Enrollment: With the help of Android Zero-Touch enrollment, work with a pre-provisioning partner to automatically enroll all of your ChromeOS devices to your organization in bulk.
The following guide will help you with the general enrollment of a ChromeOS device with Hexnode UEM.
To enroll a ChromeOS device:
- Before enrolling a ChromeOS device, it should be in a clean or factory state. If any user account is already logged in, powerwash (reset) your ChromeOS device to the factory settings.
- During the initial device setup screen, connect to a network manually or scan the QR code with your mobile to automatically connect.
- After connecting to the network, choose the purpose of your Chromebook. Select For Work and click on Enroll the device to enroll your device in the organization.
- Provide your Google Workspace account credentials and click on Enroll enterprise device.
- You will see the Enterprise enrollment complete page. Click on Done.
- The device is then added to your organization. The device will powerwash to initiate device enrollment for a user.
- After the powerwash, the device might ask to connect to a network. After a successful network connection, you will be directed to the Device enrollment page.
- Enter the Google Workspace credentials of a user with enrollment permissions.
- Enter the device information (optional).
- Click on Enroll enterprise device.
- After enrollment, you can choose to Sign in to your Chromebook or Browse as Guest.
- Review and accept the Google Terms and Sync preferences.
- Set a password or choose to continue with your Google Account Password for your ChromeOS device.
- Click on Get started, and your Chromebook is enrolled and ready to use.
Devices added to Google Admin Console
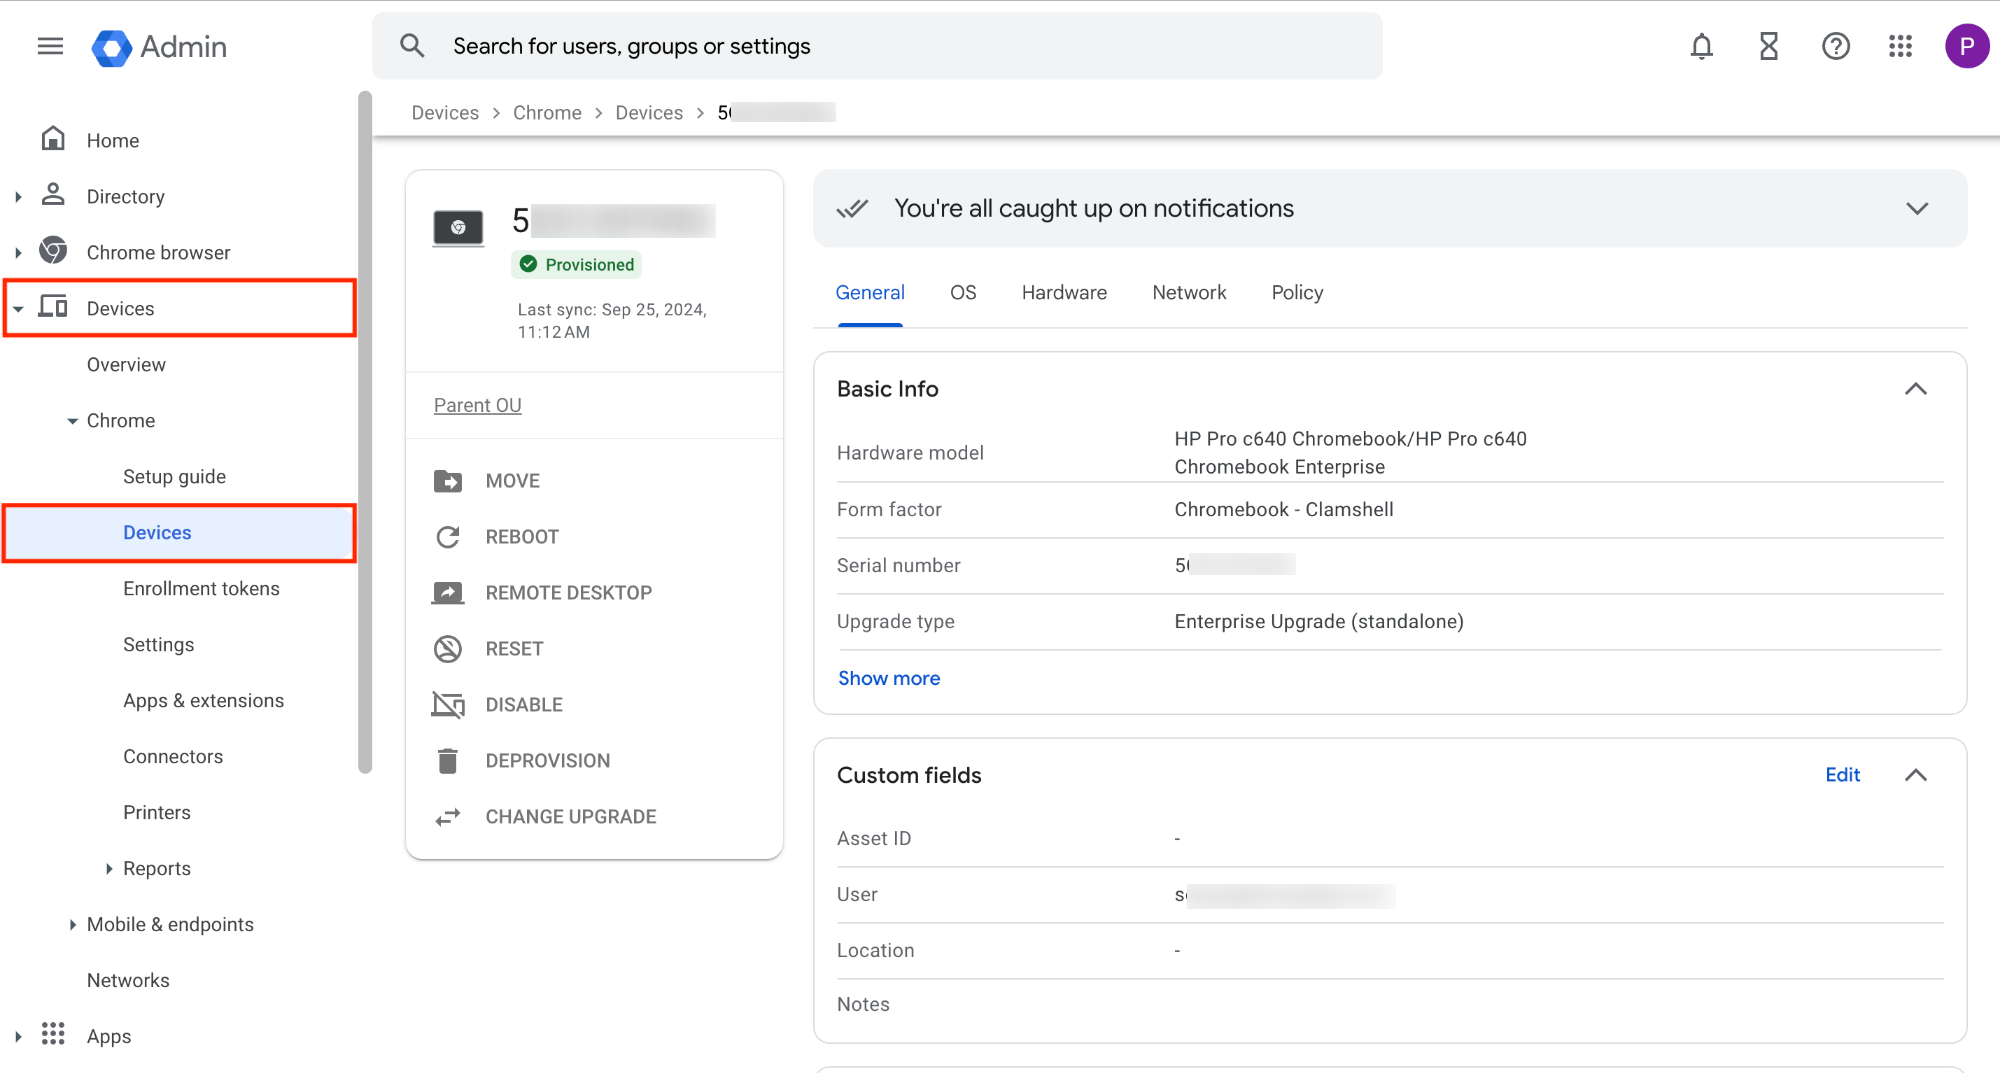
Upon successfully enrolling the device, the device will be listed in the Google Admin console. To check the list of devices enrolled in your organization:
- Log in to the Google Admin Console.
- Navigate to Devices > Chrome > Devices.
- Here, you can find all the devices added to your organization.
- Click on any device to get a detailed overview.
Manage ChromeOS devices in Hexnode
The devices added to the Google Admin console will be simultaneously enrolled in the Hexnode UEM console. To verify the devices:
- Log in to your Hexnode UEM portal.
- From the dashboard, navigate to Admin > Google Workspace. Click on the sync icon at the top right corner beside the Actions drop-down. This will sync all the new changes from the Google Admin console.
- After a successful sync, navigate to Manage > Devices.
- Here you can find all the devices added to Hexnode.
- To filter the ChromeOS devices, use the “Filter by” feature on the right by checking ChromeOS under the listed platforms. This will list all the ChromeOS devices enrolled in the Hexnode UEM portal.
- Click on any device to get a detailed overview and the actions supported by Hexnode.


