Category filter
Configure Extensible SSO on iOS devices
Single Sign-On (SSO) provides a seamless authentication process for the devices at your workplace allowing users to access enterprise applications and websites.
Extensible Single Sign-On (SSO) allows organizations to expand their single sign-on capabilities to Apple devices for users to sign in to a wider range of applications, websites and services—even those that do not natively support SSO.
By integrating SSO extensions from third-party identity providers (IdPs) like Okta, Microsoft Entra ID or Apple’s built-in Kerberos extension, organizations can enhance security and streamline the user experience by reducing the need for repeated logins.
Setting up Extensible SSO
Here’s how you can set up and configure extensible SSO on your iOS device from the Hexnode portal:
- Log in to your Hexnode UEM portal.
- Navigate to the Policies tab.
- Click on New Policy to create a new policy and enter the policy name and description (optional) in the provided fields. You can also choose an existing policy.
- Go to iOS > Security and select Extensible SSO. Then, click Configure.
- Select the SSO extension type. There are three types to choose from:
- Credential: Used for challenge/response authentication scenarios.
- Redirect: Used for modern authentication protocols like OAuth, SAML,2 or OpenID Connect.
- Kerberos: Apple’s built-in extension is used in environments that support Kerberos authentication.
- Under the field Extension Identifier, specify the bundle identifier for the app extension that handles SSO. For example, com.okta.mobile.auth-service-extension. The app extension communicates with the Identity Providers (IdP) to perform the authentication flow for Single Sign-On (SSO) in the devices.
You will need to configure the following settings for each extension type, depending on the one you choose:
1. Credential
| Settings | Description |
|---|---|
| Realm | Specify the authentication realm. |
| SSO blocklist | Specify the bundle identifiers of the apps that are excluded from using SSO. |
| Hosts | Specify the domains or hostnames that the app extension can authenticate. |
| Lock screen behavior | Choose the authentication behavior to apply when the device is locked. There are two options:
|
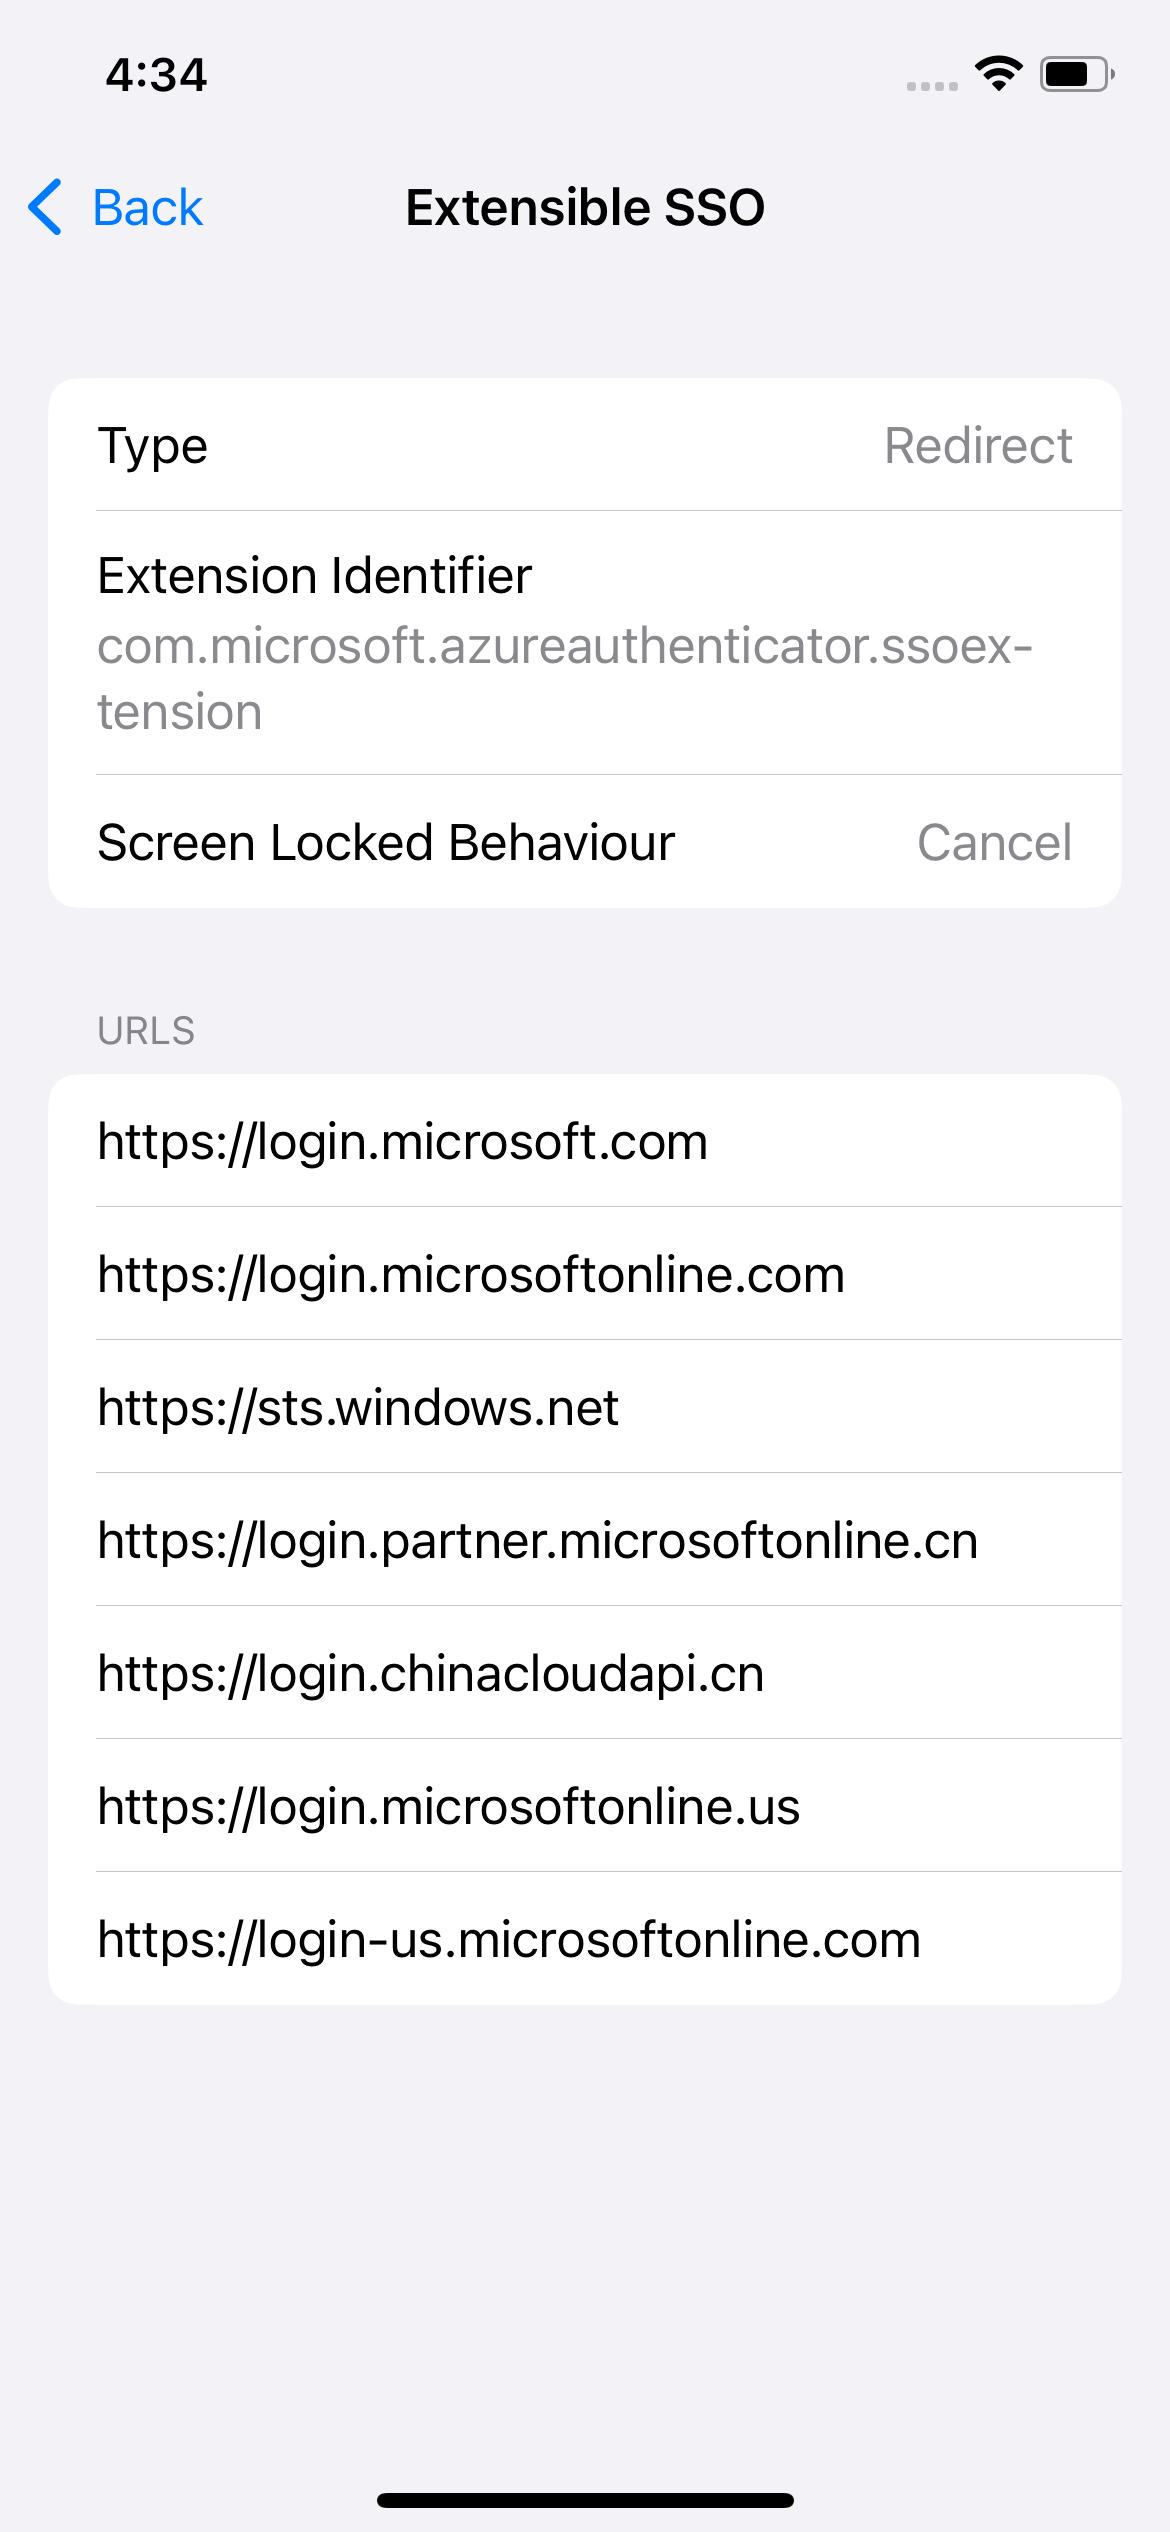
2. Redirect
| Settings | Description |
|---|---|
| SSO blocklist | Specify the bundle identifiers of the apps that are excluded from using SSO. |
| URL | Specify the URL of your identifier provider where the app extension performs SSO. |
| Lock screen behavior | Choose the authentication behavior to apply when the device is locked. There are two options:
|
3. Kerberos
| Settings | Description | Realm | Specify the Active Directory domain where the user accounts are located. |
|---|---|
| Hosts | Specify the domains or hostnames that the app extension can authenticate. |
| Allow saving password in Keychain Access | Enable this option to allow the password to be saved in Keychain Access. |
Custom Configuration
You can also upload a file containing key-value pairs required for custom configuration for the SSO extension.
Associate the policy with iOS devices
If you have not saved the policy yet,
- Go to Policy Targets > +Add Devices. Alternatively, you can choose to associate the policy to either device groups, users, user groups or domains from the left pane.
- Choose the target device/devices.
- Click Ok. Click Save.
If you need to add more devices, click on +Add Devices again and repeat the above steps. This won’t affect your previous selections.
If you are on a page that lists the policies,
- Select a policy.
- From Manage drop-down, choose Associate Targets.
- Choose the target devices and click Associate.
What happens at the device-end?
Once the policy has been associated with the device, the user can access the managed apps after an initial sign-in using their credentials. After that, they won’t be prompted to sign in repeatedly to use the apps.
Users can also view the SSO extension under Settings > General > VPN and Device Management > Hexnode MDM > Single Sign on Extension.