Category filter
Configure Lock Screen policy for Android
The Lock Screen policy provided by Hexnode UEM helps manage and secure Android devices in your enterprise by allowing you to customize the lock screen message. This document provides a step-by-step guide on setting up lock screen policies for Android devices. By following these steps, you can configure Android devices to display custom lock screen messages.
Set up lock screen policy
To configure lock screen policy for Android devices, follow the steps mentioned below:
- Login to your Hexnode UEM portal.
- Navigate to Policies.
- Create a new policy by clicking New Policy. Assign a suitable name and description (optional) for the policy.
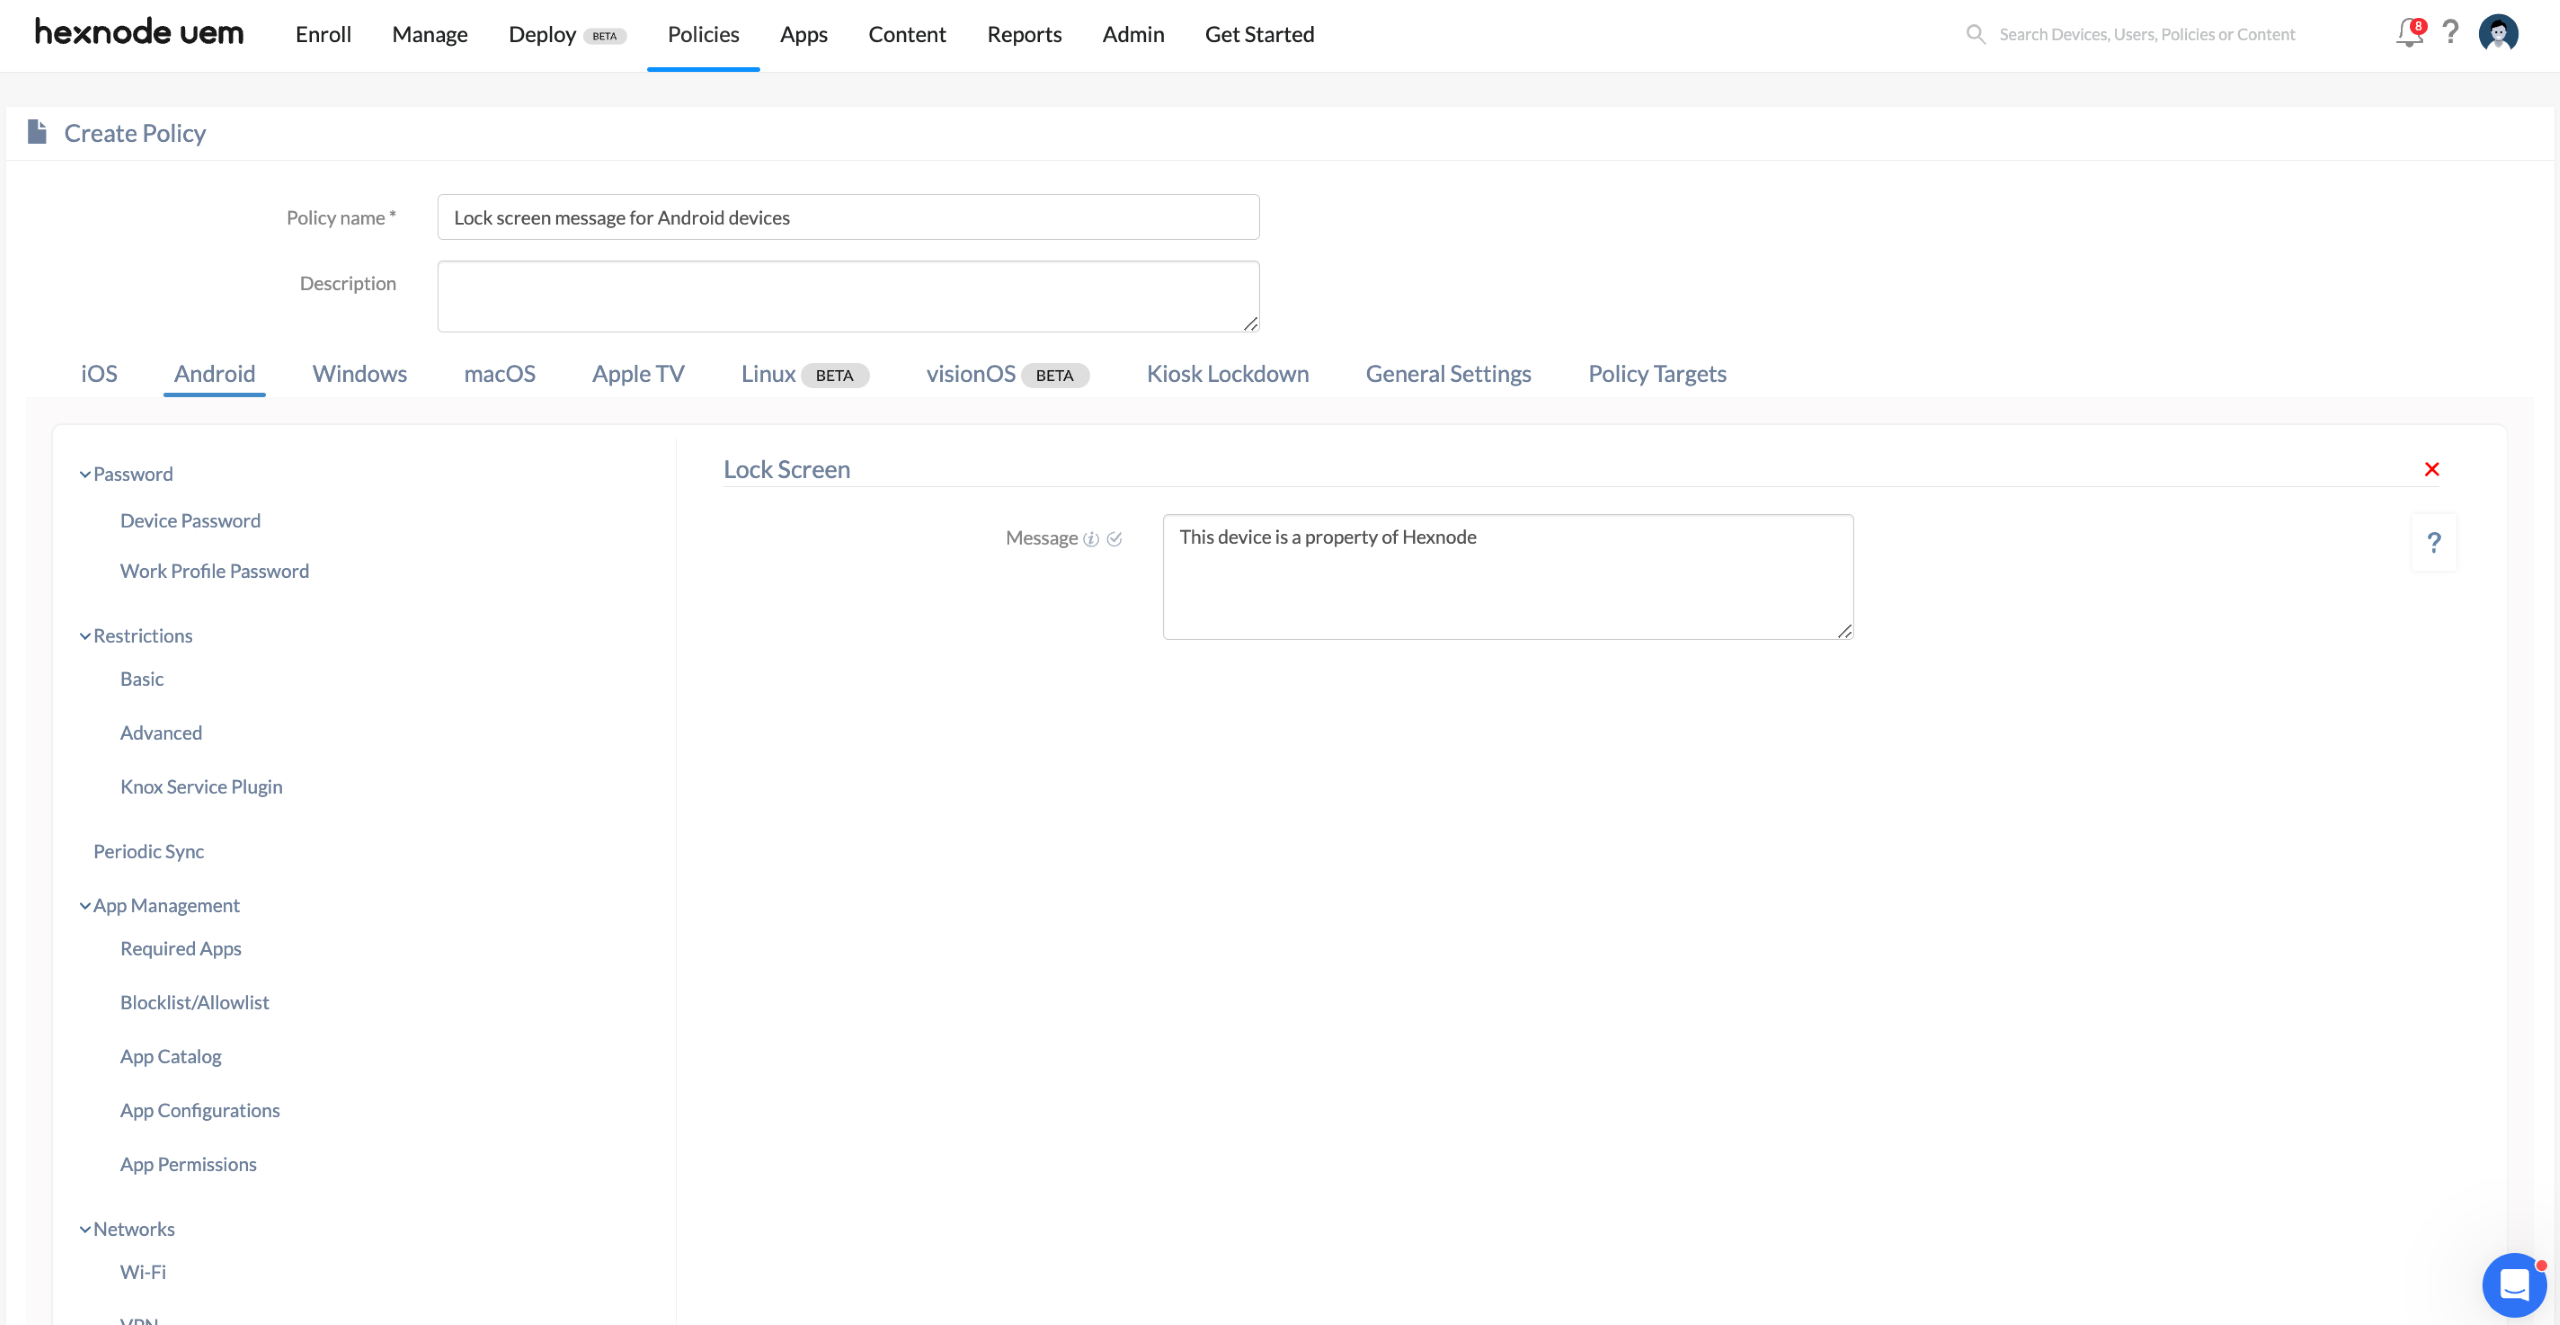
- Navigate to Android > Customizations > Lock Screen.
- Add a suitable lock screen message to be displayed in the given Message field. The message must not exceed 300 characters and is intended for devices enrolled through Android Enterprise Device Owner (Android 7.0+).
Associate policy with target entities
- Navigate to Policy Targets.
- Click on +Add Devices.
- Select the devices and click OK.
- Click on Save to apply the policy to the devices.
Apart from devices, you can also associate the policies with Device Groups, Users, User Groups, or Domains from Policy Targets.
If the policy has been saved, you can associate it with another method.
- From Policies, check the policies to be associated.
- Click on Manage > Associate Targets and select the devices.
- Click on Associate to apply the policy to the devices.
What happens at the device end?
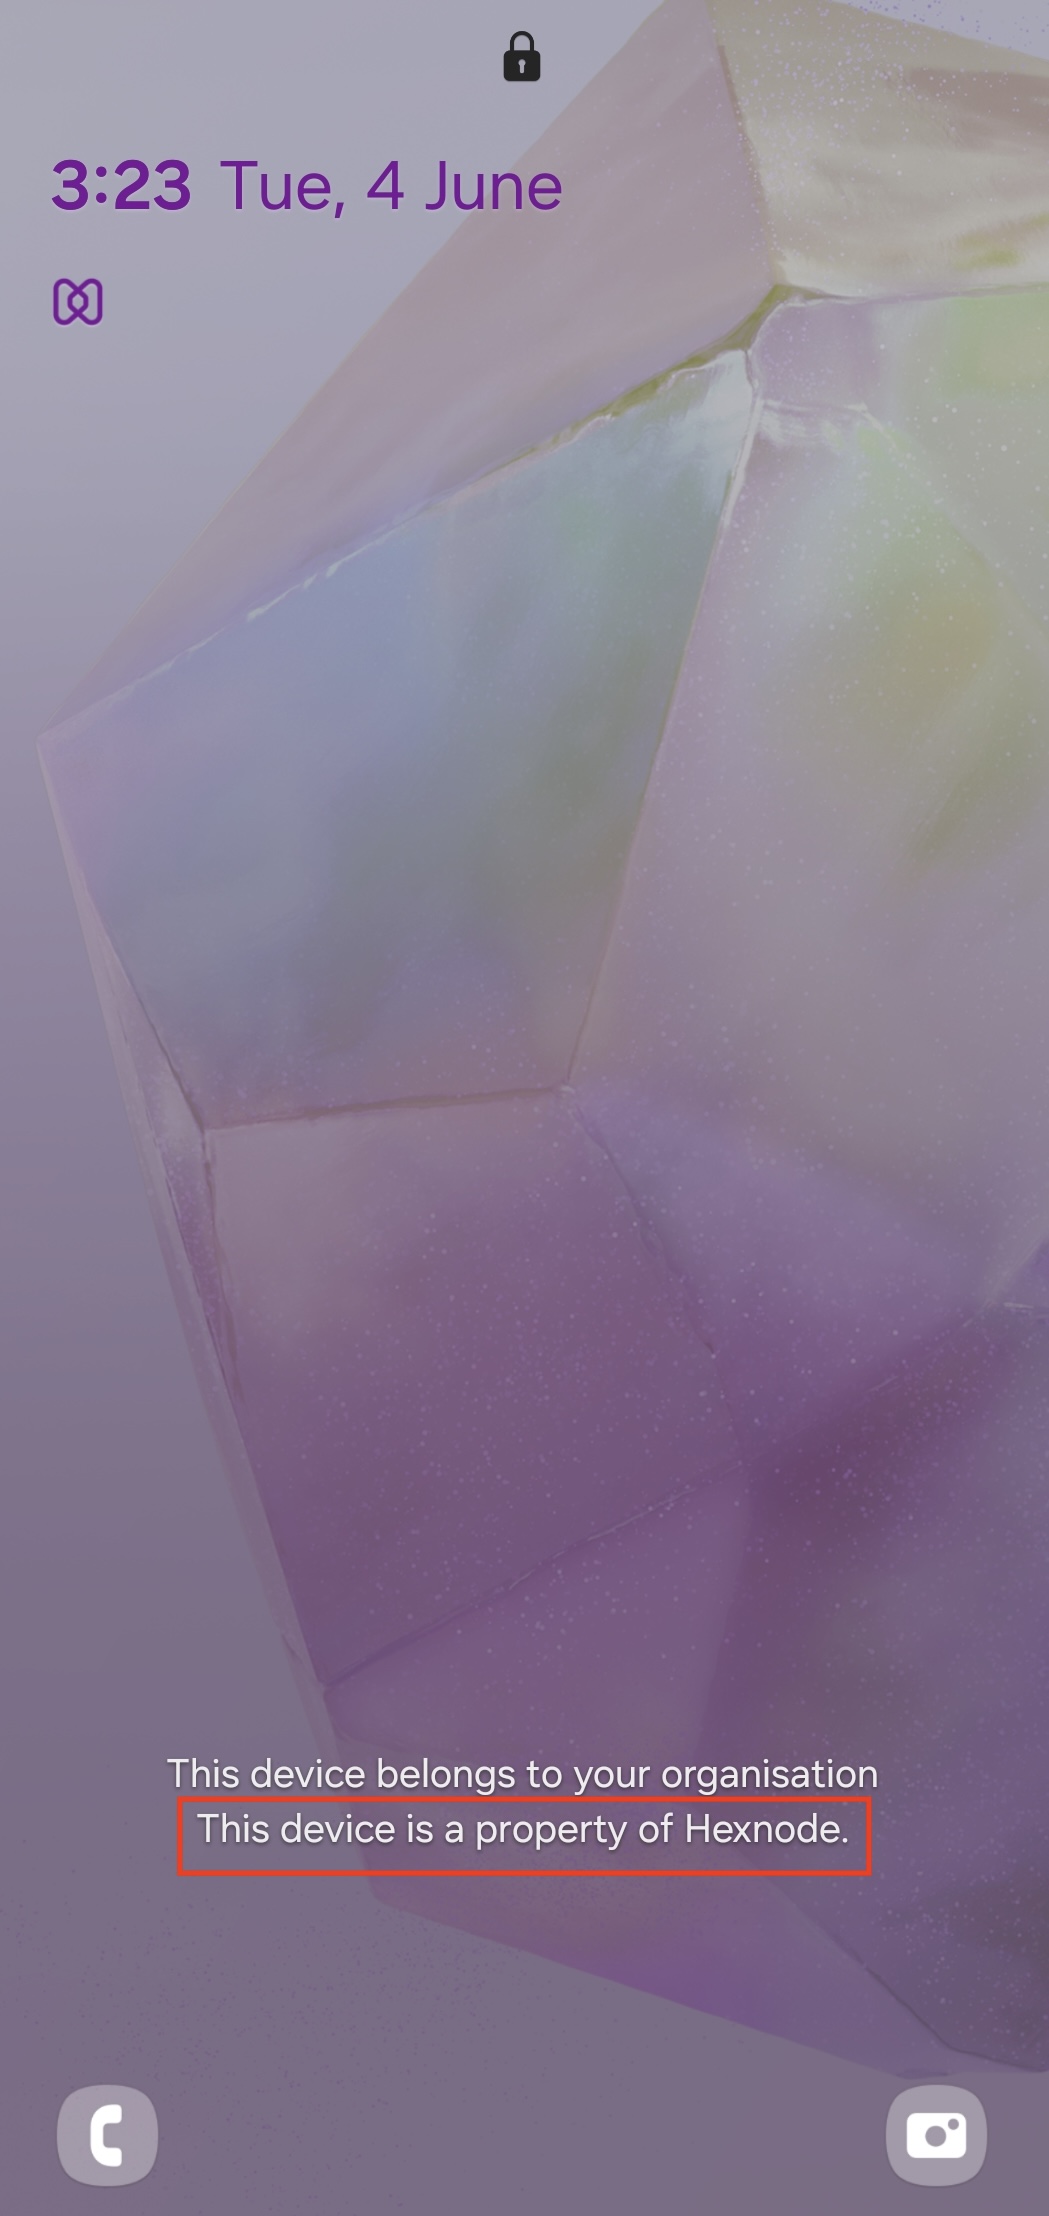
After deploying the lock screen policy on Android devices, a custom message will appear on the lock screen.


