Category filter
How to enroll Windows PCs & Tablets?
Device management is integral in restricting, managing, and securing your Windows devices. Hexnode supports the management of PCs and tablets running Windows 10 or later. To manage a device using Hexnode, it must be enrolled in the UEM portal. Enrollment establishes a connection between the UEM and the device through which they communicate with each other.
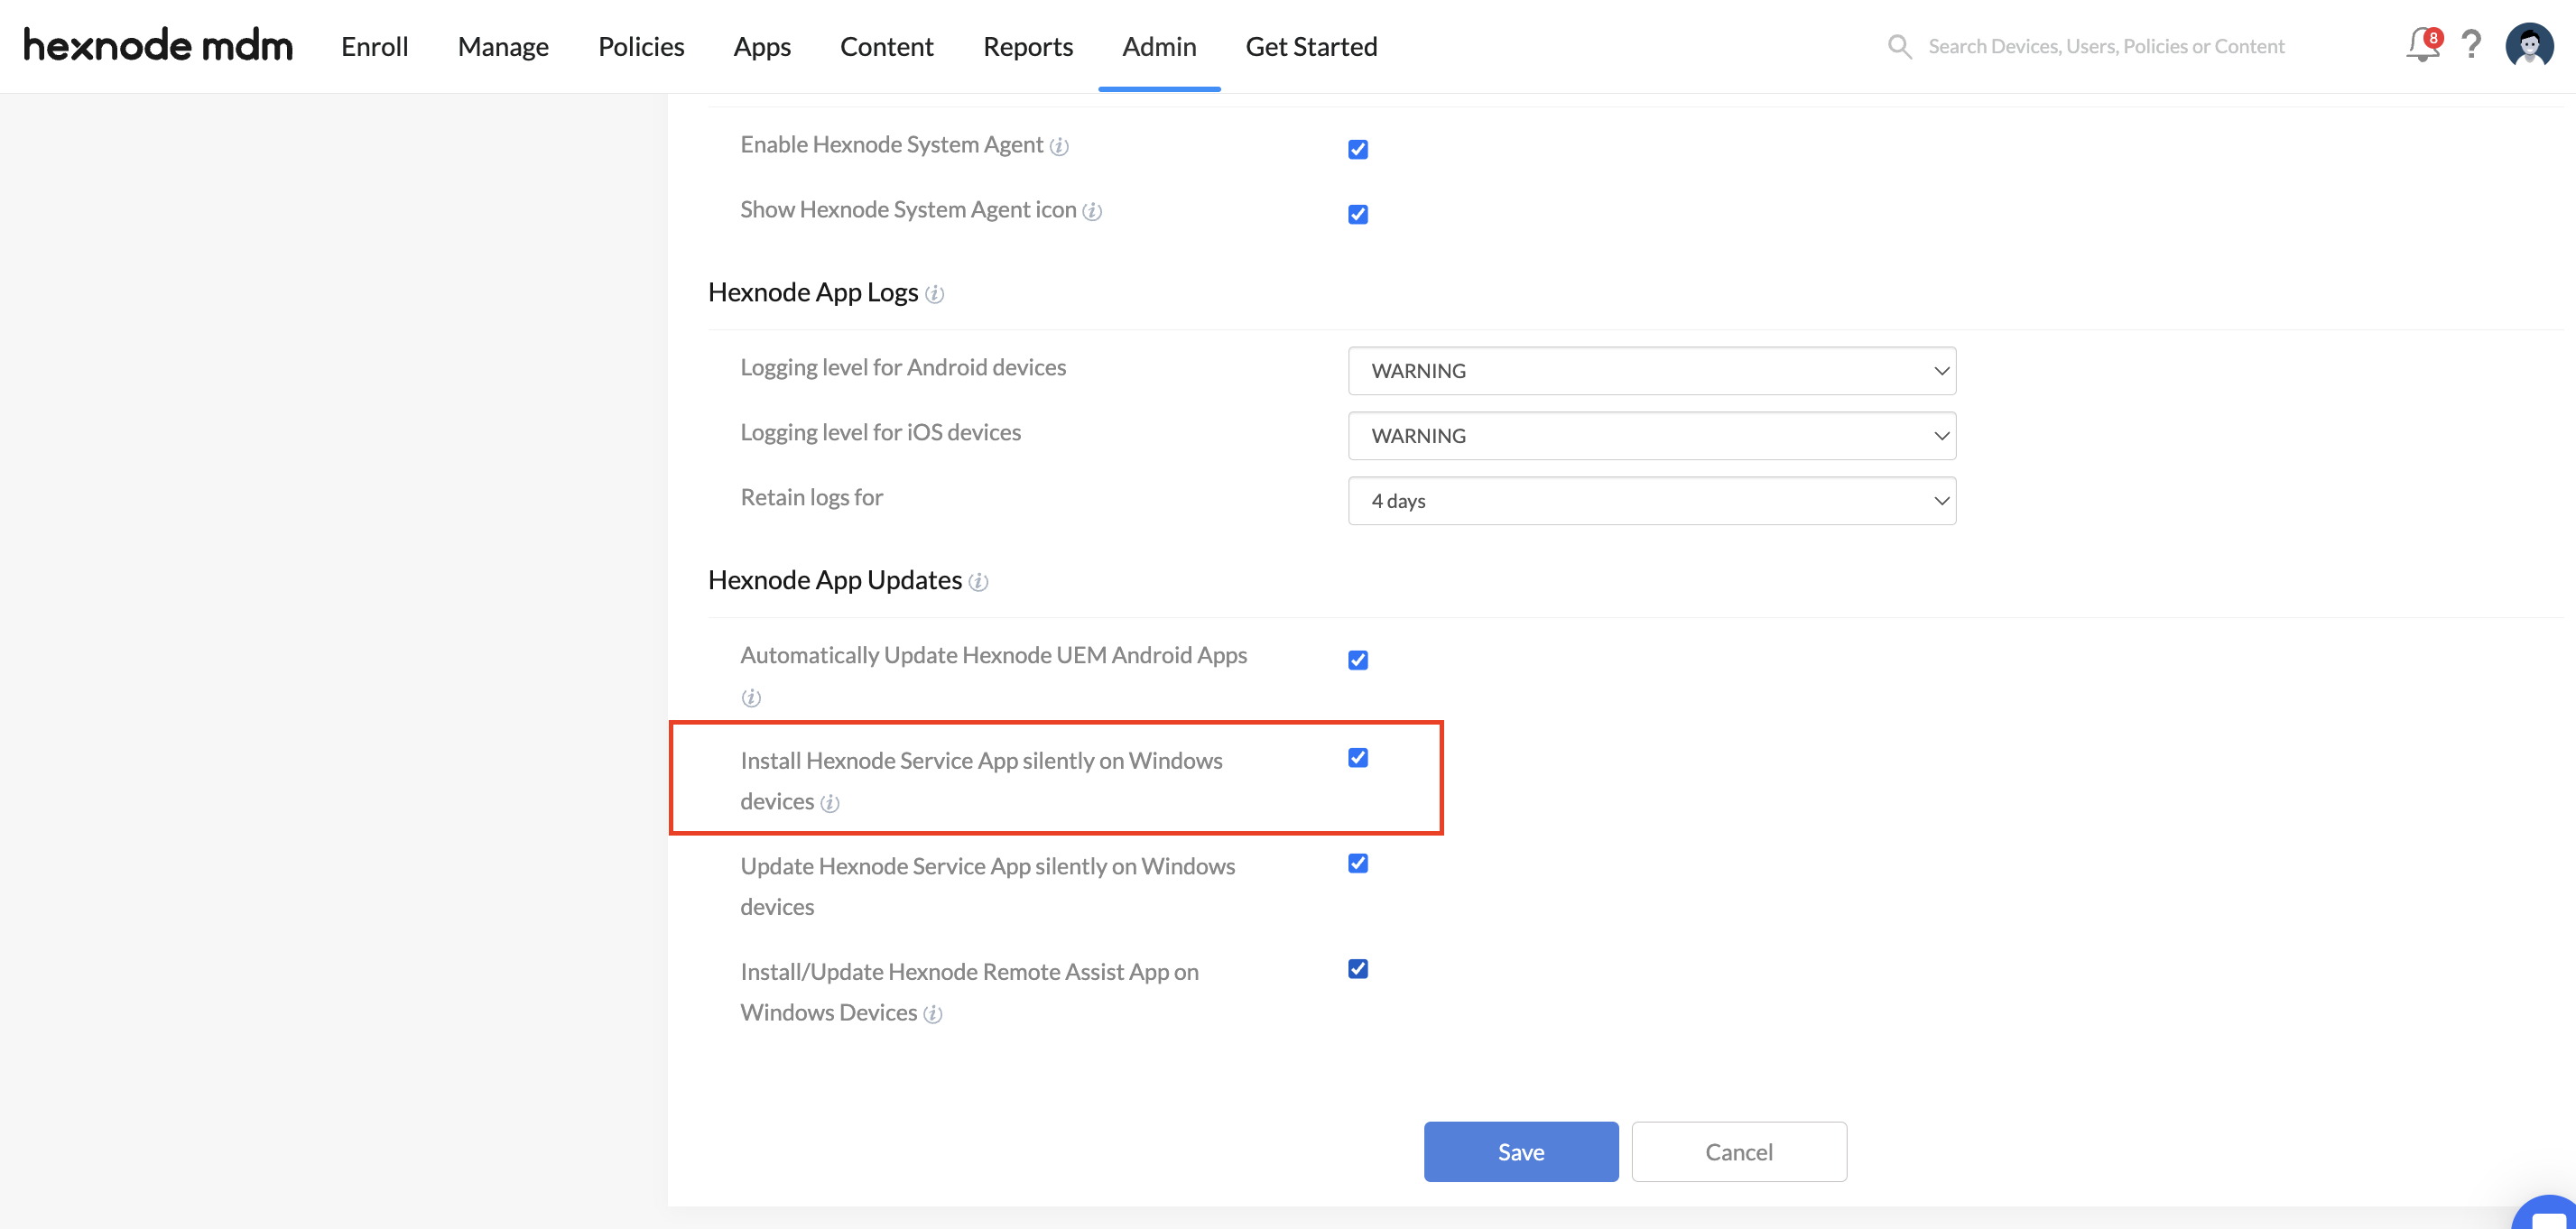
On enrolling a Windows device, the Hexnode UEM app will get automatically installed on the device. The broadcast messages sent by the admin from the Hexnode portal are received through this app.
Windows PCs and tablets can be enrolled via different methods:
- Open Enrollment
- Authenticated Enrollment
- PPKG enrollment
- Google Workspace Enrollment for Windows.
- Windows Virtual Machine Enrollment
- Co-Management
- Windows Autopilot
Open Enrollment
- Go to Enroll → Platform-Specific → Windows → Windows PCs & Tablets.
- Click on Switch to Open Enrollment.
- Choose the user Domain. Only the user belonging to this domain can be chosen as the default user.
- Switch to Open Enrollment.
- Select a Default User and enter a Default password.
- Change the Ownership based on the device to either Personal or Corporate.
- Click Next.
To enroll a Windows device in Hexnode via open enrollment, you can use either of the following enrollment methods:
Method 1: Using Hexnode Installer app
- Enter the Enrollment URL in a web browser. It should be in the format: https://portalname.hexnodemdm.com/enroll/
- Download the Hexnode Installer Setup by clicking on Download.
- Run the setup and install the Hexnode Installer.
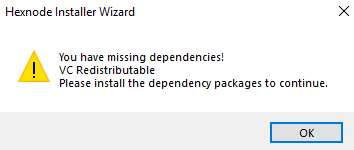
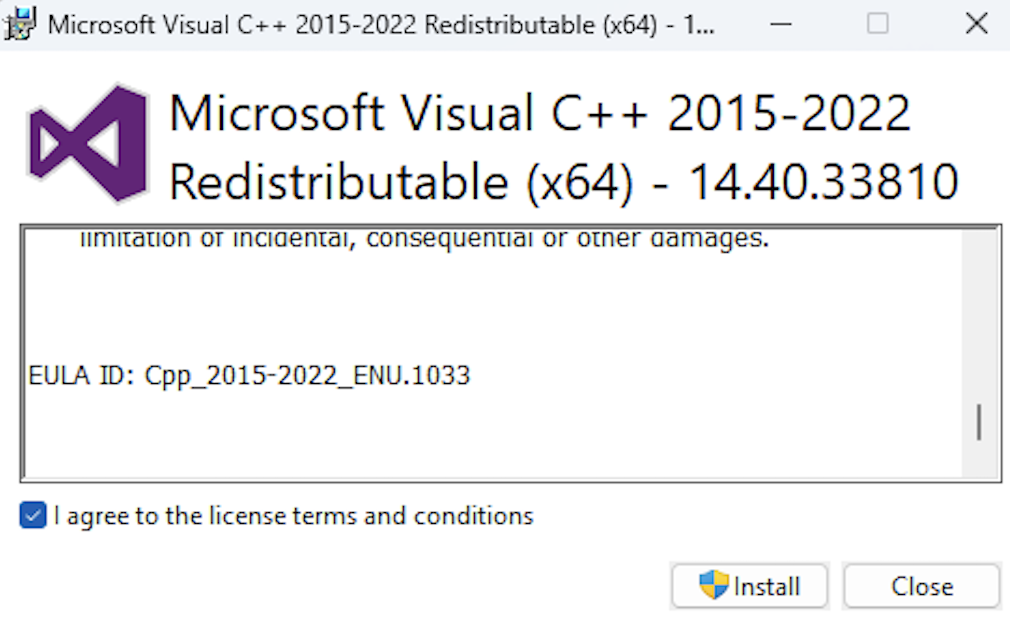
- Hexnode Installer will prompt you to install any required dependency packages if they are missing on your device. Follow the on-screen instructions and complete the dependency installations.
- After successful installation of the required dependency packages, Hexnode EULA will be displayed. Read the EULA and click on Agree and Enroll.
- If the enrollment request was successfully processed, go to step 8.
- In case the process fails, to continue the enrollment:
- Click on Enroll. This will redirect you to Settings > Accounts > Access work or School > Enroll only in device management on your device.
- On the ‘Set up a work or school account’ pane, the admin’s username and enrollment server address will be auto-filled. Click on Next.
- After reading the instructions regarding device set up, click Got it. Hexnode will now connect to the workplace or school. It may take a few minutes to set up the connection. All the configurations and apps set up for the user will now be pushed to the device.
- Click on Next, then Got It. Wait for a few minutes for Hexnode to connect to the school or workplace.
- The Hexnode UEM app will now be installed, and all the configurations will be applied to the device. Click Done and exit the Hexnode Installer.
- Click Finish to exit the Setup.
Method 2: Native Enrollment
- Go to Settings → Accounts → Access work or school.
- Select Enroll only in device management.
- Enter your work mail ID and click Next.
- Now, you will be asked to enter your Microsoft password, simply neglect this by closing the tab.
- Enter the server URL. It will be in the format: https://<yourportal>.hexnodemdm.com and click Next.
- Read the instructions regarding the device set up and click Got it. You have now successfully enrolled your laptop.
Hexnode will now connect to the Workplace or School. It may take a few minutes to set up the connection, all the configurations and apps that your organization has set up for the user will soon be pushed to the device. If the user doesn’t have access to these after waiting for a few minutes, go to Settings > Accounts > Access Work or school > Info and click on Sync.
Authenticated Enrollment
You can configure authenticated enrollment on the Hexnode UEM portal via Email/SMS enrollment or Self-Enrollment.
Method 1: Email or SMS Enrollment
Use email/SMS enrollment to send enrollment requests to users. The request includes the enrollment instructions, and the server URL for enrolling the devices.
- Go to Enroll → Platform-Specific → Windows → Windows PCs & Tablets.
- Click on Switch to Authenticated Enrollment → Authenticated Enrollment.
- Select the types of users (AD/ Microsoft Entra ID/ Local/ Google/ Okta) to be enrolled via Enrollment Request.
- Change the Ownership to Personal, Corporate, or Let the user choose.
- Click Next.
- A message “Enrollment settings successfully updated” will be displayed on the portal.
- Check the box corresponding to Email or SMS based on how you want to send the enrollment request.
- Change the Domain and select the User.
- Click on Send.
Method 2: Self-Enrollment
- Go to Enroll → Platform-Specific → Windows → Windows PCs & Tablets.
- Click on Switch to Authenticated Enrollment → Authenticated Enrollment.
- Select the types of users (AD/ Microsoft Entra ID/ Local/ Google/ Okta) to be enrolled via Self Enrollment.
- Change the Ownership to Personal, Corporate, or Let the user choose.
- Click Next.
To enroll a Windows device in Hexnode via authenticated enrollment, you can use either of the following enrollment methods:
Method 1: Using Hexnode Installer app
To enroll a device using the Hexnode Installer app, follow the procedure:
- Enter the enrollment URL in a web browser. It should be in the format: https://portalname.hexnodemdm.com/enroll/
- Download the Hexnode Installer Setup by clicking on Download.
- Run the setup and install the Hexnode Installer.
- Hexnode Installer will prompt you to install any required dependency packages if they are missing on your device. Follow the on-screen instructions and complete the dependency installations.
- After successful installation of the required dependency packages, Hexnode EULA will be displayed. Read the EULA and click on Agree and Enroll.
- The Hexnode Installer then checks with the portal for the enrollment authentication settings.
- If you are a local or AD user, enter your email ID/sAMAccount Name and click on Authenticate. If you are a Microsoft/Googe/Okta user, you can authenticate by signing in with the corresponding directory credentials.
- If the authentication fails, an error message “Authentication failed! Try Again!” will be displayed. Click on Enroll to re-authenticate.
- Now the device will process the enrollment request. If the process succeeds, go to step 11.
- In case the process fails, to continue the enrollment:
- Click on Enroll. This will redirect you to Settings > Accounts > Access work or School > Enroll only in device management on your device.
- On the ‘Set up a work or school account’ pane, the admin’s username and the enrollment server address will be auto-filled. Click on Next.
- Read the instructions regarding the device set up and click Got it. Hexnode will now connect to the Workplace or School. It may take a few minutes to set up the connection. All the configurations and apps that your organization has set up for the user will soon be pushed to the device.
- The Hexnode UEM app will now be installed, and all the configurations will be applied to the device. Click Done to exit the Hexnode Installer.
- Click Finish to exit the Setup.
Method 2: Native Enrollment
- Go to Settings → Accounts →Access work or school.
- Select Enroll only in device management.
- Enter your work email and click Next.
- Now you will be asked to enter your Microsoft password, simply neglect this by closing the tab.
- Enter the server URL. It will be in the format: https://<yourportal>.hexnodemdm.com and click Next.
- If you are enrolling the device via AD or local authentication, select the domain from the dropdown, enter the Email/SAM Account Name and password and click Authenticate.
Or, click on Sign in with Microsoft/Google/Okta to authenticate with the directory credentials.
- Read the instructions regarding the device set up and click Got it. You have now successfully enrolled your PC in the Hexnode portal.
Hexnode will now connect to the Workplace or School. It may take a few minutes to set up the connection, all the configurations and apps that your organization has set up for the user will soon be pushed to the device. If the user doesn’t have access to these after waiting for a few minutes, go to Settings > Accounts > Access Work or school > Info and click on Sync.
What happens when the MDM profile/Agent app is removed?
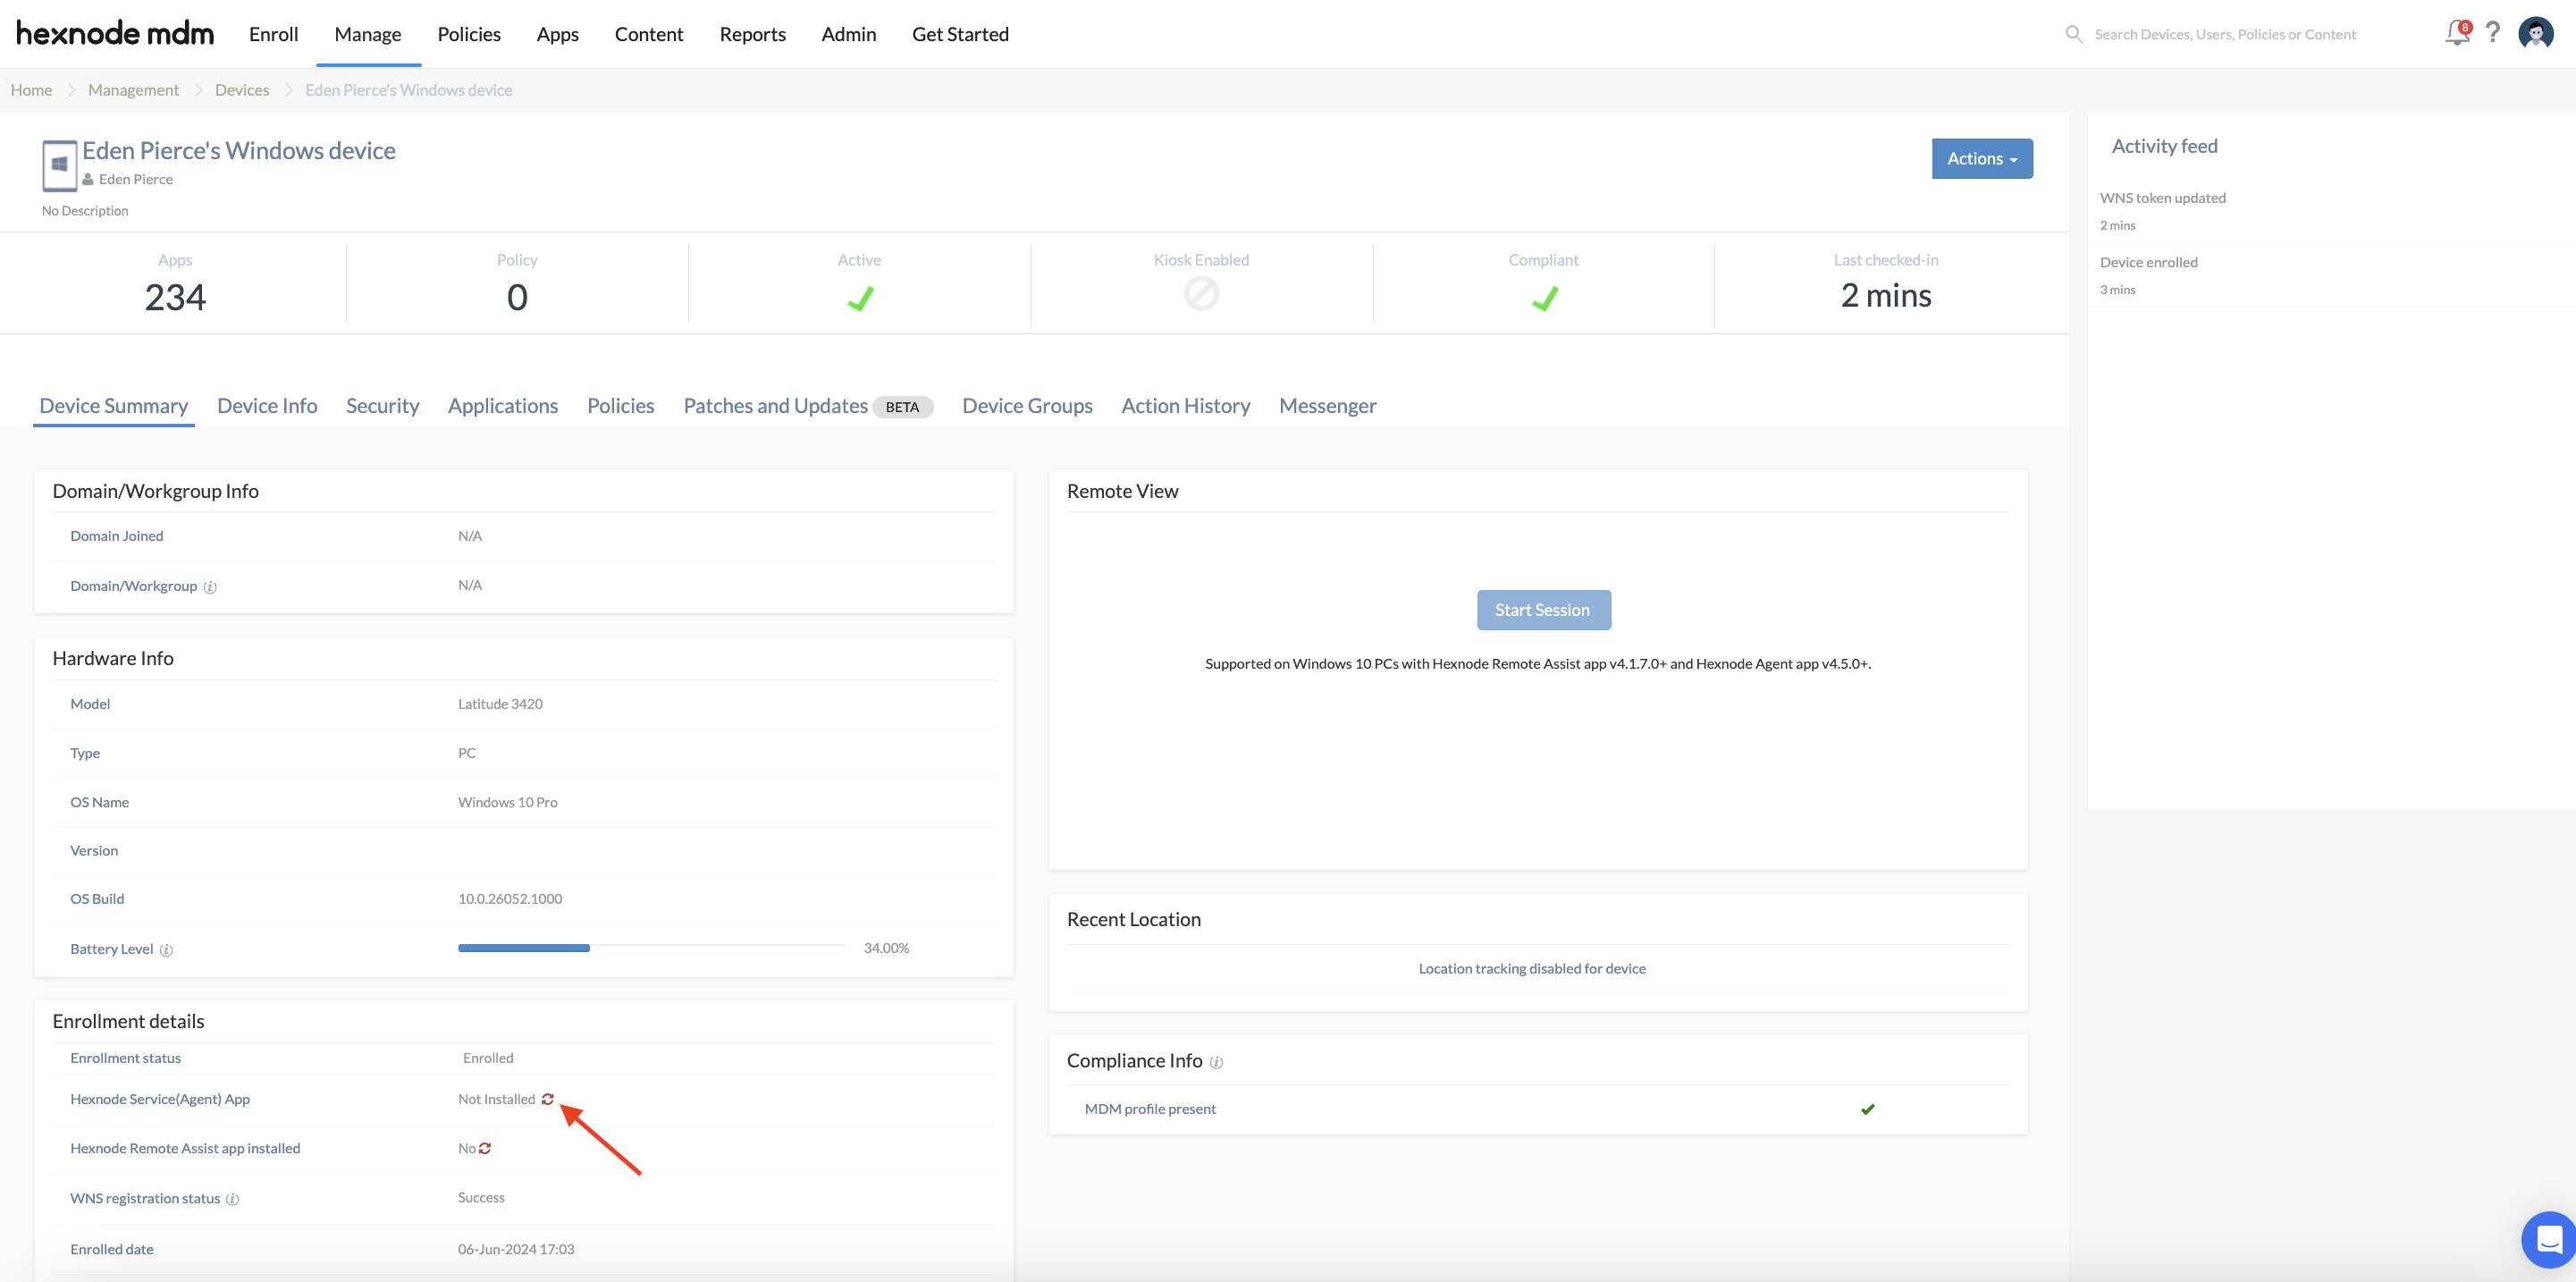
A Windows device is marked as Enrolled in the device summary page of the UEM portal once it gets enrolled in Hexnode UEM. Enrollment proceeds with MDM profile installation and/or agent app installation, which, when complete, result in the device being managed by Hexnode. But removing the MDM profile or agent app from the device results in Hexnode UEM having limited control over the device. In that case, most policies associated, and actions executed on the device will not take effect.
Removing the MDM profile doesn’t affect the admin’s ability to execute most remote actions, except for the ones executed via CSPs like Scan Device and Scan Device Location. But the policies that can be applied get limited to the following Restrictions:
- Camera
- Cortana voice assistant
- Use Cortana if device is locked
- Location services
- Change language
- Sync Settings
- Cellular data roaming
- Show toast notification on lock screen
And certain Advanced Restrictions, like:
- USB connection
- Allow Region
- Search can use user location
- Internet Sharing
If the agent app is removed, remote actions like Execute Custom Script, Join AD Domain, Power off Device, etc., that require an agent app can no longer be executed. However, policies, including all the restrictions, can be successfully deployed.


