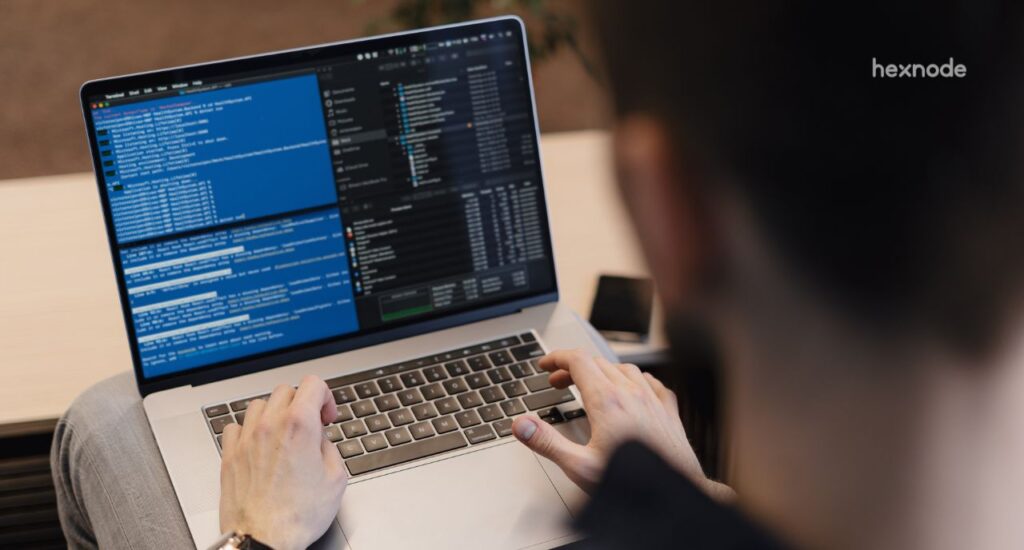
Since the forgotten times of legacy office spaces with bulky computers and well-defined network perimeters, the Terminal (or the command-line interface (CLI)), has been considered by many enterprise administrators as the ultimate tool to perform IT operations in the enterprise.
Although today, technology has evolved to introduce the more user-friendly graphical user interface (GUI), hardcore IT admins still prefer the CLI for its ability to control and automate tasks, or even configure settings on the Mac that are only accessible through the terminal.
However, with your workforce going remote, accessing the terminal on your users’ devices have become a bit more complicated. Now, what if IT admins could remotely access the terminal of a macOS device, and perform system-level operations and diagnostics in real-time, all from miles away? Well, the live terminal succeeds in doing just this.
Equipped with live command responses and support for continuous commands and native text editors, the macOS live terminal provides this familiar command-line interface, while also allowing you to access the macOS CLI remotely.
What is macOS live terminal?

With the macOS live terminal, IT admins can remotely access the macOS devices’ command-line interface and execute the desired commands to modify the Mac operating system. And yes, you can now run diagnostics and perform routine maintenance on your user’s devices, while taking a sip of coffee from the comfort of your own workspace.
Live Terminal vs Mac Scripting – Understanding the differences
Although both these tools make use of the command-line interface to alter the system configurations of a macOS device, a couple of distinct differences separate the use of live terminal from Mac scripting. Live terminal is focused more on assisting IT admins with device troubleshooting. What’s more, live terminal and remote view can work hand-in-hand.
By combining live terminal with remote view, IT can spot and diagnose device-end issues in real-time via the remote command-line interface.
Now, on the other hand, scripting is focused more on automating tasks and pushing commands to devices in bulk.
While scripts can be bulk-deployed to devices, live terminal sessions run on one device at-a-time.
macOS live terminal – Use cases

Let’s take a look at some of the ways an IT admin can make use of the macOS live terminal feature to enhance IT operations in the enterprise.
To inspect and modify the system configuration of a macOS device
Let’s consider a scenario where the IT admin of a company requires to inspect a macOS device belonging to a remote user. Using the live terminal, IT remotely accesses the terminal of the device and executes commands to see who is logged on, what they are doing, send a message to the user, and more.
To conduct system-admin tasks such as software updates, Active Directory binding, and more
Consider a scenario where the IT admin has provided a deadline to update the macOS software for all the users in an organization. However, a couple of users still haven’t performed the update on their devices (you can’t blame them, we’re all procrastinators). Using live terminal, IT sets up a time delay, sends a message to the users to save their work (using the the following command):
|
1 |
sudo wall filename.txt |
, and remotely executes the following command to perform the required software updates.
|
1 |
softwareupdate |
What’s more, it is also possible to remotely join the macOS device to Active Directory using the following command.
|
1 |
dsconfigad [-f] -a computerid -u username [-p password] [-ou dn] -domain fqdn |
Let’s assume a situation where the IT admin of a company requires to perform a scheduled maintenance check on a user’s remote macOS device. With live terminal, the IT admin can run commands like,
|
1 |
top |
which lets you view system utilization by inspecting the Activity Monitor on your Mac, or like
|
1 |
sudo sysdiagnose |
which offers detailed technical analysis and reports of macOS hardware and software, to remotely perform routine maintenance checks on the device.
To take control of unattended devices and perform tasks, regardless of user presence
Another great benefit of utilizing the macOS live terminal functionality is the flexibility it provides. As an IT admin, there will be no intermediate procedure where your users might need to grant permission to access the terminal. With Hexnode, the agent automatically requests these permissions during initial setup, after which the need for any intermediate steps is eliminated. This in turn, allows IT to perform the necessary configurations on the Mac, regardless of user presence.
To troubleshoot various issues encountered by your remote users
One of your users have encountered an issue on their Mac and requires assistance. As an IT admin, you need to remotely provide real-time support. Live terminal enables you to do just that. And what’s more, when combined with Hexnode’s remote view functionality, IT can easily identify issues on users’ devices and run the necessary commands in real-time via the live terminal to resolve them.
How to view your Mac screen remotely for real-time troubleshooting
Enable macOS Live Terminal with Hexnode UEM

Using Hexnode UEM, you can remotely access the terminal of a macOS device and execute your desired commands on it.
To enable live terminal on macOS devices:
- Log in to your company’s Hexnode UEM portal and select the Manage tab
- From there, navigate to Devices, and select the specified macOS device whose terminal you need to access
- On the Device Summary tab, navigate to the Live Terminal window and click on Start SSH Session
The live terminal session is enabled.
Advanced IT operations with macOS Remote View and Live Terminal using Hexnode UEM

Well, now that you’ve got the live terminal functionality all wrapped up under your belt, you’ve outfitted your IT operations strategy with a couple of hands and legs. However, you’re still missing a vital piece. Because you still cannot see.
If live terminal is the hands and legs of your IT operations strategy, then Hexnode’s remote view is your pair of eyes.
With the remote view feature, IT admins can remotely access the Mac’s display in real-time, diagnose device-end issues and provide the necessary troubleshooting instructions to get your IT operations running securely and smoothly.

Featured Resource
Hexnode Mac Management Solution
Managing the large fleet of enterprise Mac devices can be tedious without an effective device management solution. Download the datasheet to learn more about Hexnode’s Mac-specific management strategies.
Download DatasheetTo enable remote view on macOS devices,
- Log in to your company’s Hexnode UEM portal and select the Manage tab.
- From there, navigate to Devices, and select the specified macOS device whose display you need to access.
- On the Device Summary tab, navigate to the Remote View window and click on Start Session.
At the device end, the user will receive a prompt inside the Hexnode Remote Assist app to grant screen sharing permission. Once the user clicks Accept, the remote view session begins.
- Port 80: HTTP communication port for web client-based communications. Used during installation of client application and initiating remote commands.
- Port 443: TCP communication port for streaming the screen recording real-time.
- Port 3478: The TCP/UDP communication port to initiate the remote session.
- Port 5349: The TLS communication port to initiate the remote session.
Once you’ve got your remote view session running, you can simultaneously start a macOS live terminal session and run it at the same time as your remote view session. This in turn, enables you to achieve advanced remote troubleshooting capabilities on your users’ macOS devices.
The final note
Alright! Now that you’ve equipped your IT operations with the macOS live terminal and remote view functionality, troubleshooting remote macOS devices will be a piece of cake. However, why stop there when you can have more? With Hexnode’s Unified Endpoint Management solution you can easily fulfill all your endpoint management needs ranging from deployment, security configurations, app and content management, identity and access management, all the way to data protection and device retirement, for all your corporate devices.
Go ahead, give Hexnode a try!
Streamline your device management strategy with Hexnode UEM
Start free trial


