Distributing paid apps have always been a pain for IT admins. More so now that people are moving towards a work environment with absolutely no network boundaries. Assigning the right apps to the right users, managing permissions, it already seems like a nightmare. But little do they know they still haven’t come to face with the chief villain. The final boss. The big question. “How will IT admins distribute paid app licenses to all their users?”
Didn’t think about that? Well, your paid apps are pretty much useless if you haven’t figured out a way to distribute app licenses or activation codes to your users. And if you’re thinking about sending them the good ol’ way via email, well, the 1990s called, they said they want their idea back.
But seriously, it’s 2021! There are way safer and better alternatives to distribute your users’ app licenses. And what’s more, you can even activate licenses without your users ever getting to see or know the code. Such a feat can be achieved by employing the assistance of a Unified Endpoint Management solution.
Well, without further ado, let’s take a look at some popular business apps, and see how you can securely distribute their licenses to your users, using a UEM.
How to distribute Microsoft Office licenses using Hexnode UEM
I’m sure we’re all pretty familiar with Microsoft Office. It’s the OG legend of desktop productivity apps that’s been here for three decades and shows no signs of slowing down. Since the early ages of desktop PCs, MS Office has been a dominant model in delivering modern, office-related, document-handling software environments.
However, when it comes to handling licenses, Microsoft stays true to its name of overly complicating things up. There are a multitude of methods and processes at their disposal when it comes to distributing Microsoft Office licenses. And trust me, if you don’t have a proper guide to help you wade through their swamp of documentation, you’re gonna drown (personal experience talking).
Assign licenses using Microsoft’s Volume Licensing Service Center
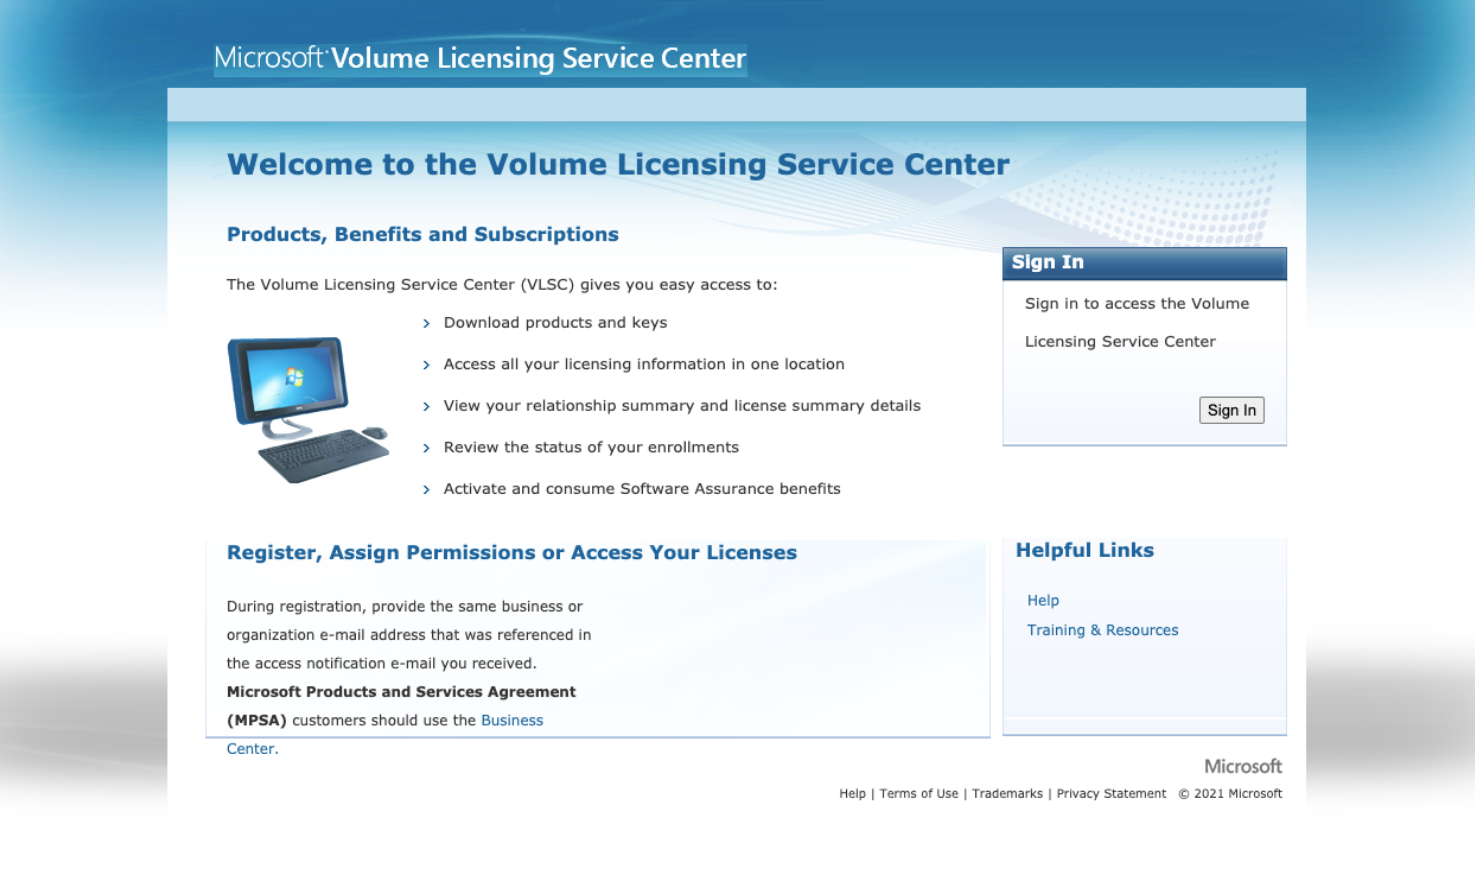
The Volume Licensing Service Center (VLSC) is an online portal where organizations can manage and assign Microsoft Office licenses purchased via the volume licensing programs, to your users and devices.

The Volume Licensing Service Center (VLSC) gives you easy access to:
- Download your Microsoft products and their keys
- Access and manage all of your volume licensing information
- View your relationship summary and license summary details
- Review the status of your enrollments
- Activate and consume Software Assurance Benefits
So, how do you distribute paid app licenses using VLSC? Well, the first step is to register and sign up for VLSC. Then, you must purchase the required Microsoft Office products and their licenses.
“It is important to note that Microsoft Office products purchased and downloaded from the VLSC are volume licensed. The below-mentioned procedures will work only on volume-licensed products. In the case of retail/Cloud versions of Microsoft Office, the following methods are not applicable.”
Once you’ve purchased the required Microsoft Office products from VLSC, you must download the installation package and upload it to your Hexnode app inventory after converting it to a .msi/.pkg format. Next, deploy the volume licensed Microsoft Office products to your required devices. Once you’ve done that, you can move on to the next step.
Your available licenses will be displayed at Licenses > Relationship Summary > Licensing ID > Product Keys. Now, the method for distributing the product keys to your devices is different on a Mac and a Windows device.
For Mac
For macOS devices, The Volume License (VL) Serializer is a tool used to activate Office 2019 as a volume licensed version. It’s an approximately 4 MB package file that you can run on a user’s computer, either before or after you’ve installed the necessary Office apps. The VL Serializer package contains a binary executable named “Microsoft Office Setup Assistant,” that activates the volume license.
To download and run the VL Serializer, follow the below-mentioned steps:
- Sign in to the Volume Licensing Service Center (VLSC), and navigate to the Download and Keys tab.
- Search for your required software, and select the download link in the results panel, and click on Continue.
- Next, select the icon to download the VL Serializer .iso file.
- Once the download is complete, mount the .iso file to extract the VL Serializer package file.
- Then, upload the package file in the Hexnode app inventory, and deploy (and run) the file to each device you want to activate Office (as a volume licensed version).
- The license is then automatically validated
For Windows
In the case of Windows devices, things get a little bit more complicated. There are two different models for completing volume activations on Windows devices.
- Key Management Service (KMS) allows organizations to activate systems within their own network. However, this method requires your systems to be connected to the same network.
I know, an instant deal-breaker for many businesses. That’s why we recommend going for the MAK.
- Multiple Activation Key (MAK) activates systems on a one-time basis, using Microsoft’s hosted activation services. It is similar to the product key you usually receive with the retail versions. So, the difference? A retail license lets you install the software on one computer. A volume license like MAK lets you install the software on as many devices as you want, with just one product key. To obtain the MAK, sign into the VLSC , and select Licenses > Relationship Summary > Licensing ID > Product Keys.
Now, once you’ve obtained the Multiple Activation Key, Go to your company’s Hexnode portal. From the Manage tab, select the necessary Windows devices where the Microsoft Office software has been installed, and push the following script to activate the product key for your users (replace XXXXX-XXXXX-XXXXX-XXXXX-XXXXX with the MAK you obtained from the VLSC).
|
1 2 3 4 |
rem "Navigate to the install location of Microsoft Office software using cd commands" cscript ospp.vbs /dstatus cscript ospp.vbs /inpkey:XXXXX-XXXXX-XXXXX-XXXXX-XXXXX cscript ospp.vbs /act |
Now, in case you need to remove an assigned license from a device, push the following script.
|
1 2 3 |
rem "Navigate to the install location of Microsoft Office software using cd commands" cscript ospp.vbs /dstatus cscript ospp.vbs /unpkey:XXXXX-XXXXX-XXXXX-XXXXX-XXXXX |
How to distribute CrowdStrike Endpoint Security licenses using Hexnode UEM
CrowdStrike is a leader in cloud-delivered, next-generation services for endpoint protection, threat intelligence, and response.

The CrowdStrike Falcon is a cloud-managed, agent-based sensor that unifies next-generation antivirus (NGAV), endpoint detection and response (EDR), cyber threat intelligence, managed threat hunting capabilities and security hygiene — all together in a single, lightweight sensor that takes up less than 5 MB of the device storage.
The process of deploying the CrowdStrike Falcon Sensor and assigning its licenses to your users varies depending on whether they are using a Windows or macOS device.
For Mac
The CrowdStrike Falcon Sensor is supported on macOS High Sierra (10.13) or above. For macOS devices, before installing the CrowdStrike Falcon Sensor on your users’ device, you must first push a Kernel Extension policy and a Privacy Preferences Policy Control (PPPC) payload to the macOS device. You can do this by navigating to Policies > macOS, from the Hexnode portal, and configuring the Kernel Extensions, and PPPC tabs with the below-mentioned configurations.
- Kernel Extension Team ID: X9E956P446
- Privacy Preferences Policy Control (PPPC) payload: Grant full disk access to /Library/CS/falcond
Once you’ve configured the policy, you must push it to the necessary macOS devices.
Next, you must log in to your company’s CrowdStrike portal, and download the sensor installer from Hosts > Sensor Downloads (It is recommended to use the Chrome browser). This page consists of the latest available sensor versions. Once you’ve identified the correct sensor version for your OS, click on the download link to the right. Now, at the top of the downloads page is a Customer ID. Remember to copy this value as it will be required later in the install process.
Once the download is complete, you will be left with a .pkg file. You must upload this .pkg file to your company’s Hexnode app inventory, after which you must deploy the CrowdStrike Falcon Sensor app to the necessary devices.
Next, comes the step to activate the license for your CrowdStrike Falcon Sensor App. Open your company’s Hexnode portal, and push the following script to the required macOS devices.
|
1 2 3 4 5 6 7 8 |
#!/bin/sh #Put your install token in the following line if applicable, otherwise leave blank. Example : customerIDChecksum="A43190DDA81403RANd-91" customerIDChecksum="Put Your CID Here" #Put your install token in the following line if applicable, otherwise leave blank. Example : installToken="A313G7326" installToken=" Put Your Install Token Here" #license CrowdStrike Agent /Applications/Falcon.app/Contents/Resources/falconctl license ${customerIDChecksum} ${installToken} 2>&1 exit 0 |
Here’s an example:
|
1 2 3 4 |
customerIDChecksum=" A43190DDA81403RANd-91" installToken=" A313G7326" /Applications/Falcon.app/Contents/Resources/falconctl license ${customerIDChecksum} ${installToken} 2>&1 exit 0 |
Where A43190DDA81403RANd-91 is the Customer ID, and A313G7326 is the install token.To confirm that the sensor is running, run this command at a terminal:
|
1 |
/Applications/Falcon.app/Contents/Resources/falconctl stats |
The output shows a list of details about the sensor, including its agent ID (AID), version, customer ID, and more.
For Windows
For Windows devices, you must first check the supported operating systems. Then, log in to your company’s CrowdStrike portal, and identify the sensor installer for your OS and version from Hosts > Sensors > Downloads. (It is recommended to use the Chrome browser)
Next, you must consult with the CrowdStrike support team and request them to provide you with the .msi installer file for their app, which is compatible for deployment purposes (the default installer is not feasible for deployment purposes). Once you’ve downloaded the correct installer and obtained the Customer ID linked to the downloaded installer, you must upload the .msi installation package to your company’s Hexnode app inventory, after which you can deploy the CrowdStrike Falcon Sensor app to the necessary devices from the Hexnode portal.
Next, comes the step to activate the license for your CrowdStrike Falcon Sensor app. Open your company’s Hexnode portal, and push the following script to the required Windows devices.
|
1 |
WindowsSensor.exe /install /quiet /norestart CID= <”Enter your Customer ID”> NoFA=1 NoDC=1 NO_START=1 |
To verify that the CrowdStrike sensor is running, push the following script
|
1 |
$ sc query csagent |
The output must show that the “STATE” is “RUNNING”.
Manually controlling devices can put your organizational data at risk. A UEM solution makes it easier to deploy and manage all your Windows devices and applications.

Featured resource
Hexnode Windows Management Solution
The final note

There exist thousands of premium business apps, including productivity suites, security software, and collaboration tools in today’s corporate world. However, it’s quite impossible to cover managing and deploying licenses for all of these apps. With that being said, if you wish to learn more about deploying apps and app licenses to your organization, or have queries regarding deploying specific apps and their licenses related to your business, drop over at Hexnode and say hi!


